Rosthwaite to Grasmere
Breakfast wasn’t until 8 AM. I wished it was earlier so we could get an earlier start on a long day. But the late breakfast gave me an hour or so to wander around town before eating.
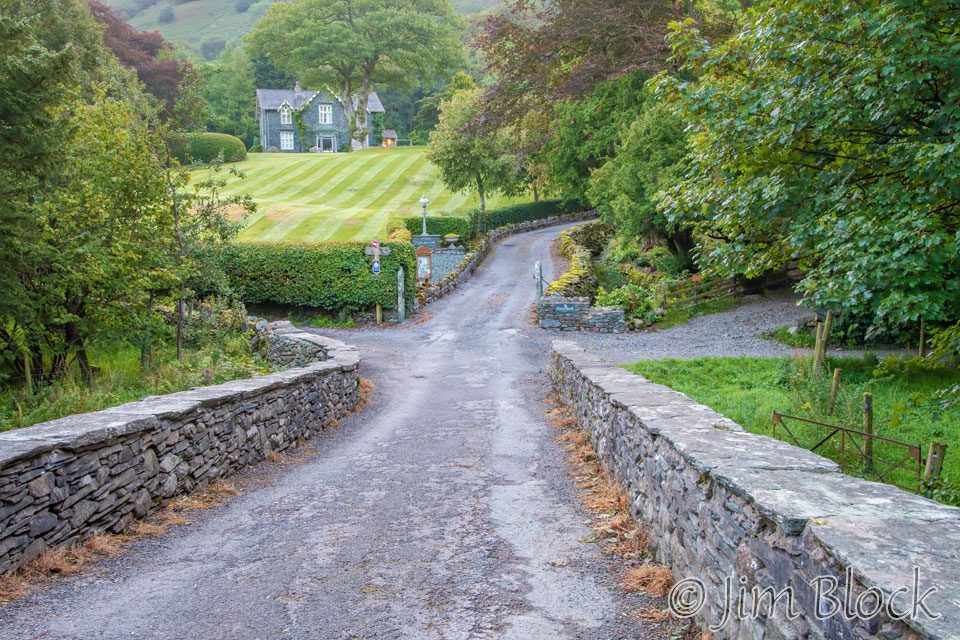
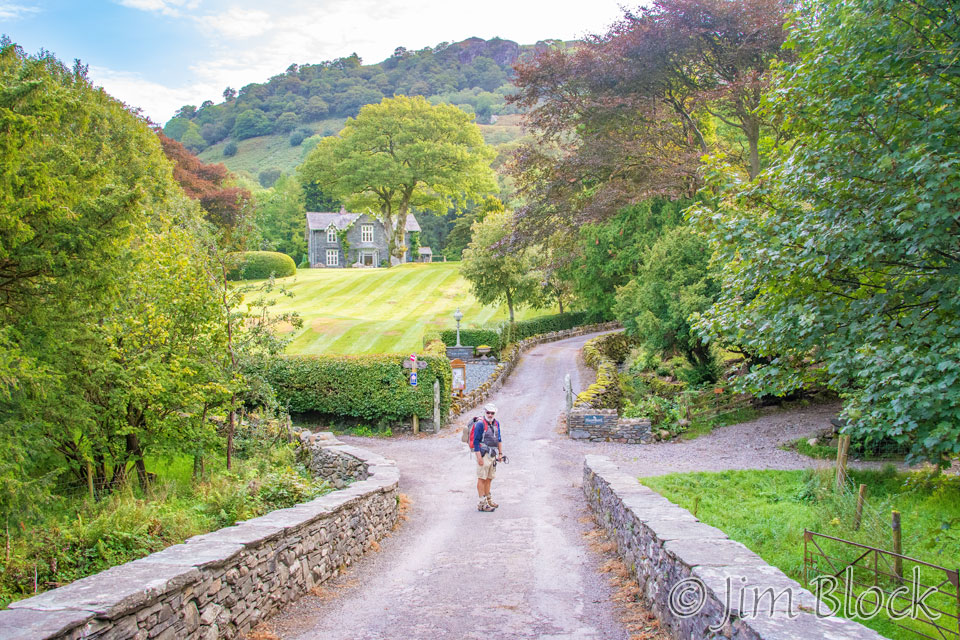
Although I did not go in, I found a place where I would certainly want to investigate staying if I ever get back to Rosthwaite – the Hazel Bank Hotel, shown here.
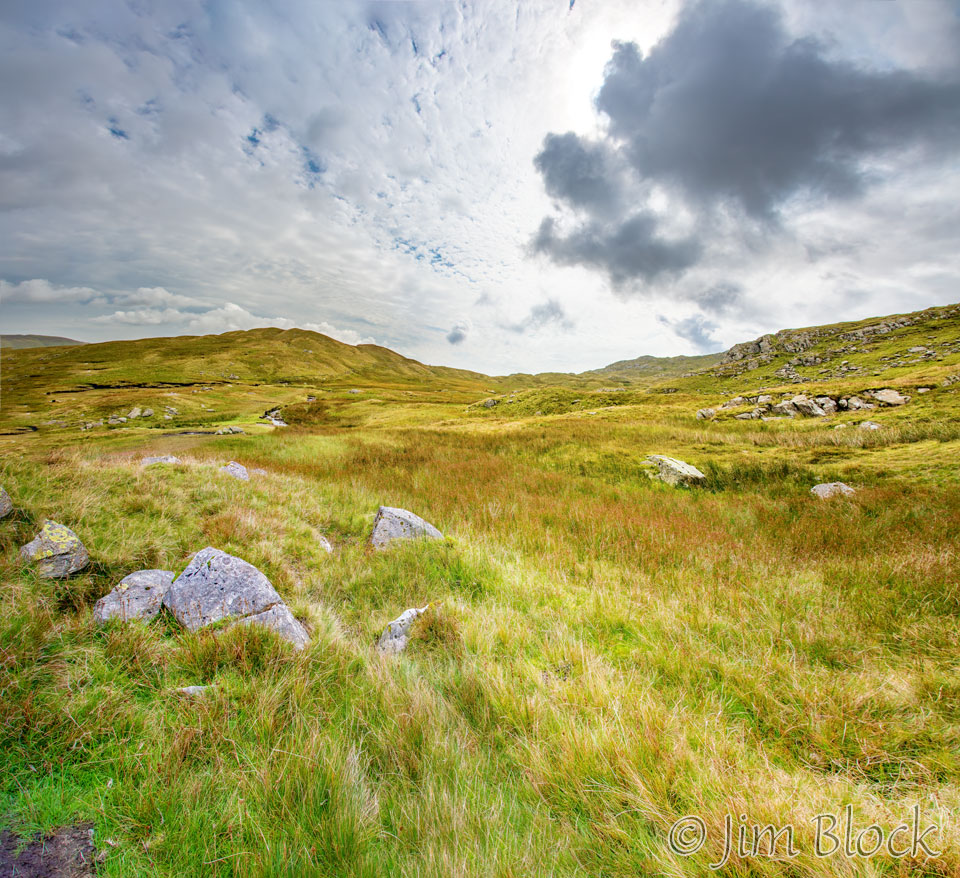
There was some early fog in the valley, and we got about the closest thing we had the whole trip to a nice sunrise.
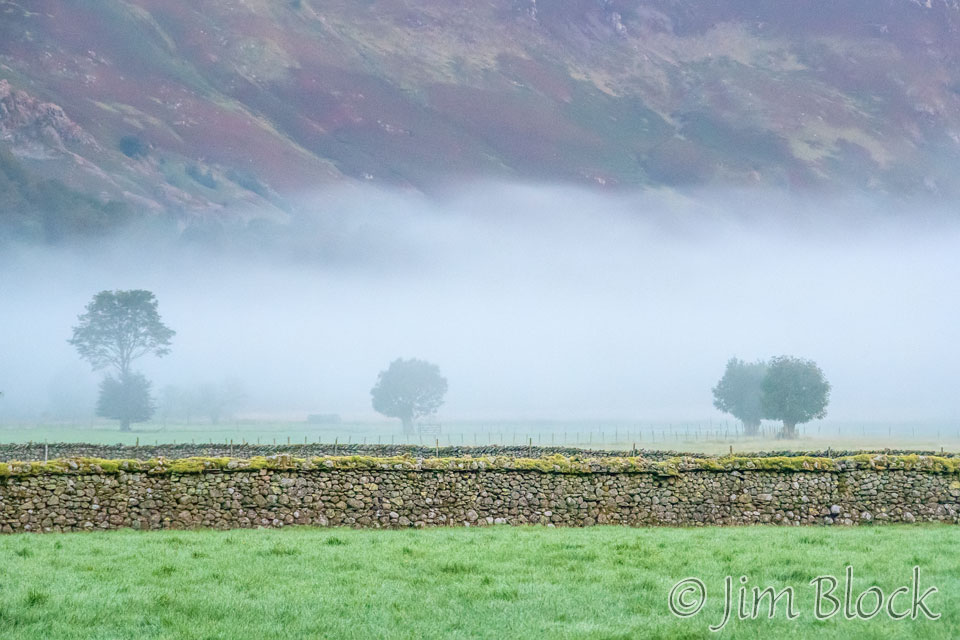
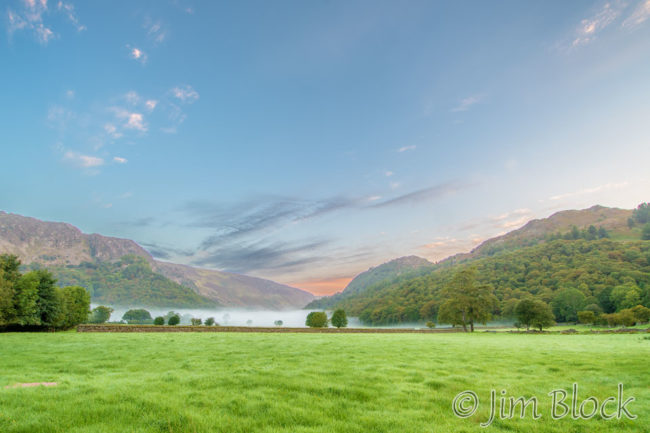
Here are some of the other photos I took the first hour of the day.


")
")
")
")

")


")
")


")


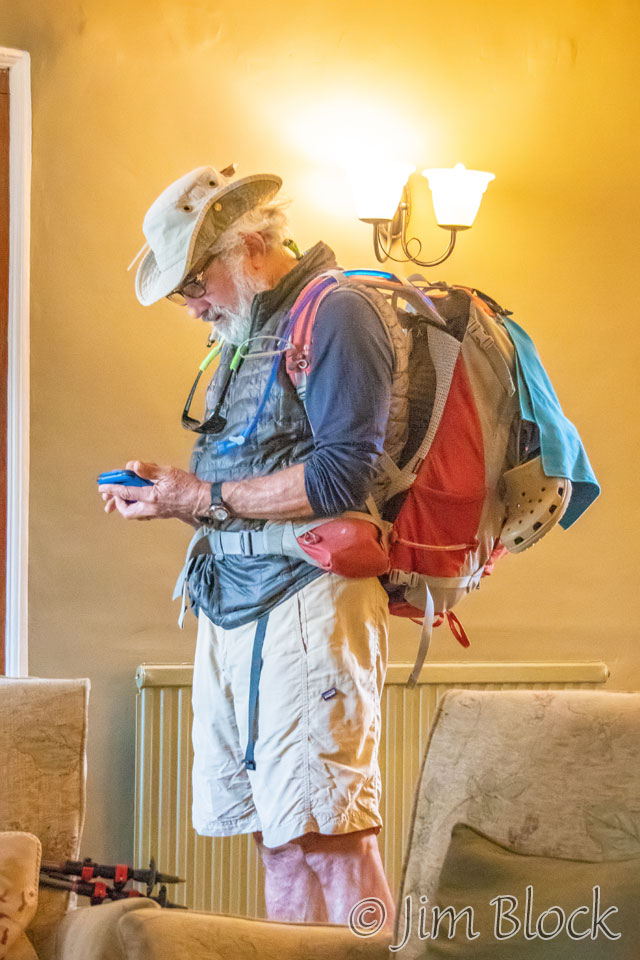
After breakfast, Jim checked his phone just before we left, and we were off. Our second turn was to the right as we approached the Hazel Bank Hotel.
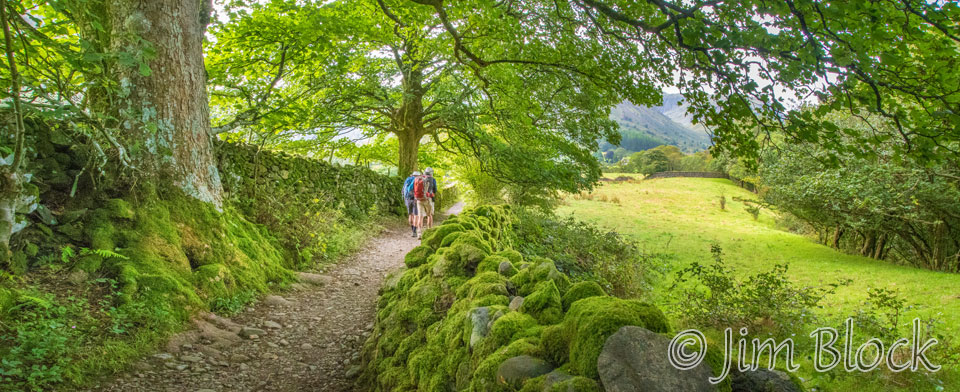
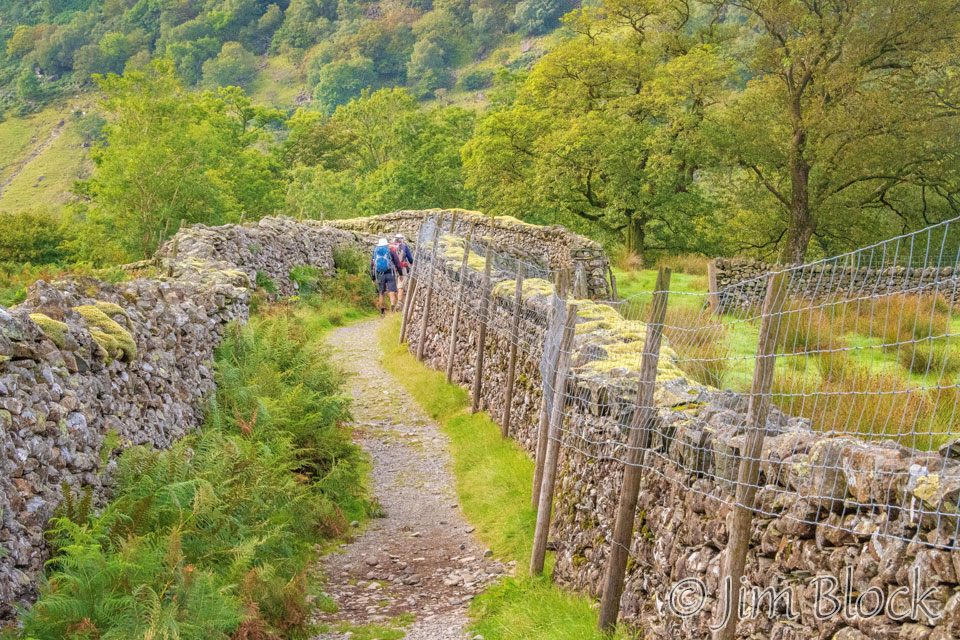
We had a lovely walk through a tree-covered lane with impressive stone walls.
Here are a few more photos that I took as we walked out of town.
")


")
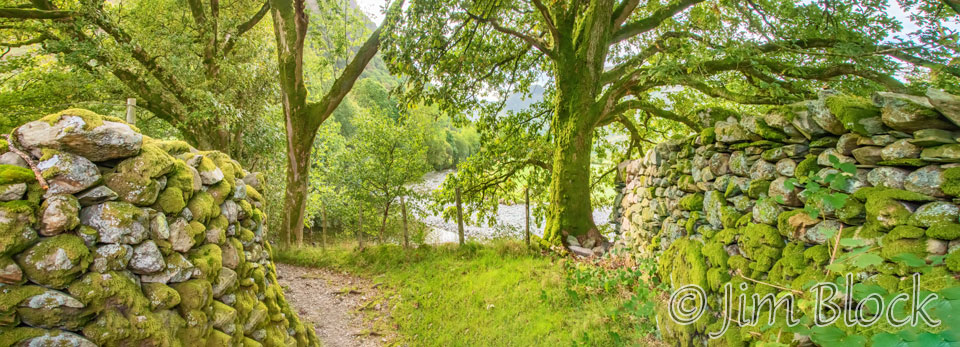
Only 15 minutes from our hotel, we reached a part of the path that had massive stone walls on either side.
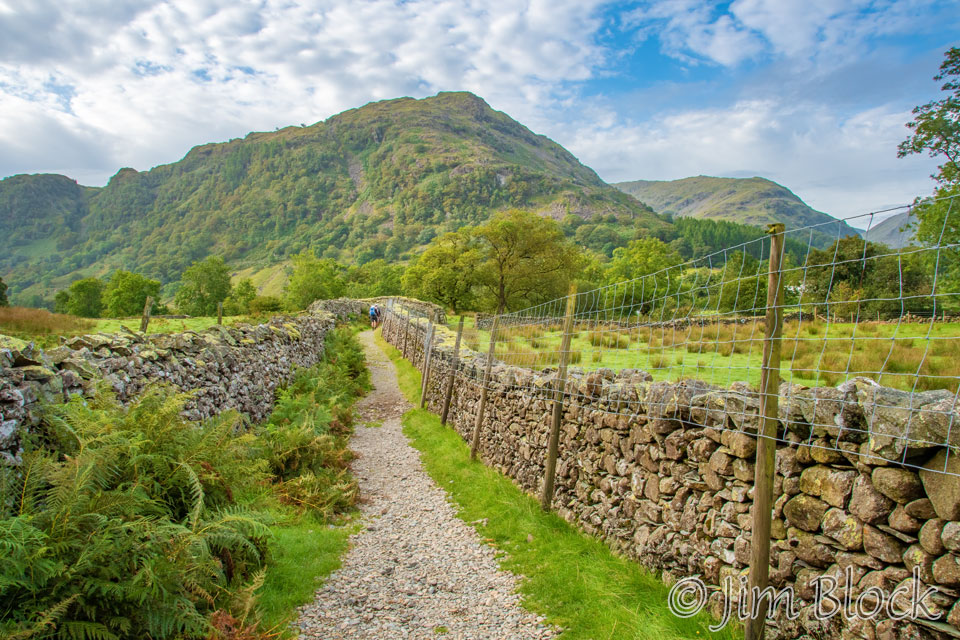
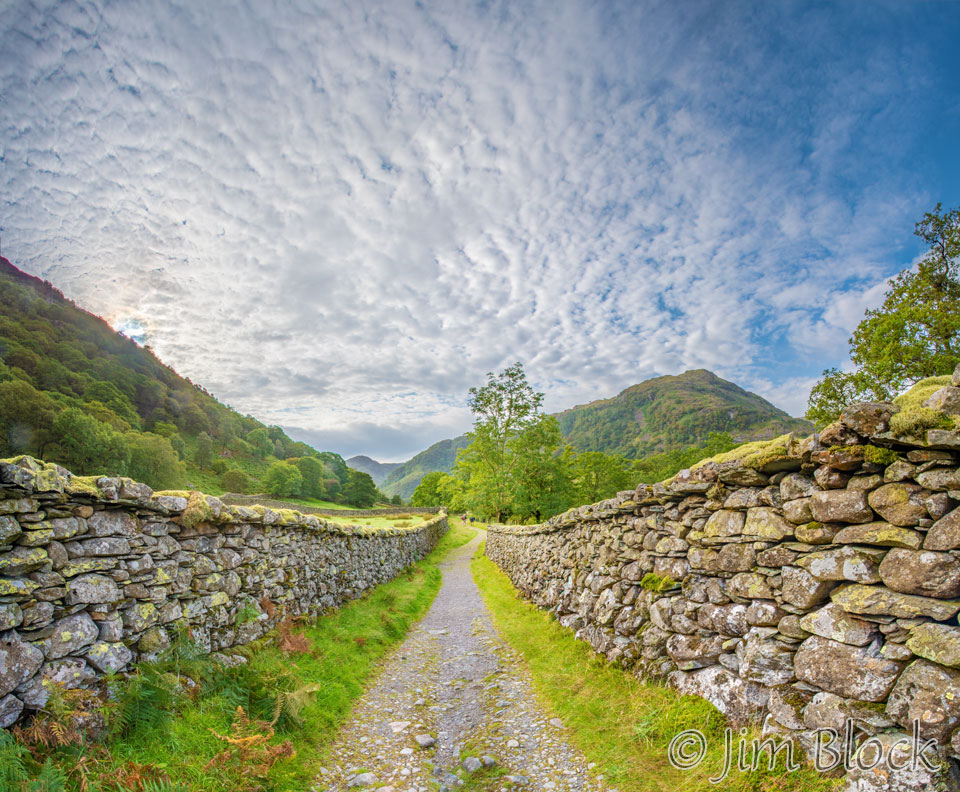
As we walked through the valley of the Stonethwaite Beck, we could see the distinctive shape of Eagle Crag in the distance. There were also some iridescent clouds around the sun.
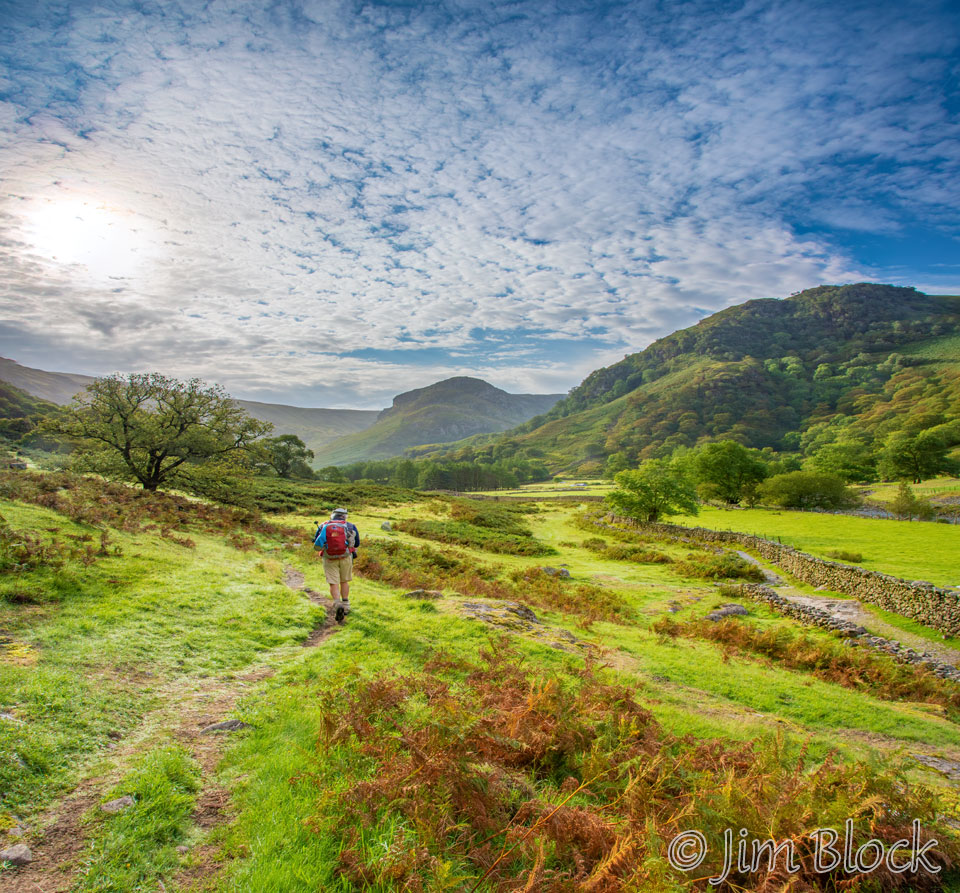
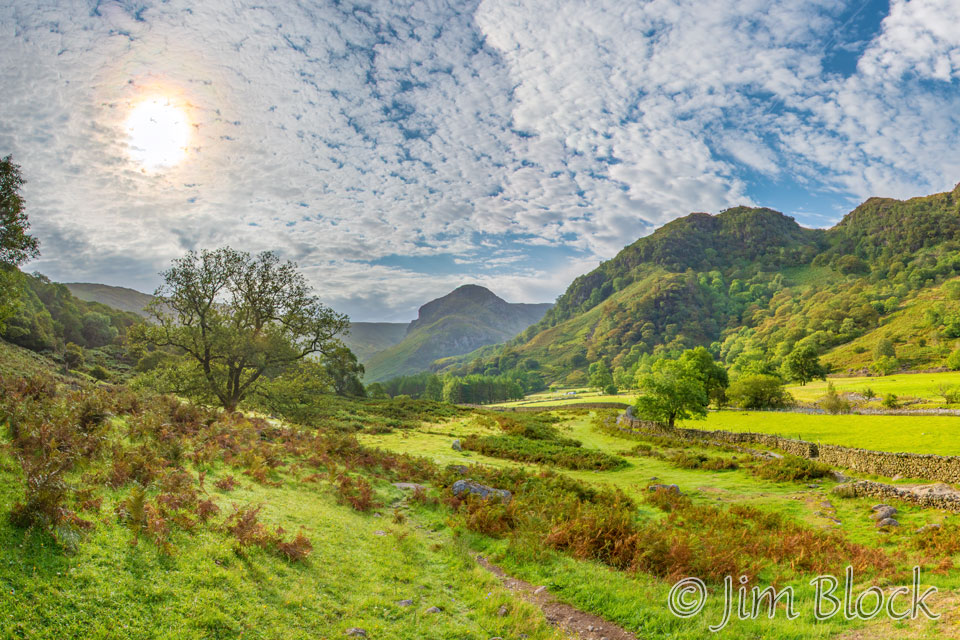
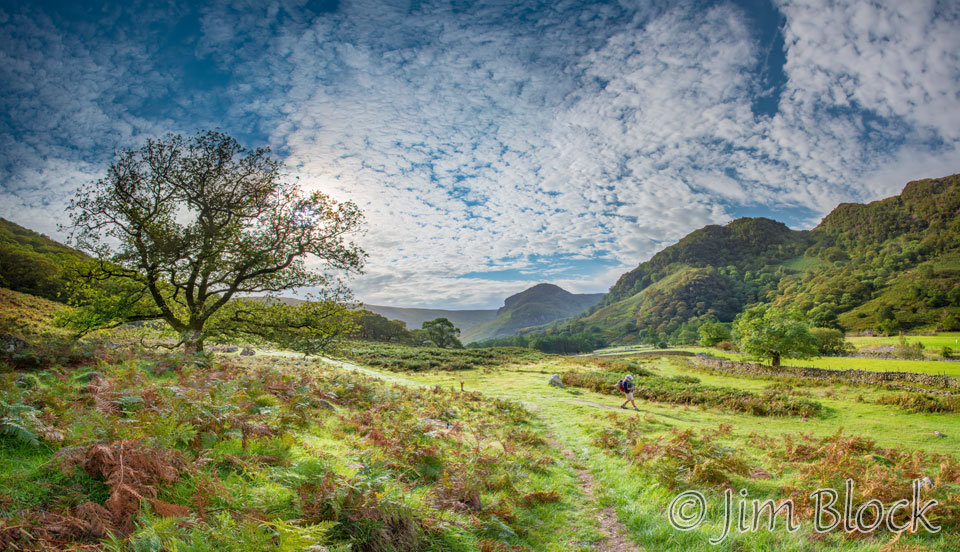
Soon we left the valley and began our long climb to Greenup Edge. The photo below shows Eagle Crag early in the climb. You can see the iridescent clouds were still present, as they were practically the entire day.
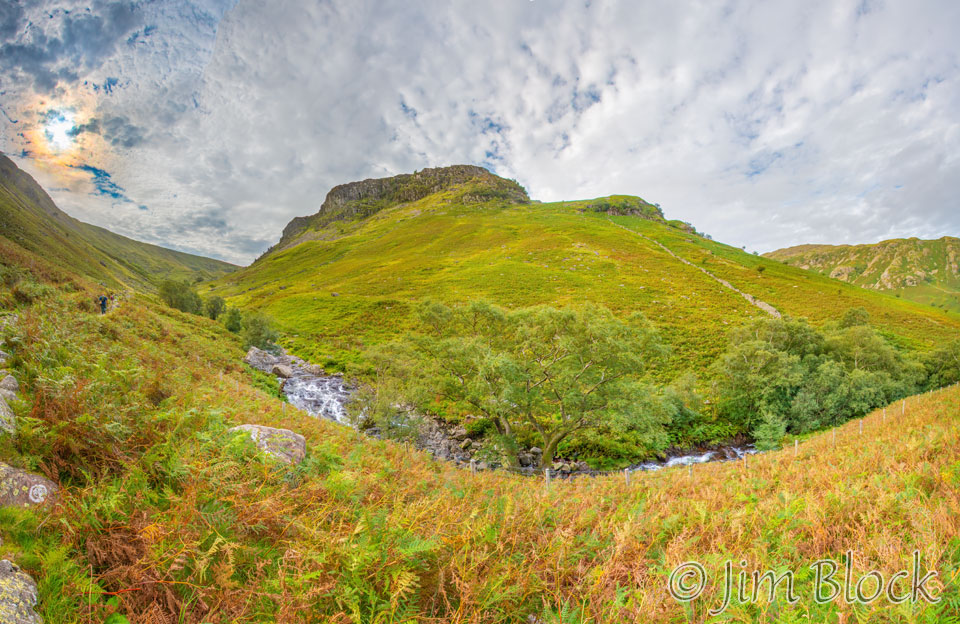
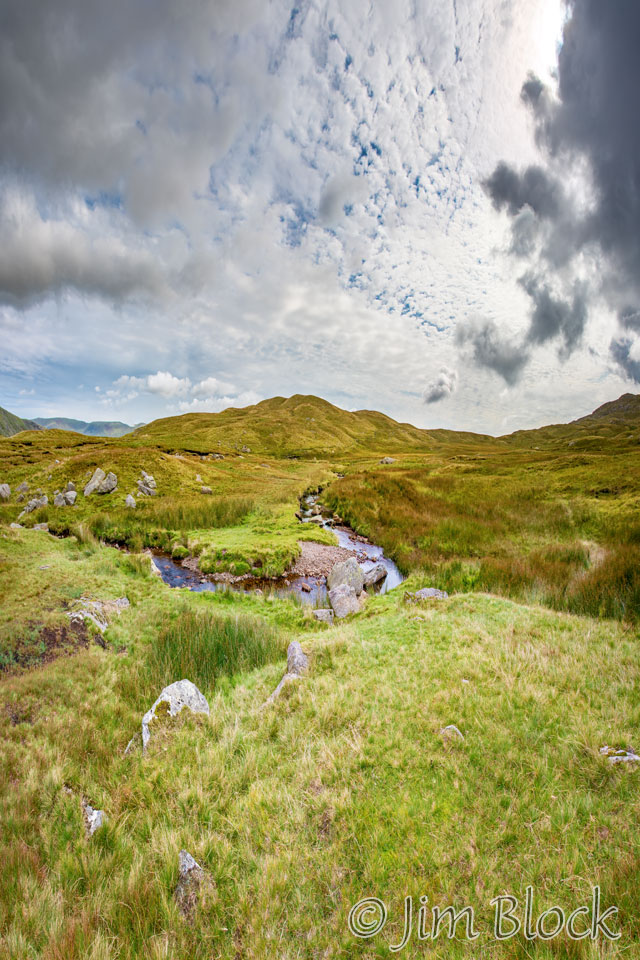
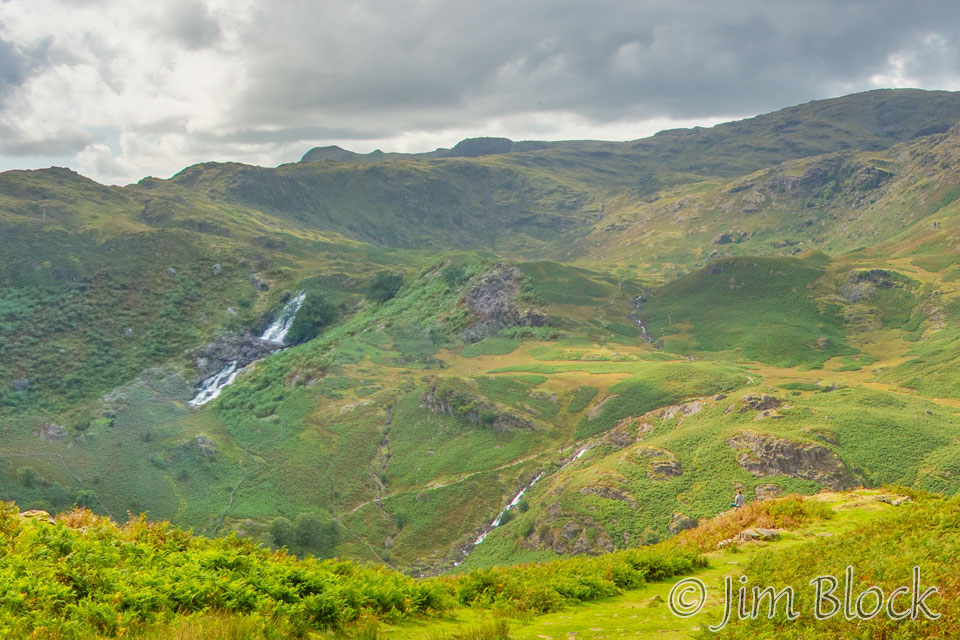
We passed numerous streams and waterfalls as we climbed up toward Lining Crag.


")
")

")
As we approached Lining Crag, I looked back and photographed where we had come from. Eagle Crag is on the left as seen in the photo below.
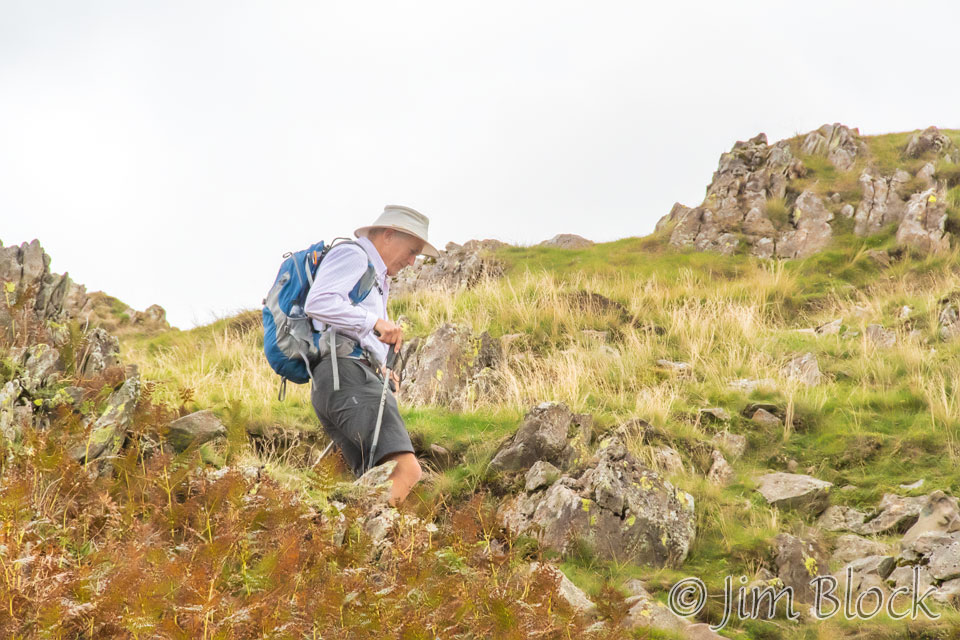
Here is a photo of Stephen as he climbed the trail to the left of Lining Crag. The steep west face of Lining Crag is reserved for serious climbers.
Climbing higher I took another photo looking back.
I made a few multi-image panoramas with my iPhone looking back from where we came. In the one below you can see Eagle Crag on the left. The mountains in the far distance to the top right are named Skiddaw.
Below is another iPhone photo I made from near Greenup Edge looking back. In this a four-photo panorama, Eagle Crag is on the right side and the Greenup Gill valley we hiked up is to its right. At the top right of the image is Skiddaw.
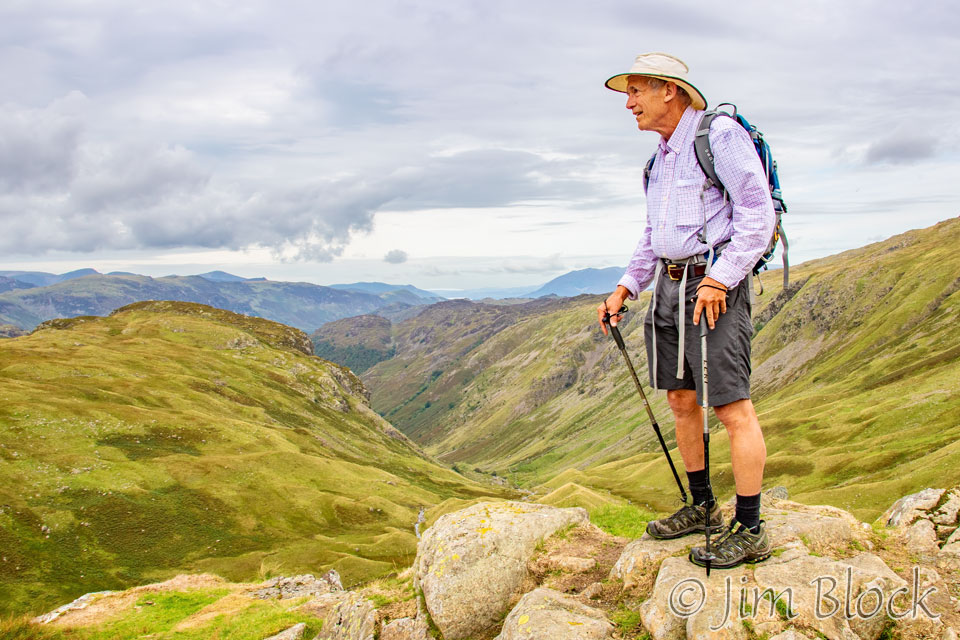
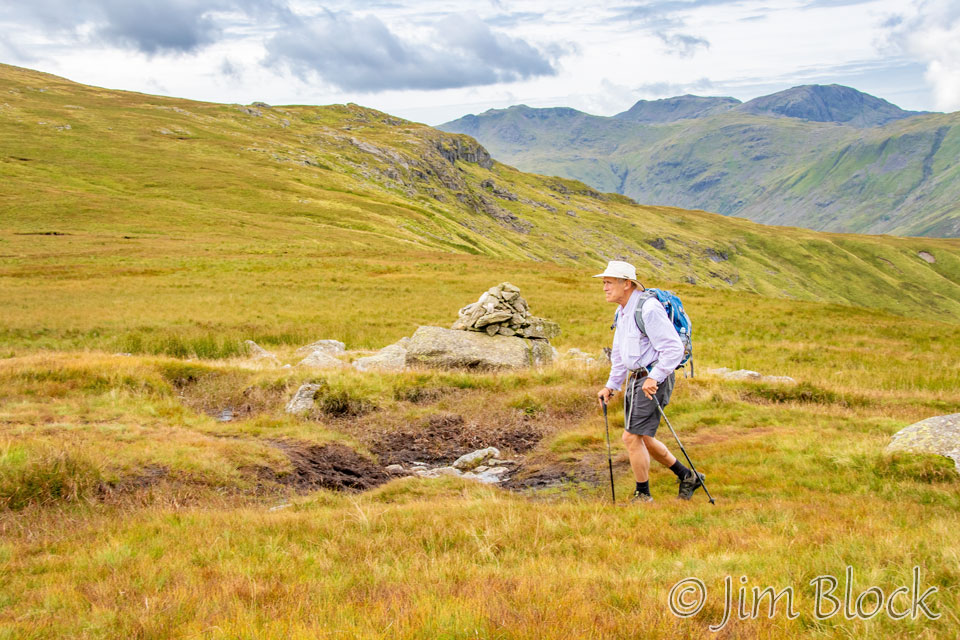
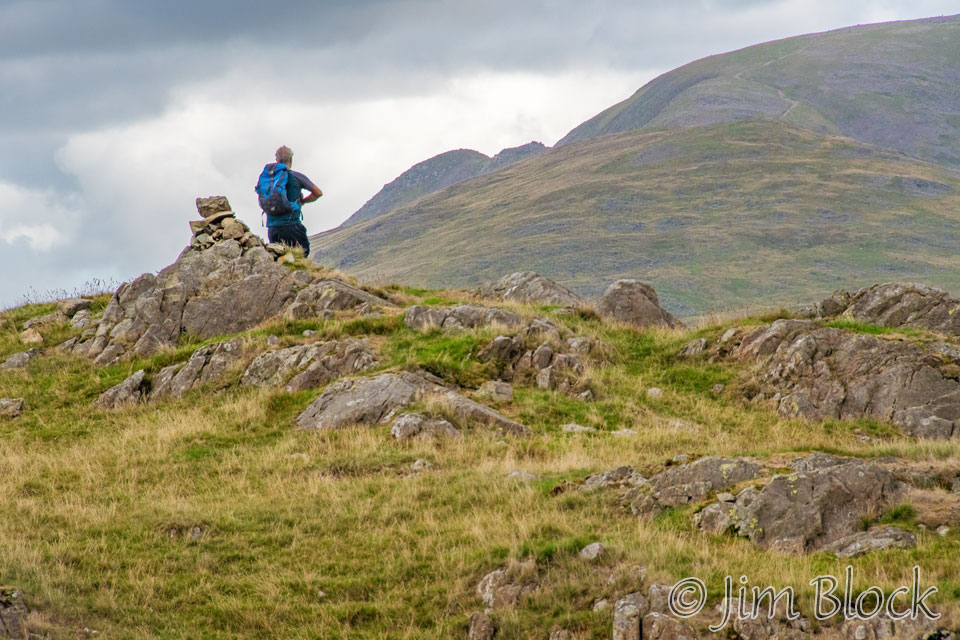
Stephen paused to survey the scene when we neared Greenup Edge. You can see Eagle Crag in the background. Jim was a bit of ahead of us at this point, but the three of us walked together for most of the day.
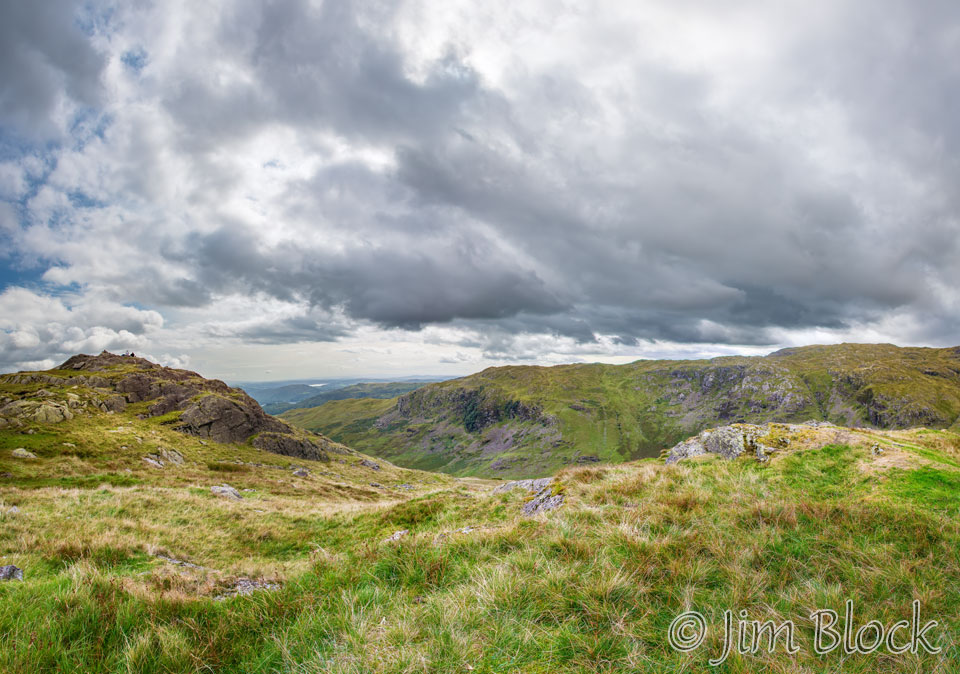
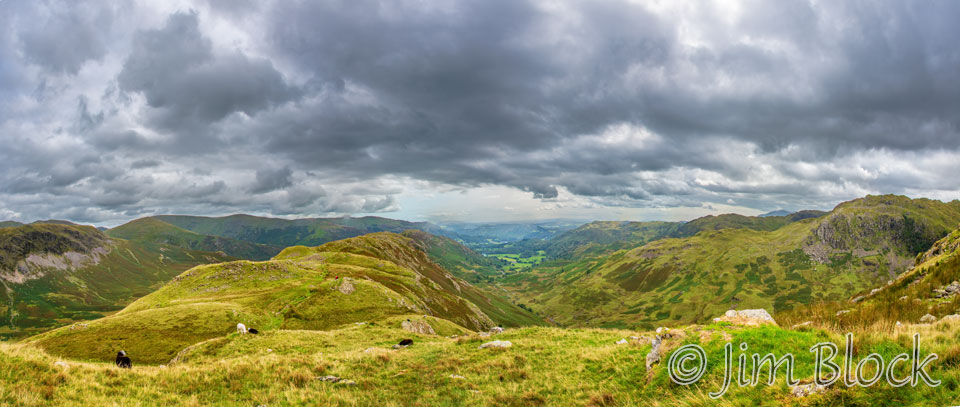
Below is a panoramic view looking northwest from Greenup Edge. On the right side of this image is Eagle Crag directly below Grisedale Pike. The Greenup Gill valley we came up is just to the right of it. The numbers are altitudes in feet.
-crop")
-WITH-LABELS-crop")
Below is a four-photo iPhone panorama from Greenup Edge.
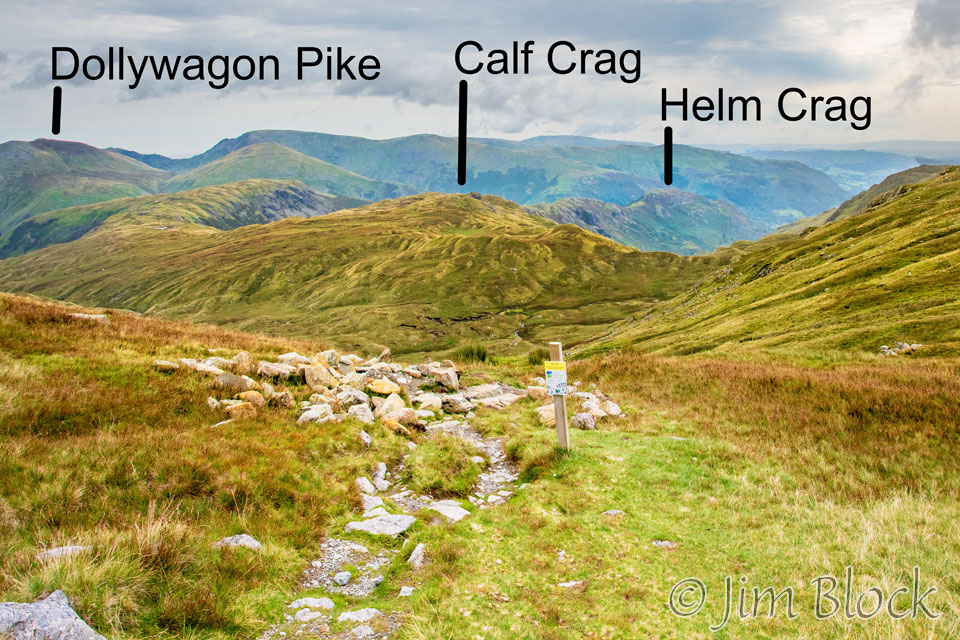
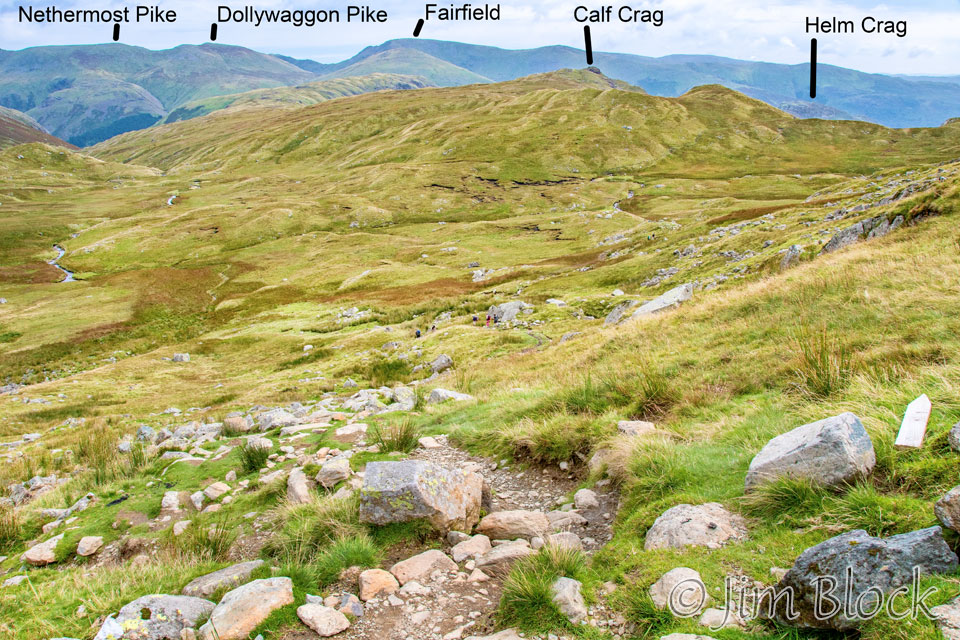
We crossed Greenup Edge and started downhill. In the second photo below you can see a sign and a pile of rocks where trail construction was happening. I have also labeled the two peaks we would cross today on our high alternate route, Calf Crag and Helm Crag. You can see the unlabeled Gibson Knott between them. The next day we would take another high route and cross Dollywagon Pike.
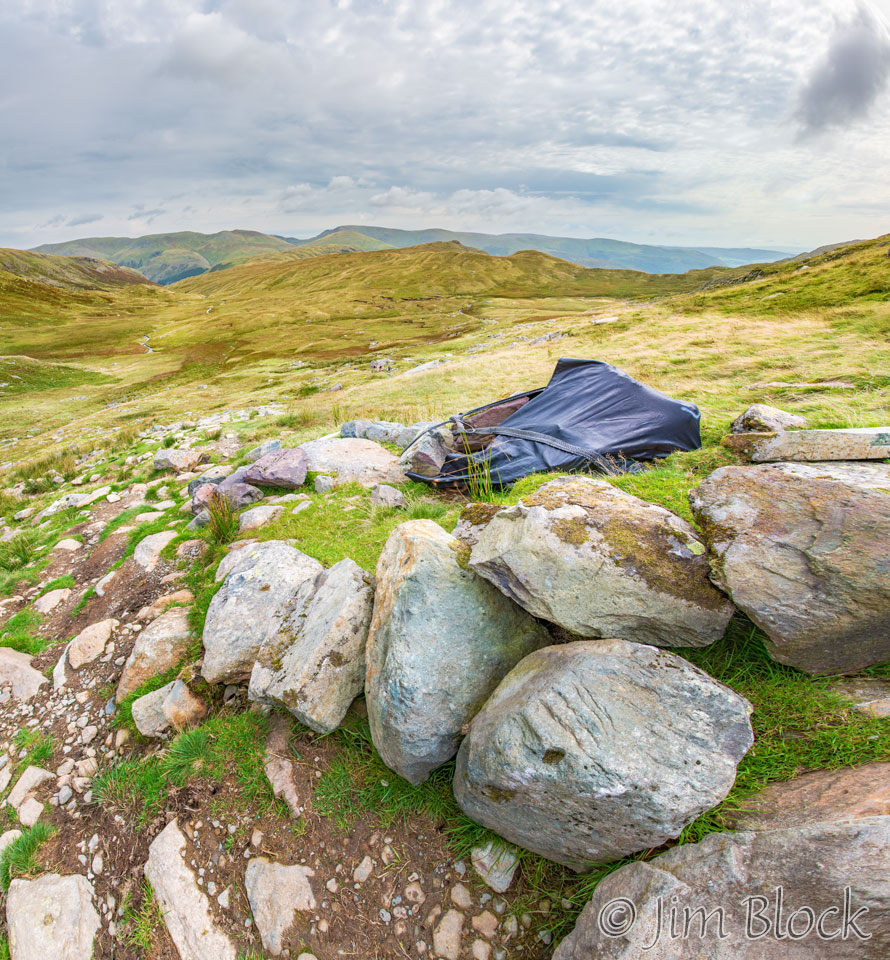
As can be seen from the black bag below, the rocks for the trail construction were dropped by helicopter.
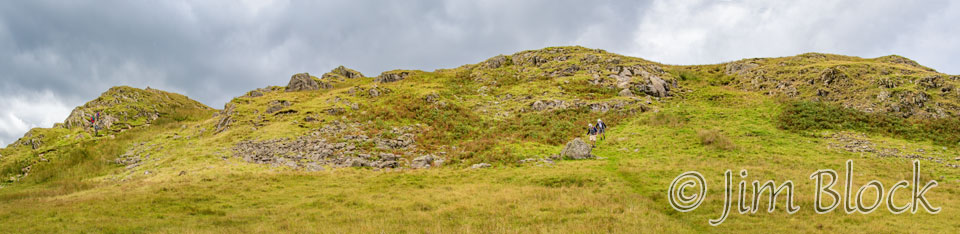
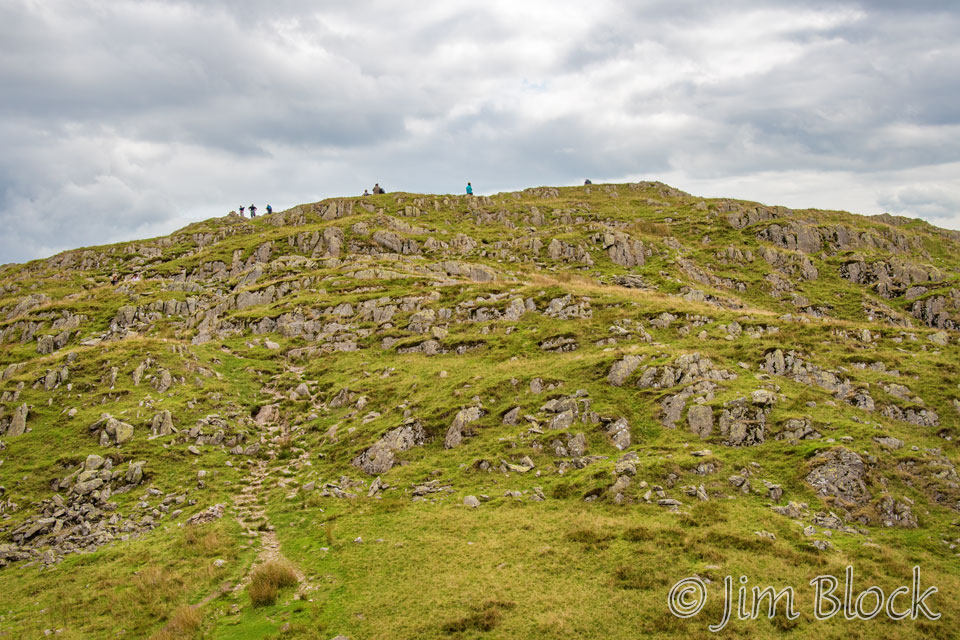
Below is another labeled image. You might be able to spot hikers near the middle of this photo. This day we would cross Calf Crag and walk over Gibson Knott to Helm Crag. The next day we would hike through a valley to the left of Fairfield to a high lake and then take another alternate high route crossing Dollywagon Pike, High Crag, Nethermost Pike, and finally Helvellyn before crossing the amazing Striding Edge.
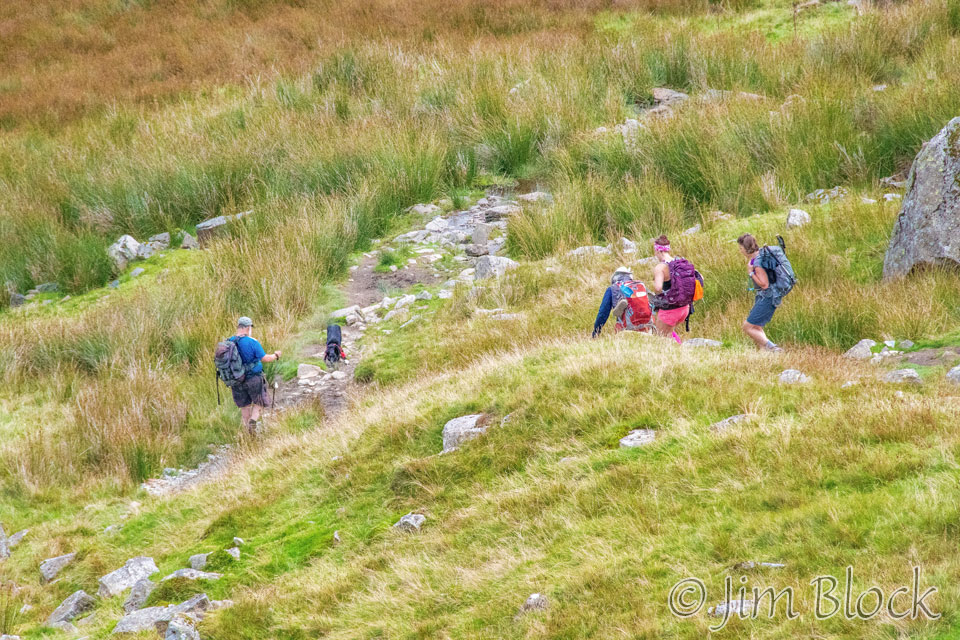
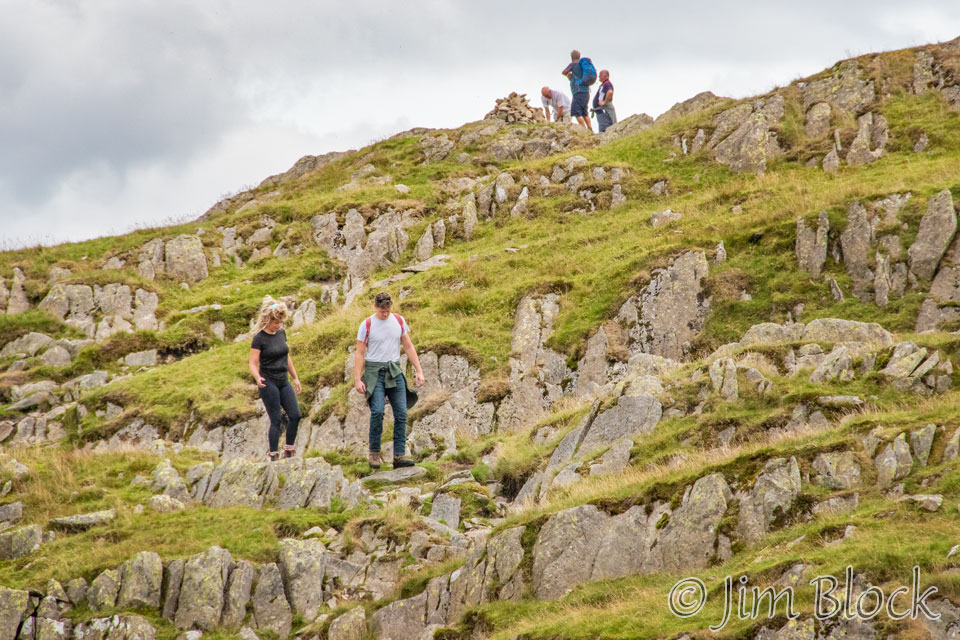
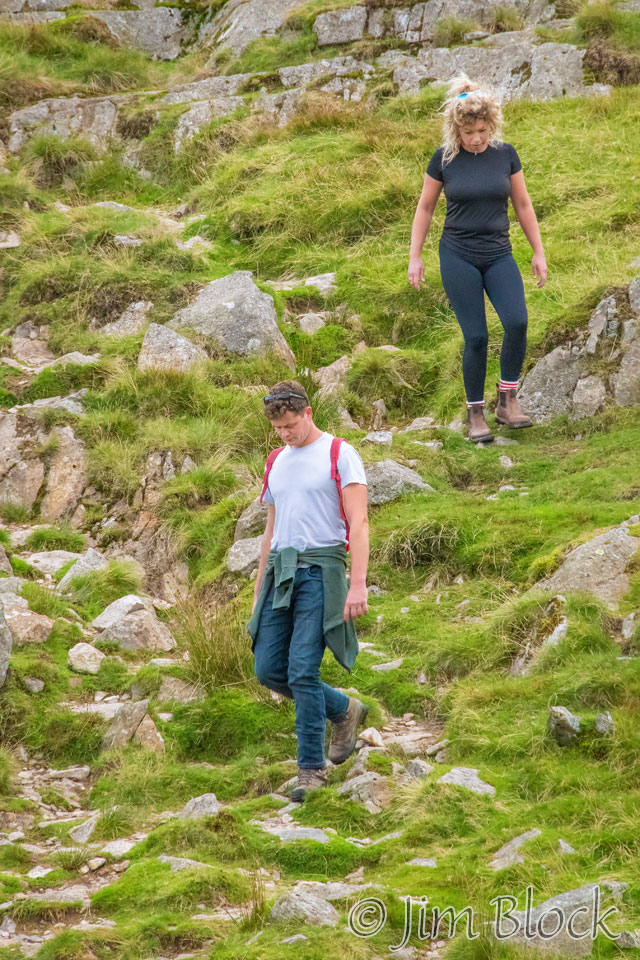
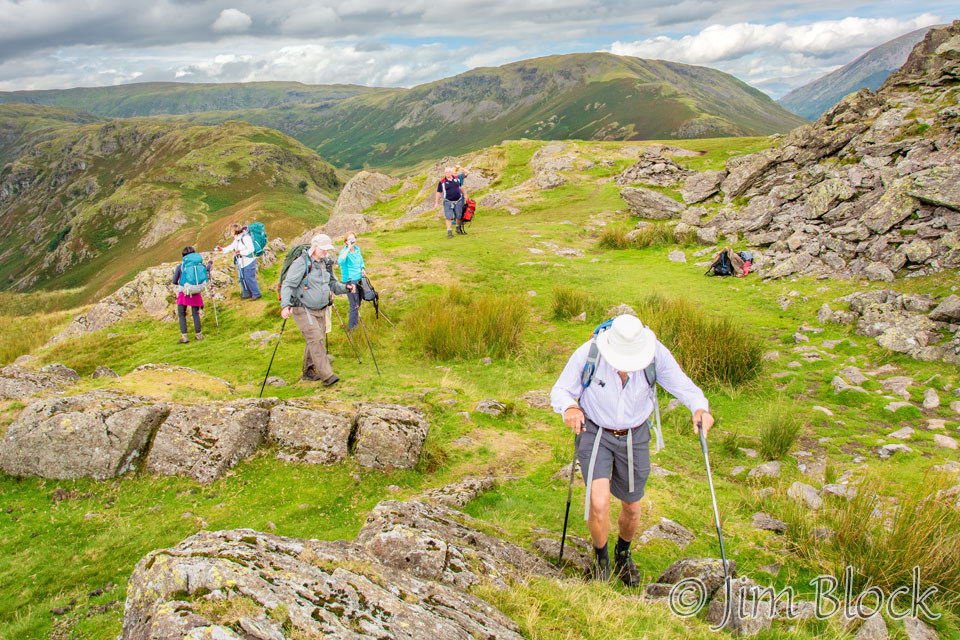
Here are some additional photos showing hikers on the path ahead. In the top image, the three on the right are Jim, Paige, and Kim. There is also a hiker with a dog.

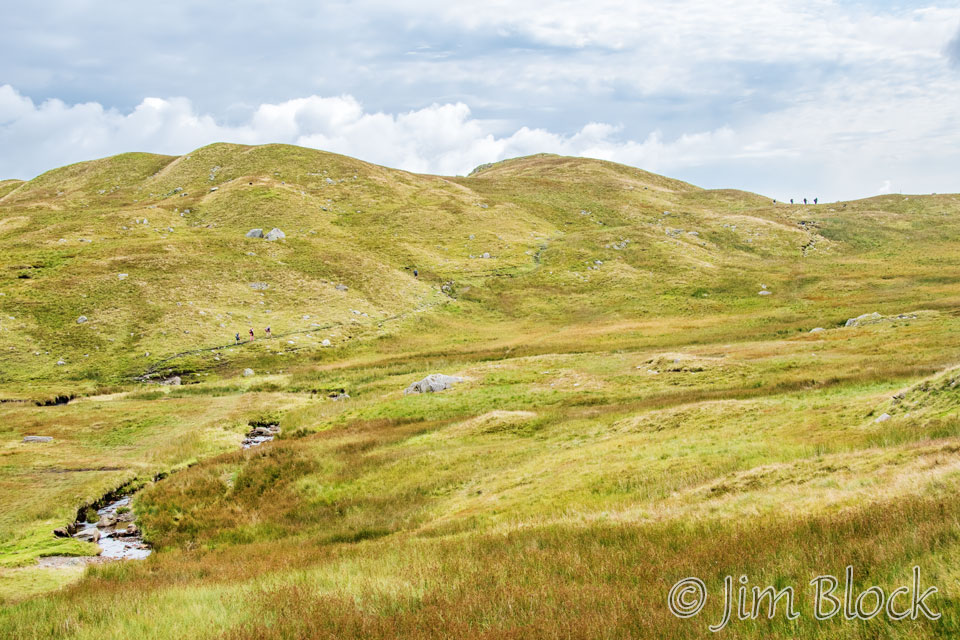
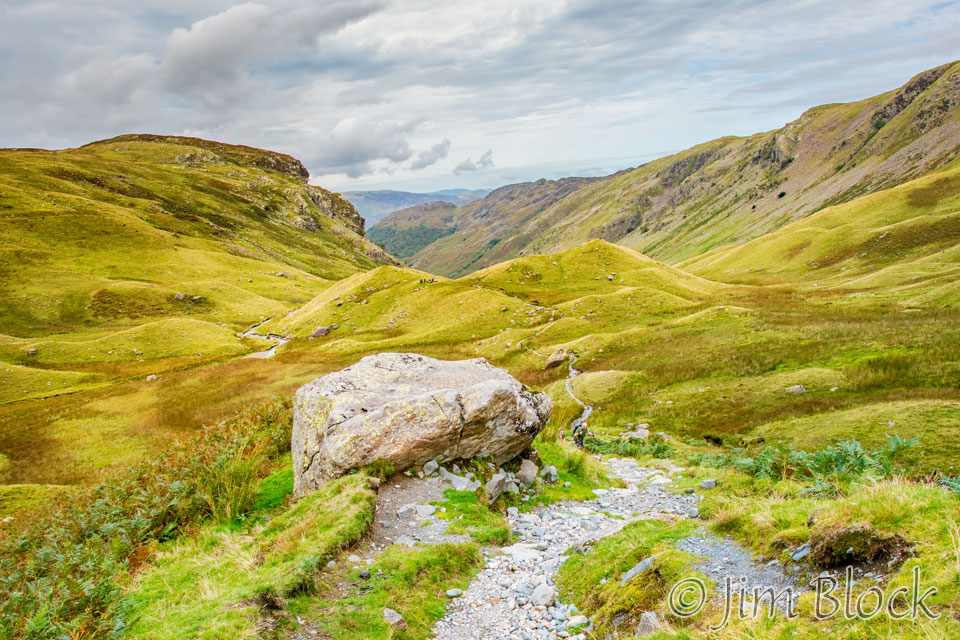
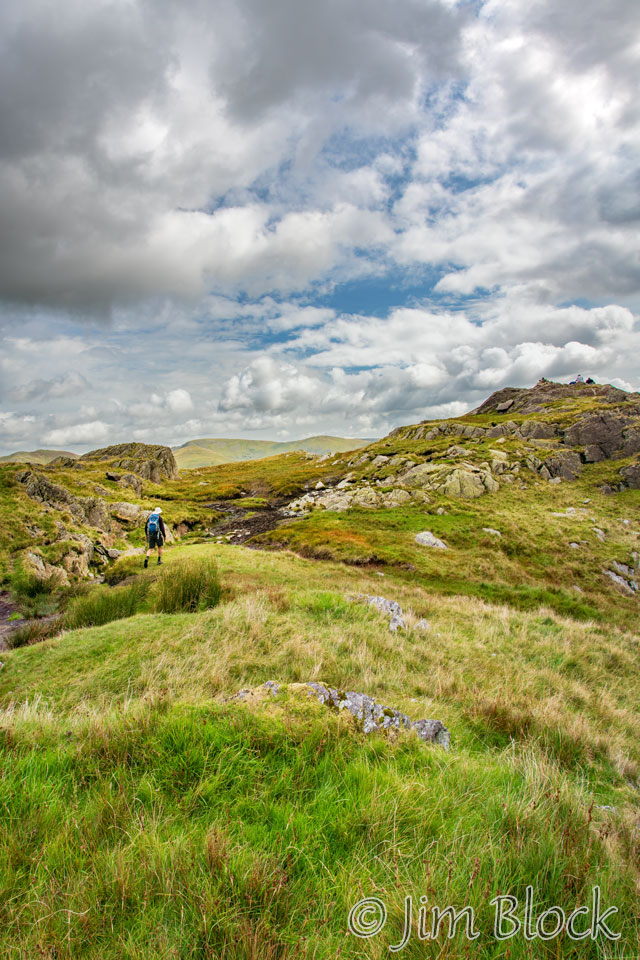
We still had some distance to go before we got to the junction of two trails. The standard C2C route goes directly down through the valley. Our alternative route took us up and down and up and down over three high peaks.
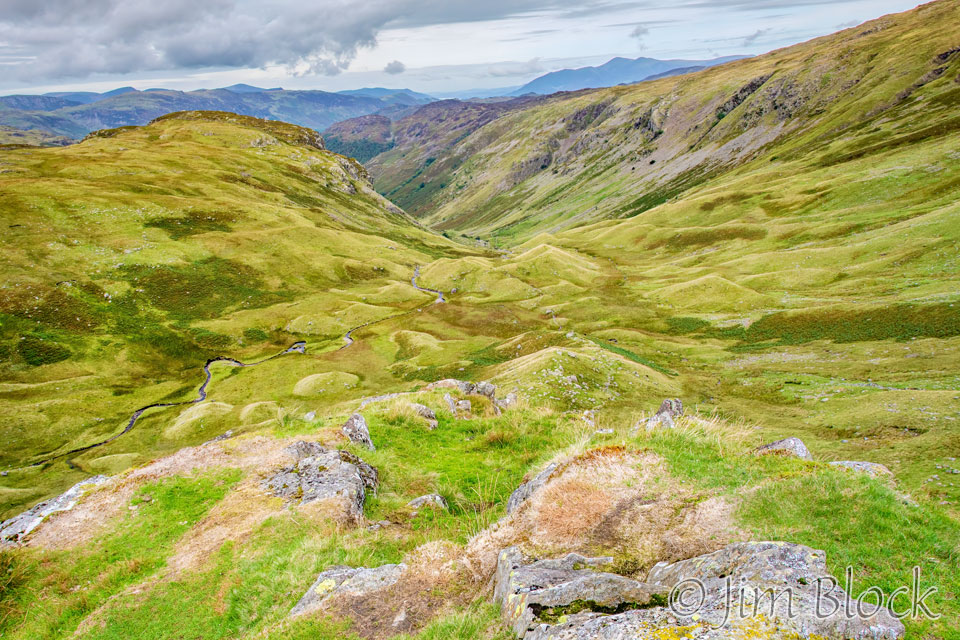
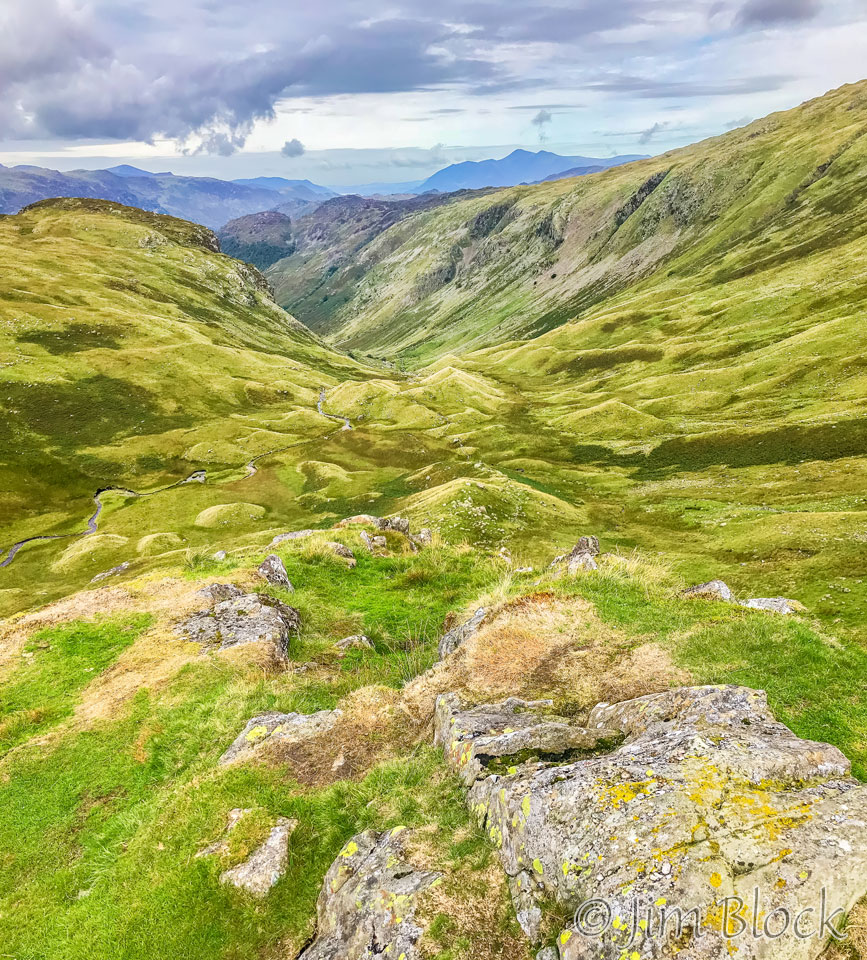
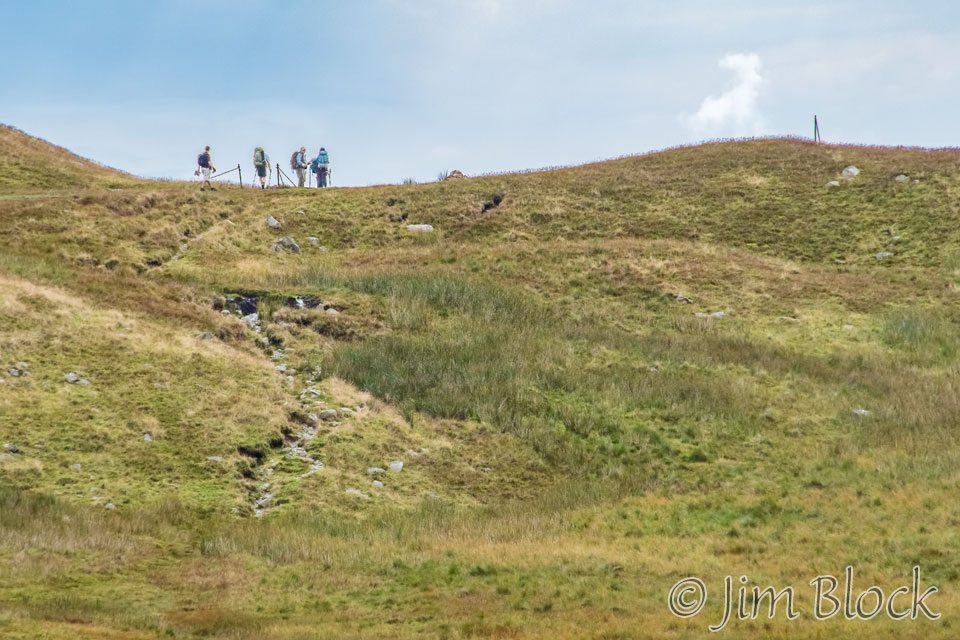
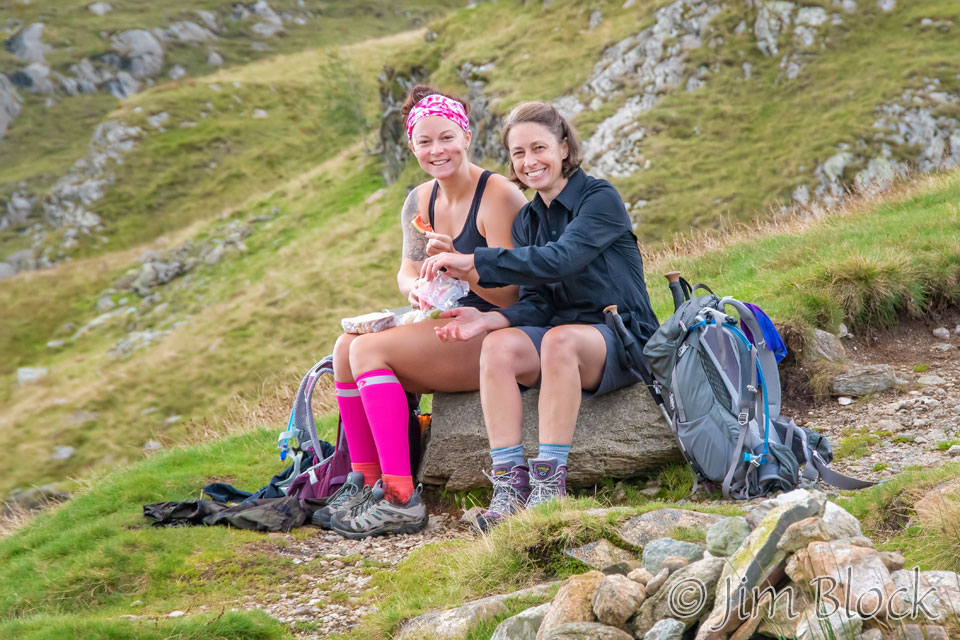
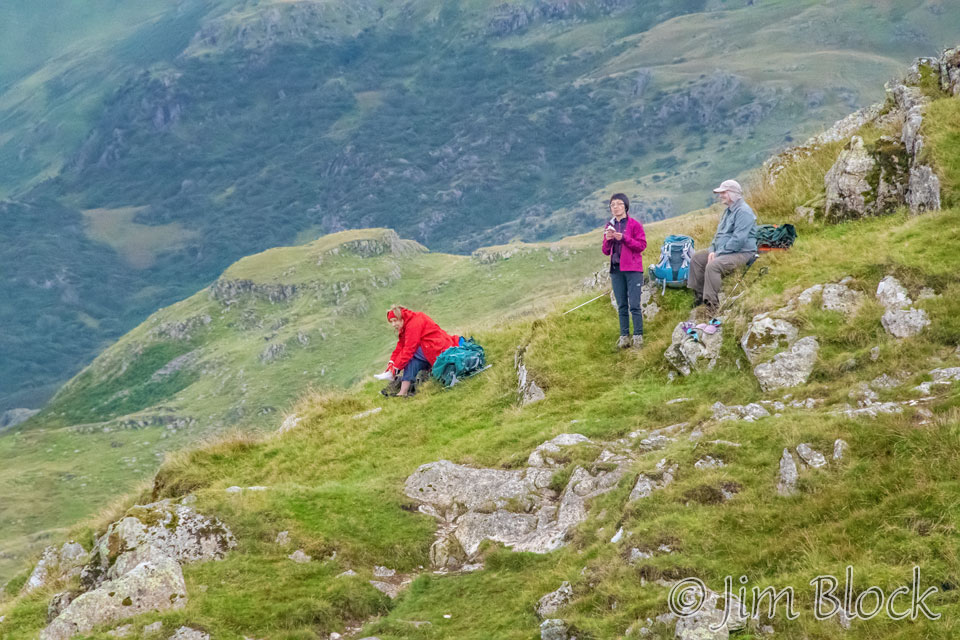
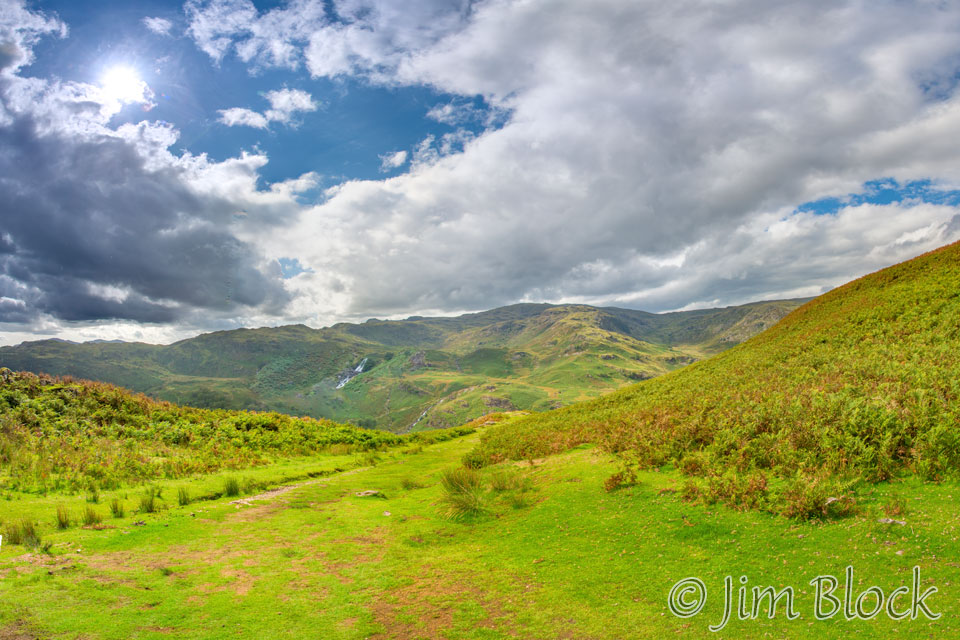
Around noon, we paused briefly with Paige and Kim. They chose to hike downhill from here through the valley, while we climbed higher and took the high route to the left of the valley.
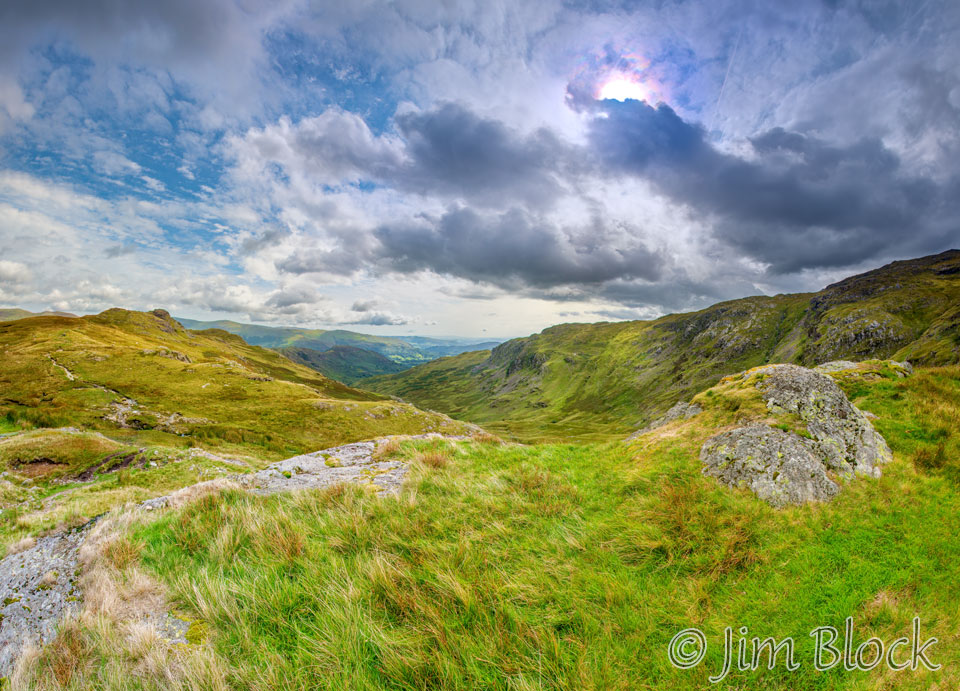
In the photo on the left below, you can see the path leading down through the valley and, to its left, an alternate path that climbs around the nearby hill and then up to Calf Crag. The photo below right shows that the cloud iridescence continued. This is the path down into the valley.

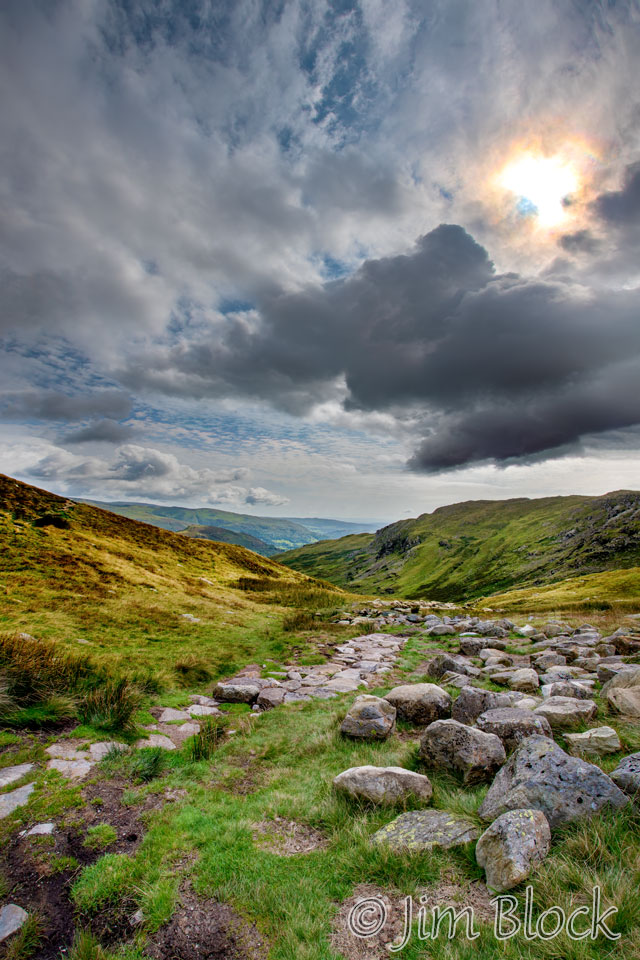
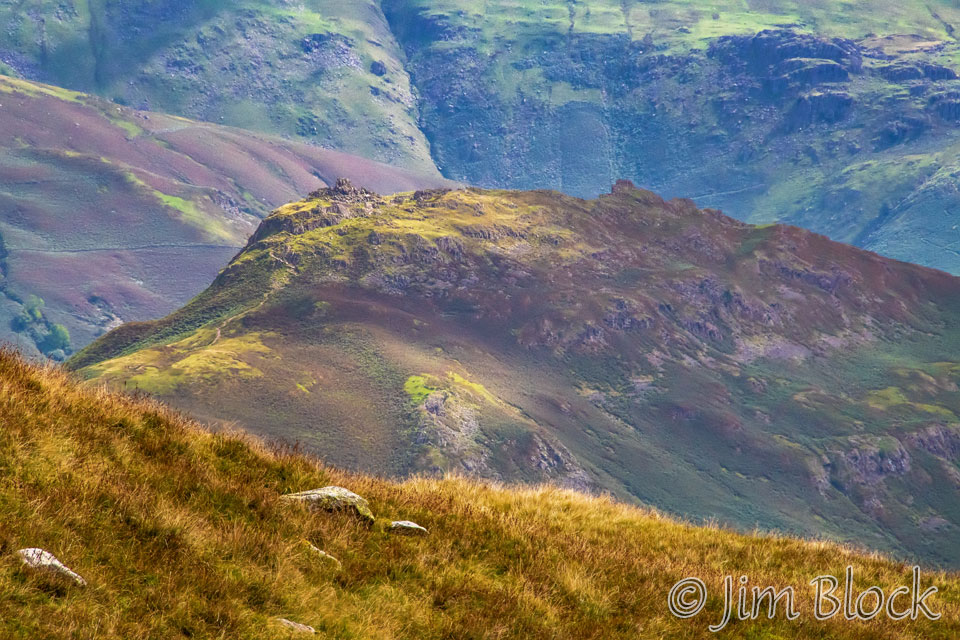
Fifteen seconds after I made the photo on the right above, I zoomed in to the left center of the photo to get a shot of Helm Crag with dramatic light.
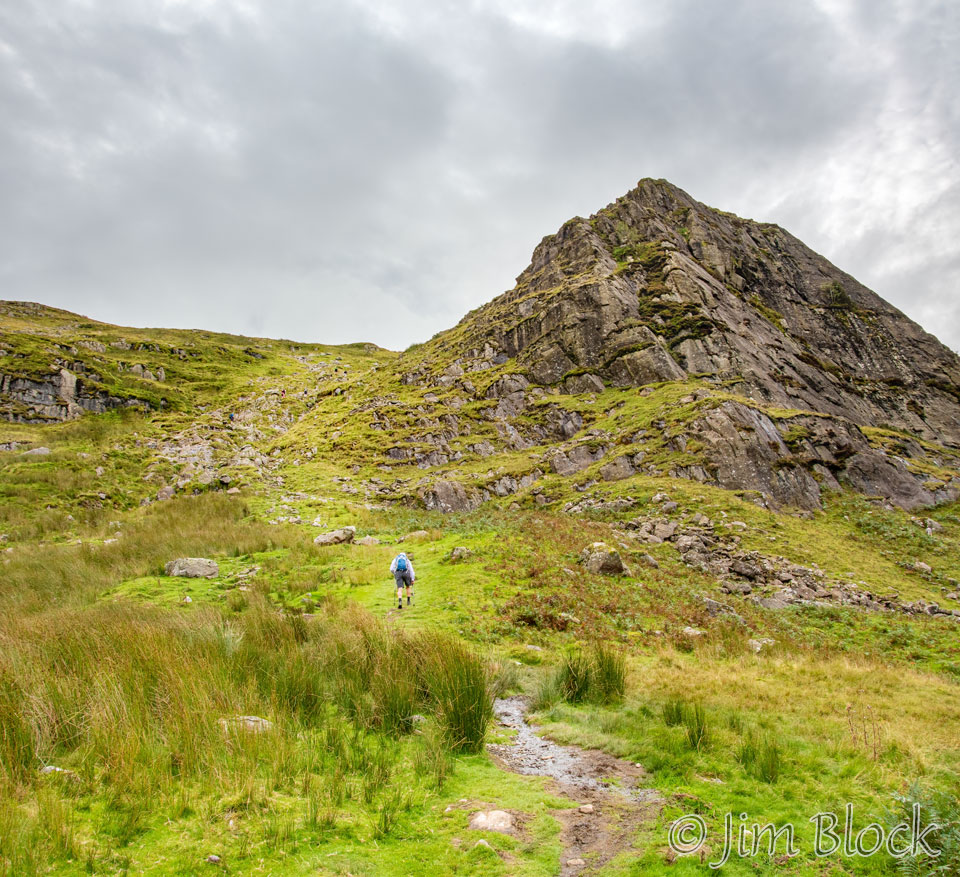
We reached a point where Calf Crag came into view.
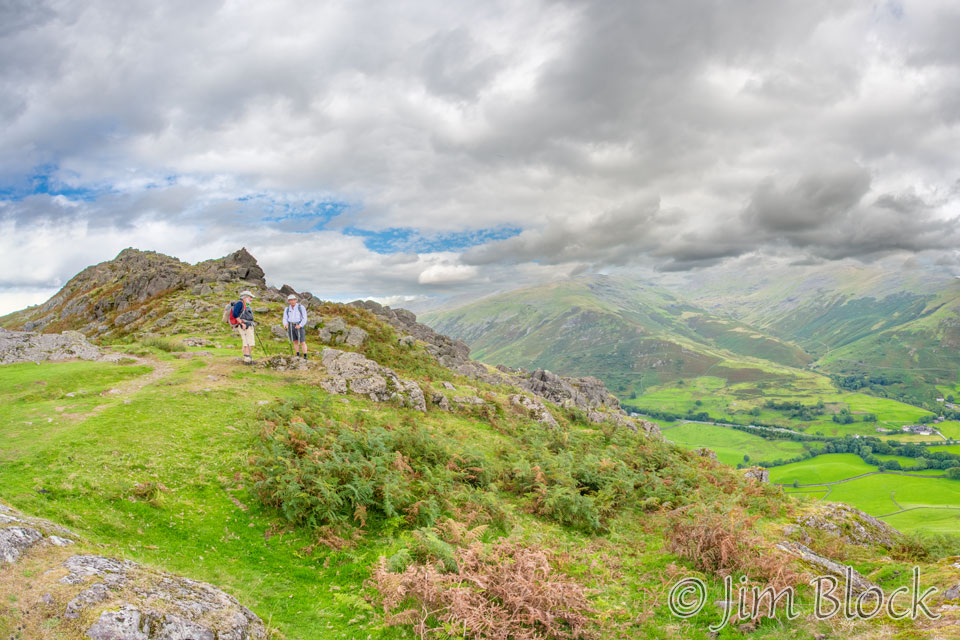
In the eight-photo panorama below, Calf Crag, Gibson Knott, and Helm Crag stretch out to the right of Stephen.
Below is a photo of Stephen photographing Calf Crag.

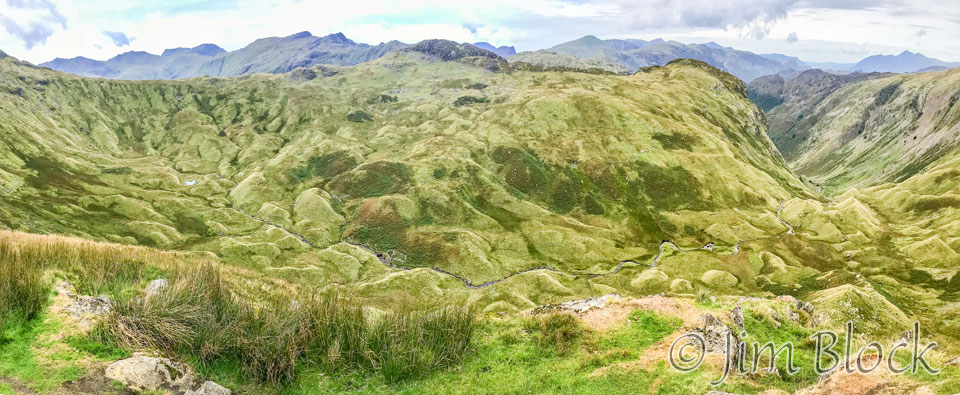
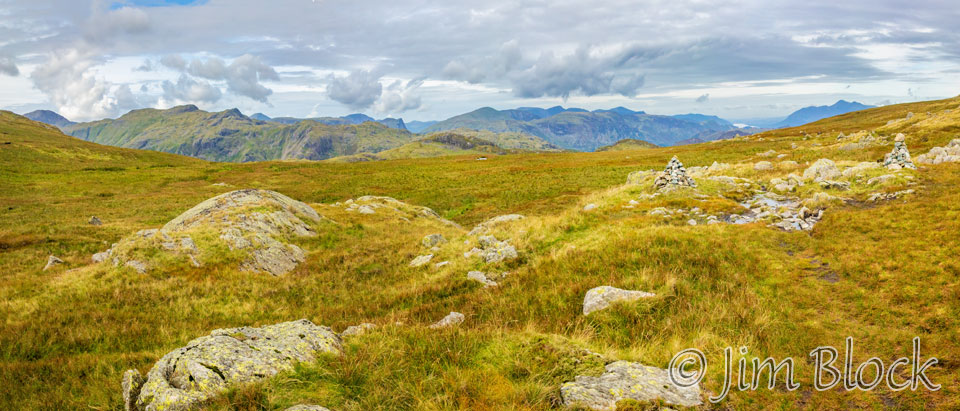
The 19-photo panorama below shows Calf Crag at the top left and, to its right, Helm Crag. The Easedale valley heading down to Grasmere is in the center of the photo.
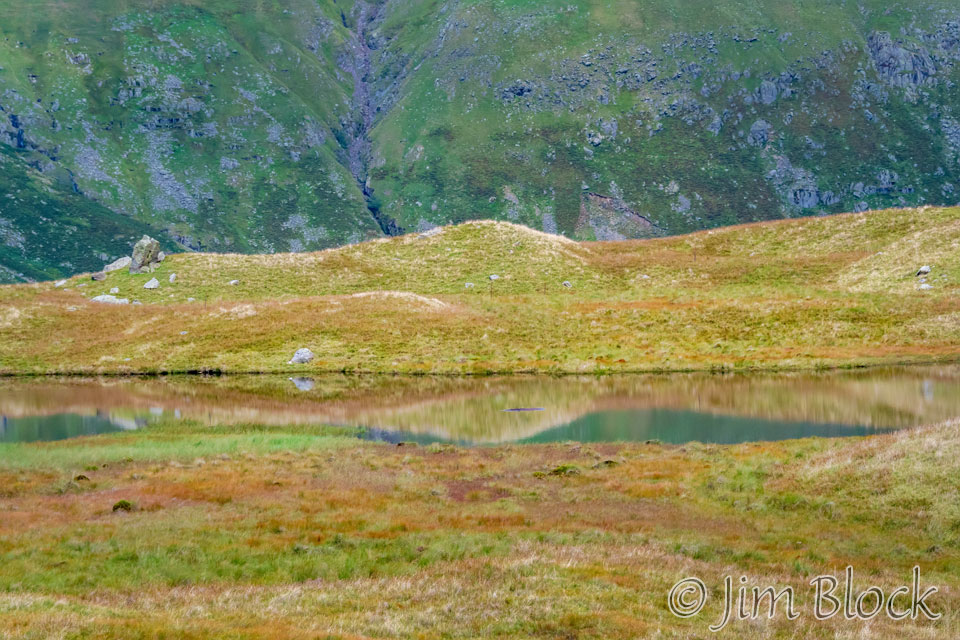
We approached Brownrigg Moss. Here are two photos of it taken from different directions as we walked past.
The photos below show us approaching Calf Crag.
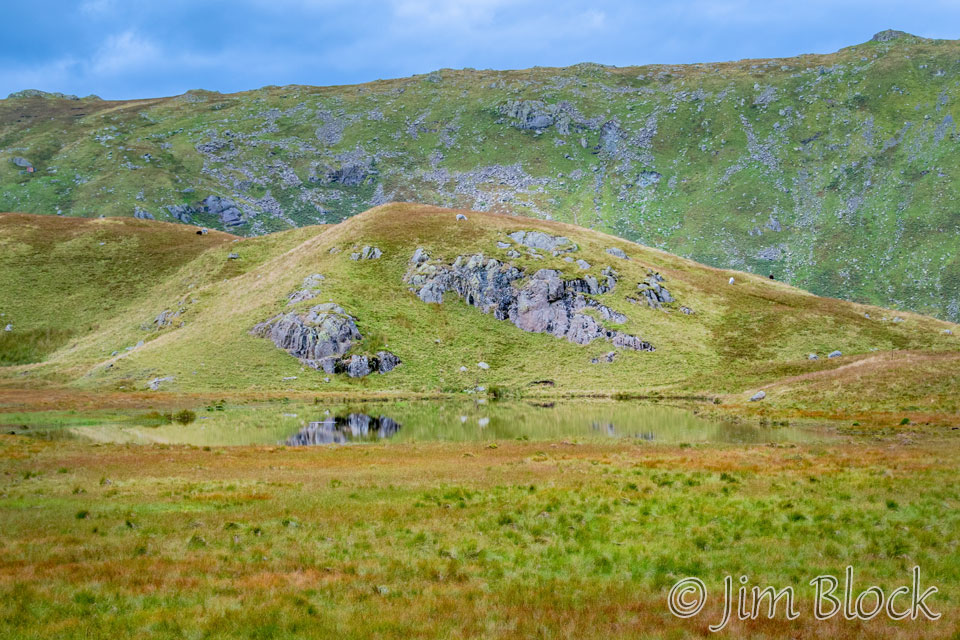
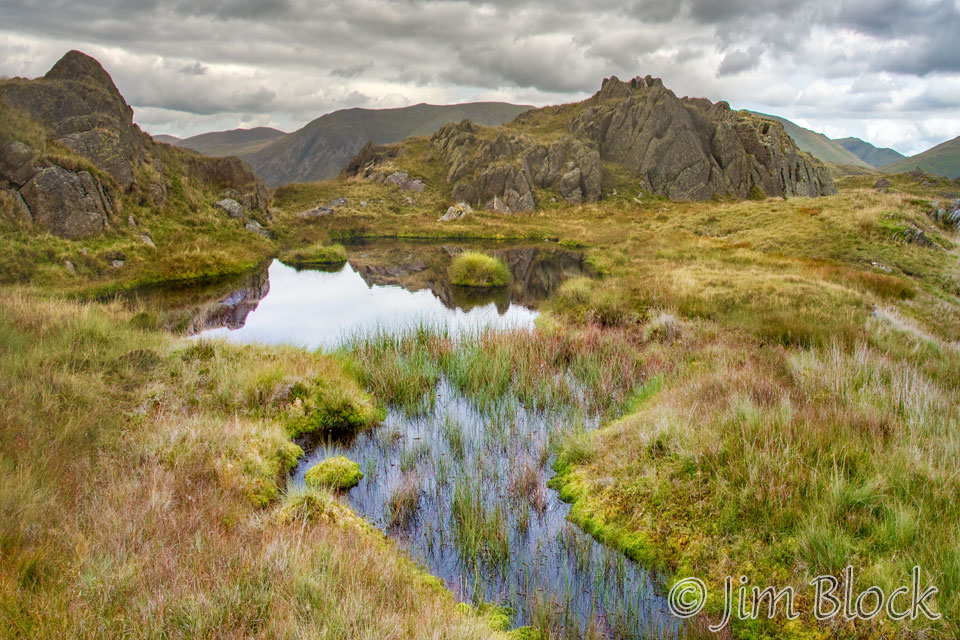
There were some interesting features in the vicinity of Calf Crag.
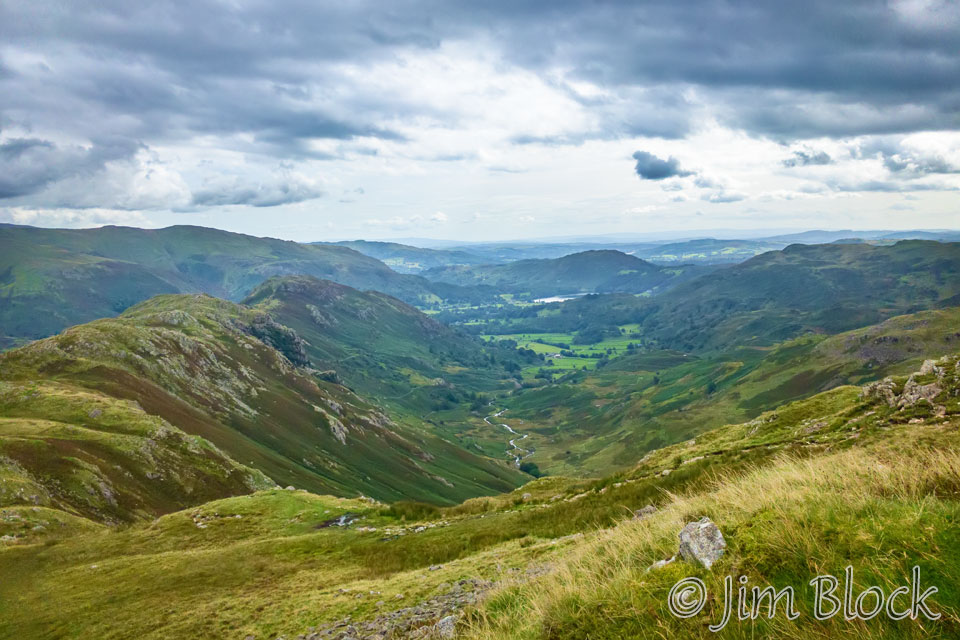
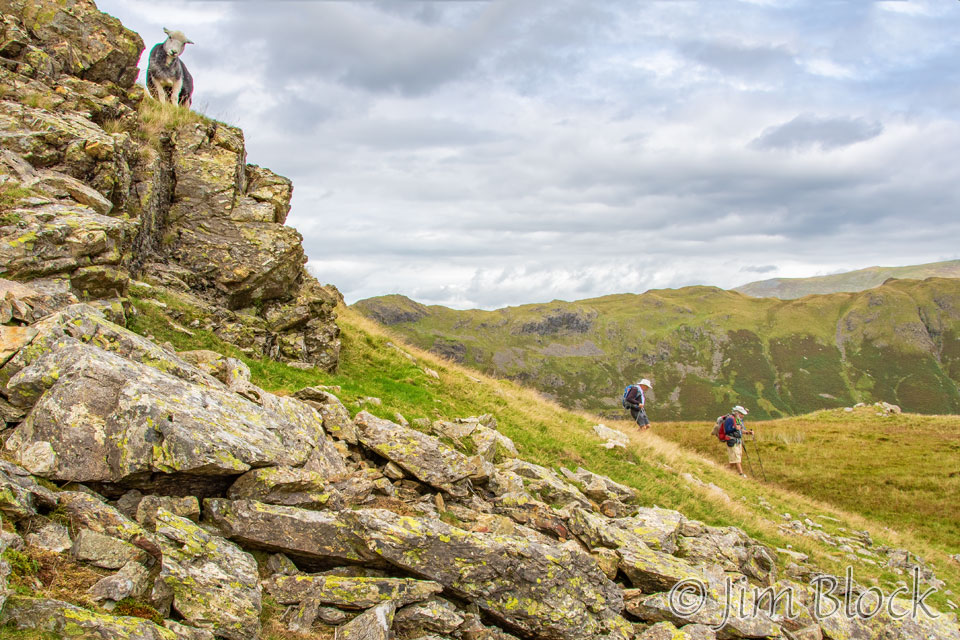
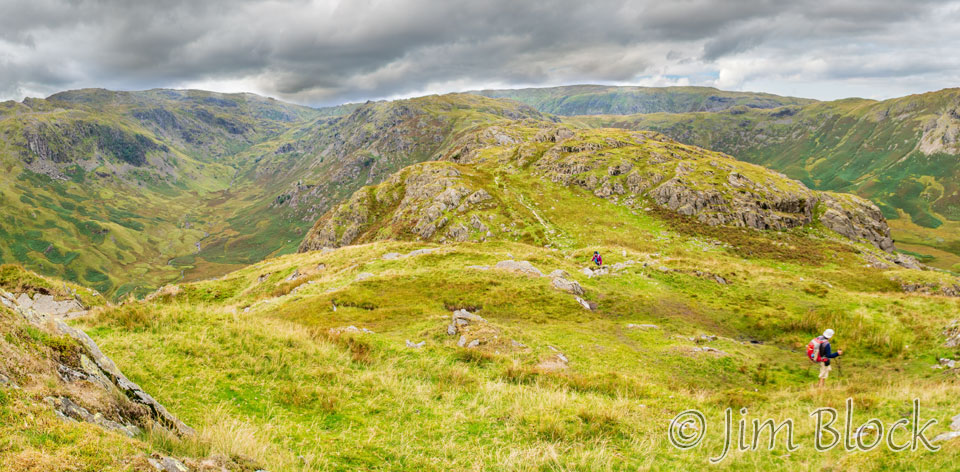
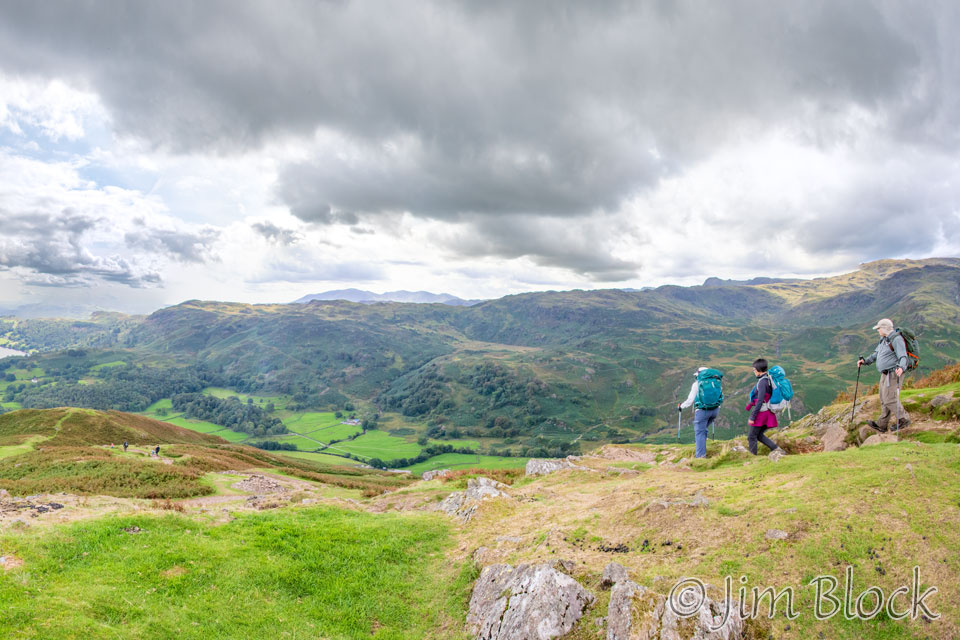
The photo below was taken from the area near Calf Crag. The next day we would cross Nethermost Pike and Helvellyn seen on the left. You might be able to spot a hiker well ahead of Stephen and Jim.


Below are two additional photos, taken from the same spot as the previous one, showing the hiker.

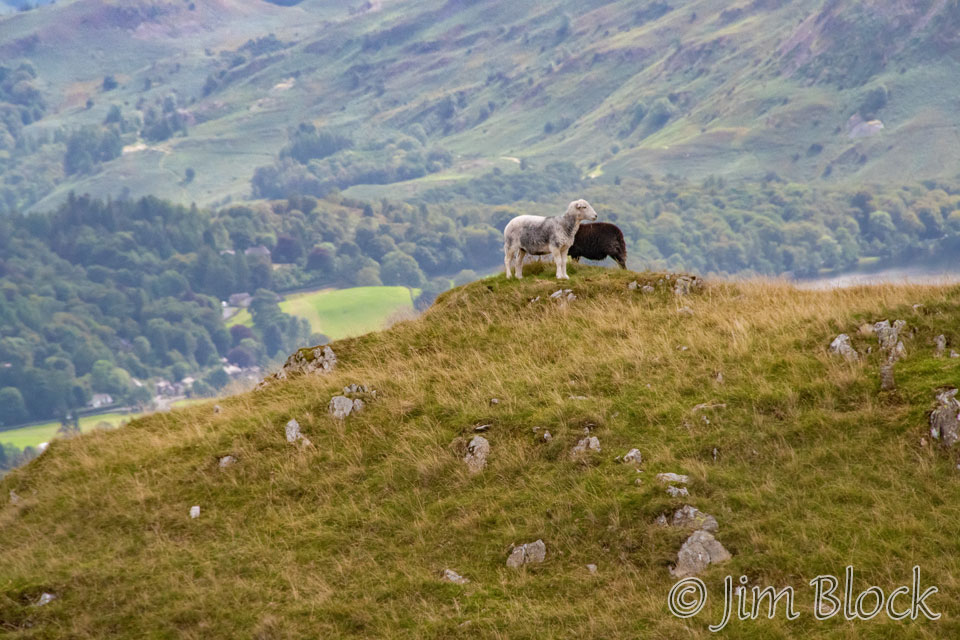
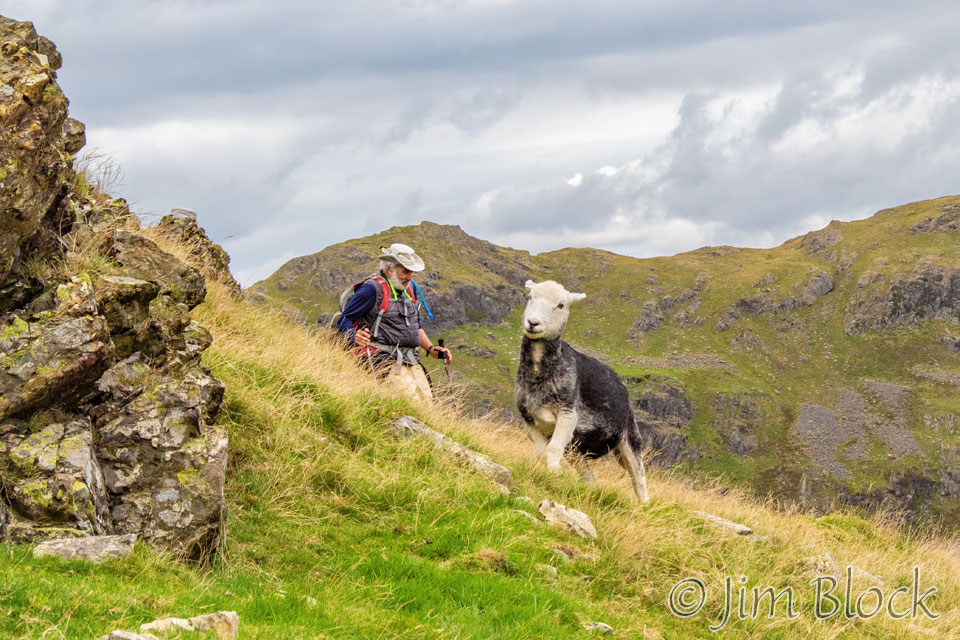
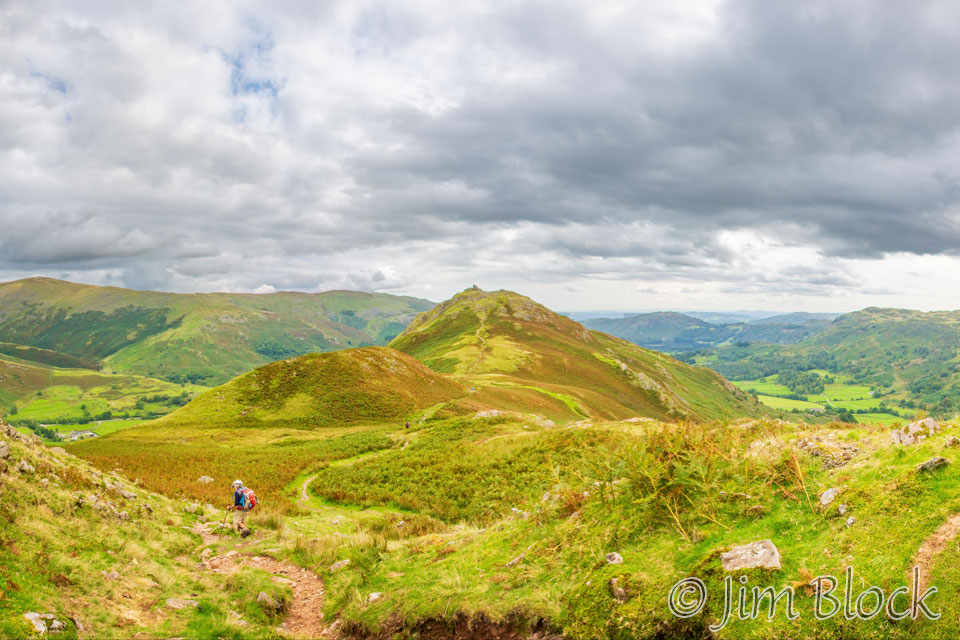
When we were somewhat below Calf Crag, I made the photo below and labeled one version of it. You can see where we are heading – Gibson Knott and Helm Crag. That’s Jim walking through the photo.


In the photo below I zoomed in on the two sheep standing on a hill in the photo above.
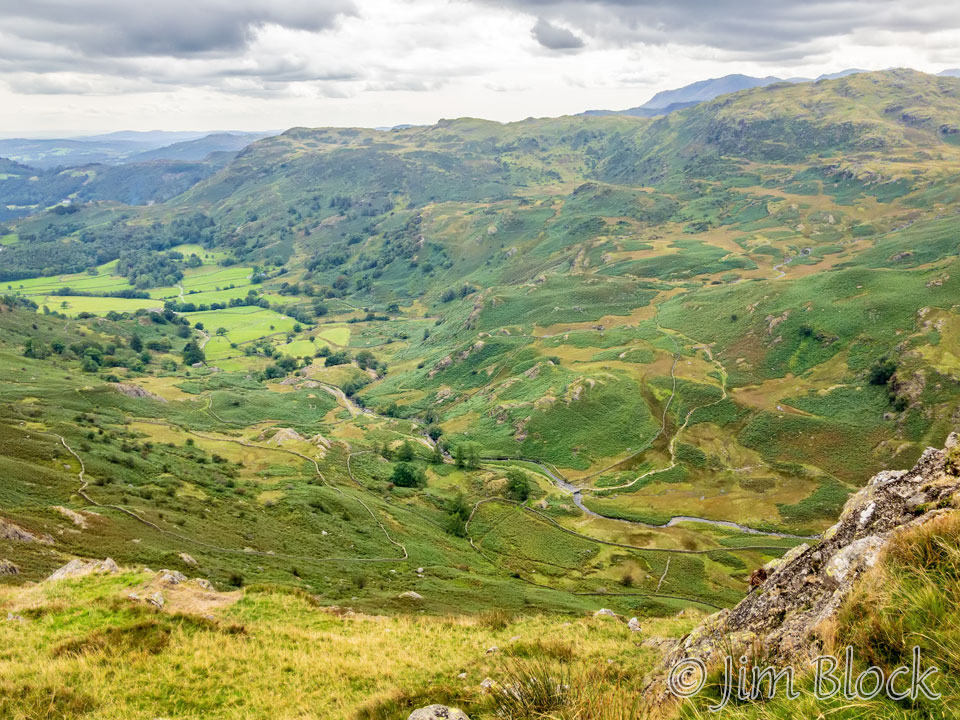
I took a photo with my iPhone looking down the Easedale Valley toward Grasmere. You can see Gibson Knott and Helm Crag on the left side of this photo.
Here is nine-photo panorama from near Calf Crag showing the various places we would walk this day — Gibson Knott and Helm Crag. Tomorrow we would cross the four peaks at the top left of this photo. The numbers behind the name are the altitudes in feet.
-WITH-LABELS crop")
 crop")
As we approached Gibson Knott, I got a photo of the three hikers from Australia – Angela, Fan, and Bret.
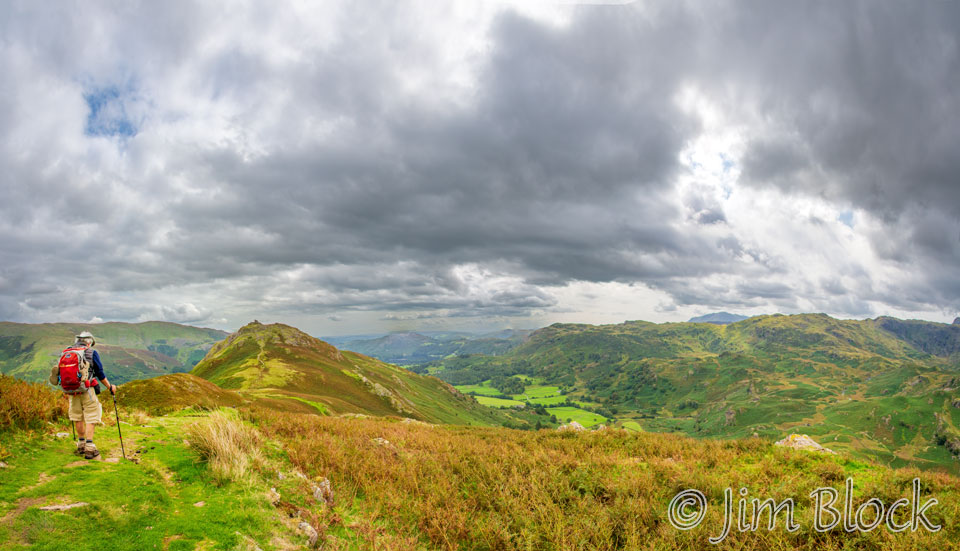
I was a bit ahead of Stephen and Jim at this point. I made the five-image panorama below looking back at them. On the left you can see Calf Crag in the distance.
Turning forward, I made a 12-photo panorama showing Gibson Knott and the Easedale Valley to its right.
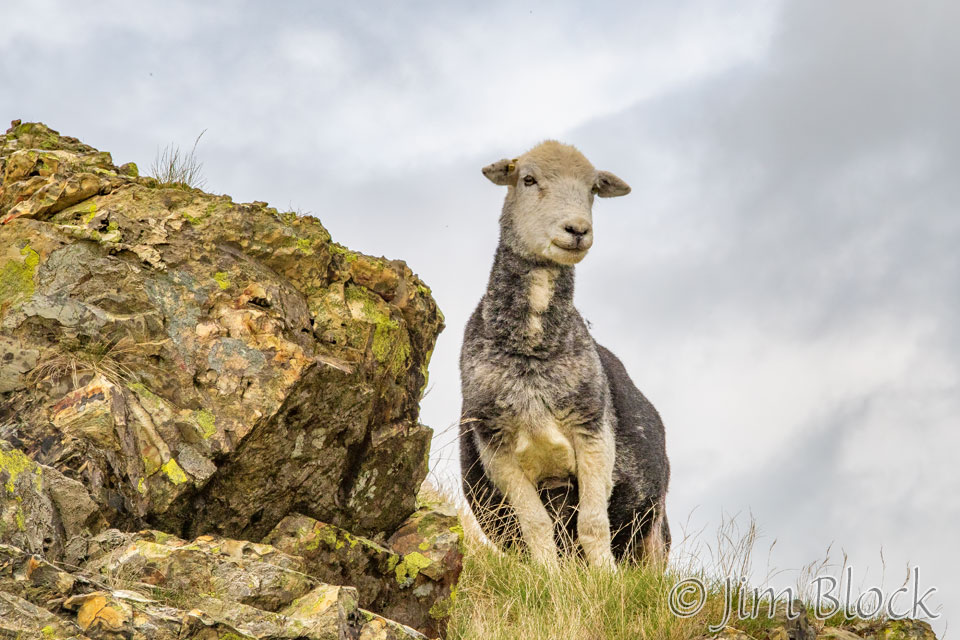
We passed an interesting rock formation which had a sheep looking down at me.
We continued on toward Gibson Knott.
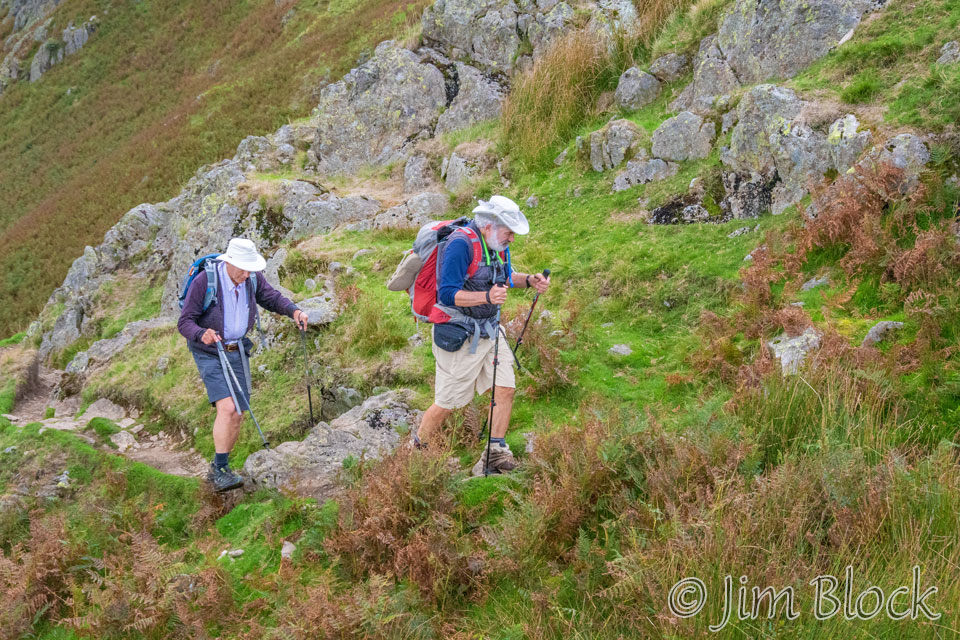
It was hard to tell from a distance, but there was a short steep section climbing to Gibson Knott.
Below is a photo looking back at Calf Crag from Gibson Knott. You might be able to see Jim in the far bottom right and Fan near the middle. On the left side of the image is the Easedale Valley. At the top of the photo to the left of Calf Crag is Greenup Edge, which we had crossed a while before.
Looking down into the valley from Gibson Knott, one could see some interesting patterns.
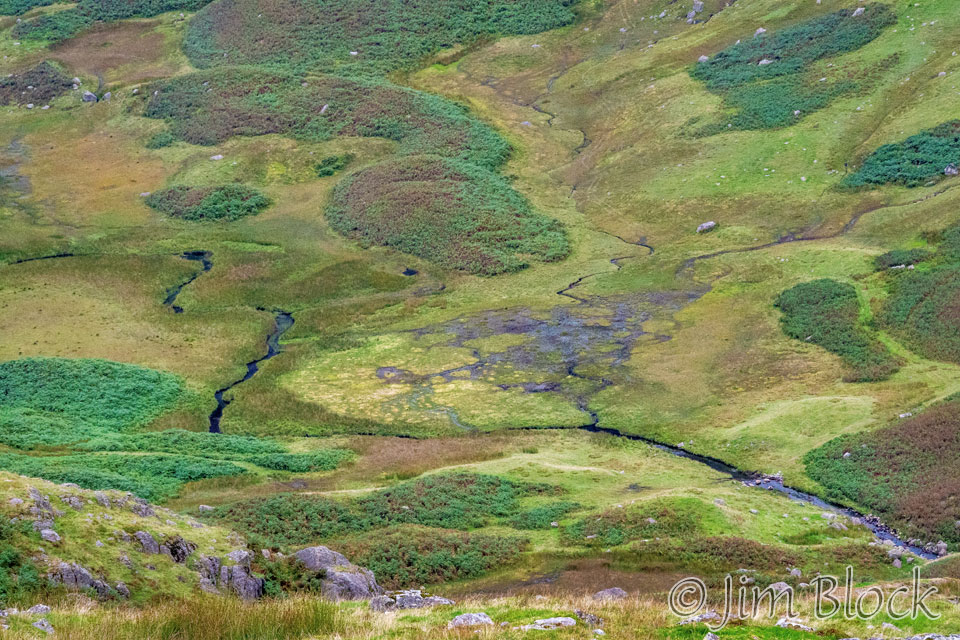
The photo below of the Easedale Valley was made with my iPhone.
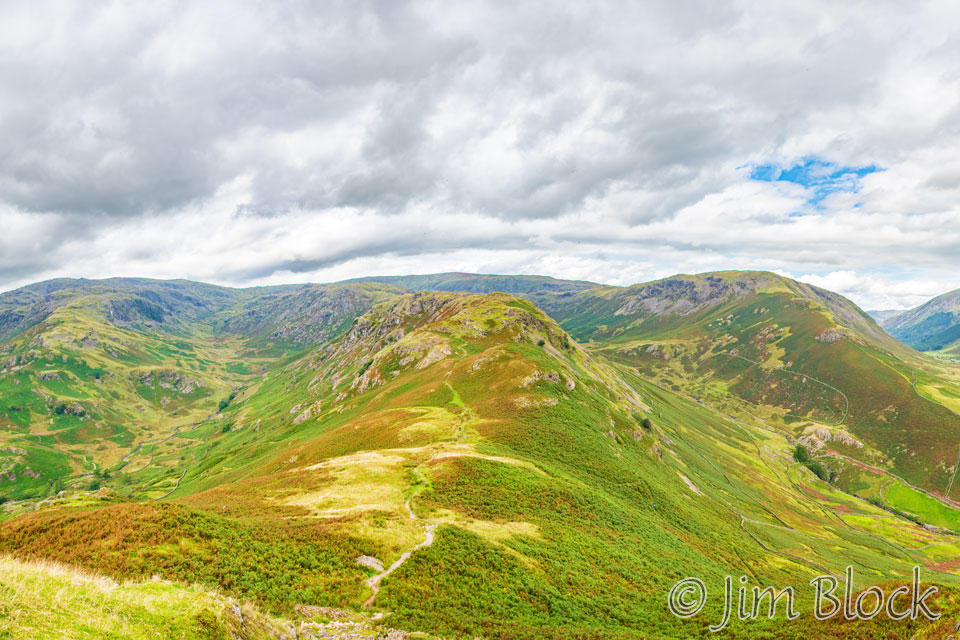
Next up was Helm Crag. Below we see Jim heading toward it from Gibson Knott. Helm Crag is the roundish peak just to the left of center.
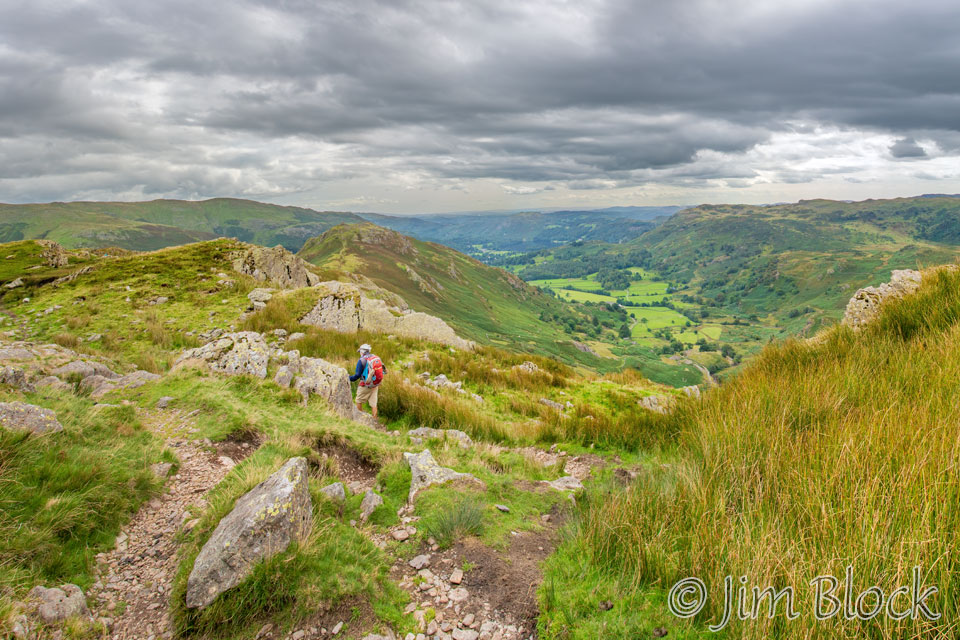
Here are two more views of Jim heading toward Helm Crag.
Below is a 24-image panorama showing almost 360° looking back at Gibson Knott.
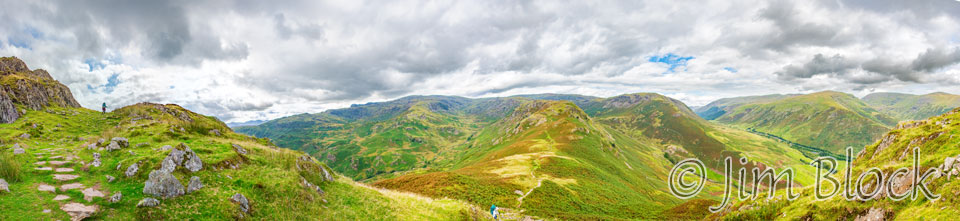
Below is a cropped center portion of the previous panorama. In the center is Gibson Knott, and to its left is Easedale Valley. Above the valley is the Greenup Edge area that we had crossed earlier in the day.
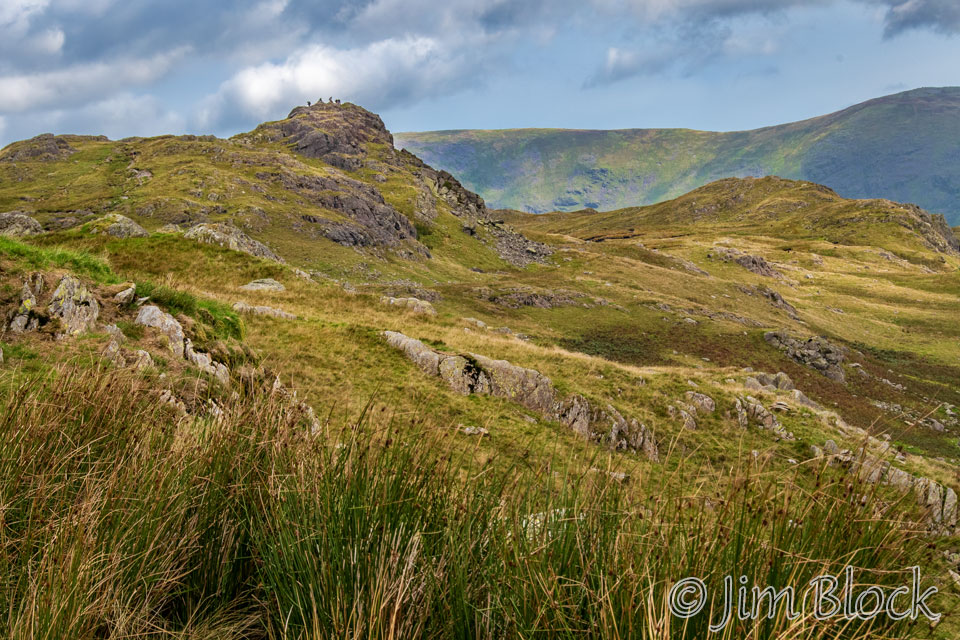
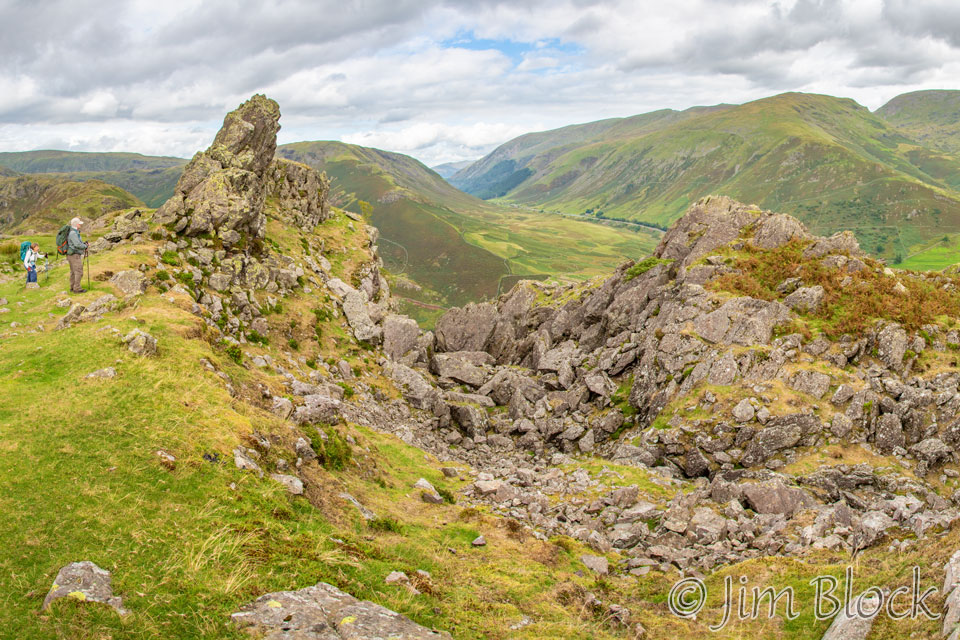
We finally reached the Helm Crag summit, known as the Howitzer.
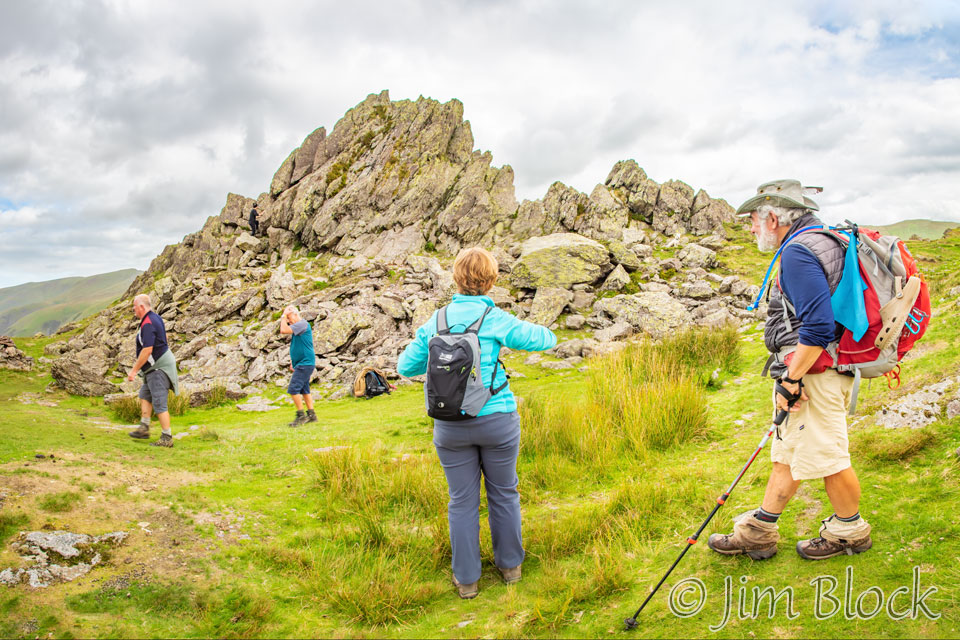
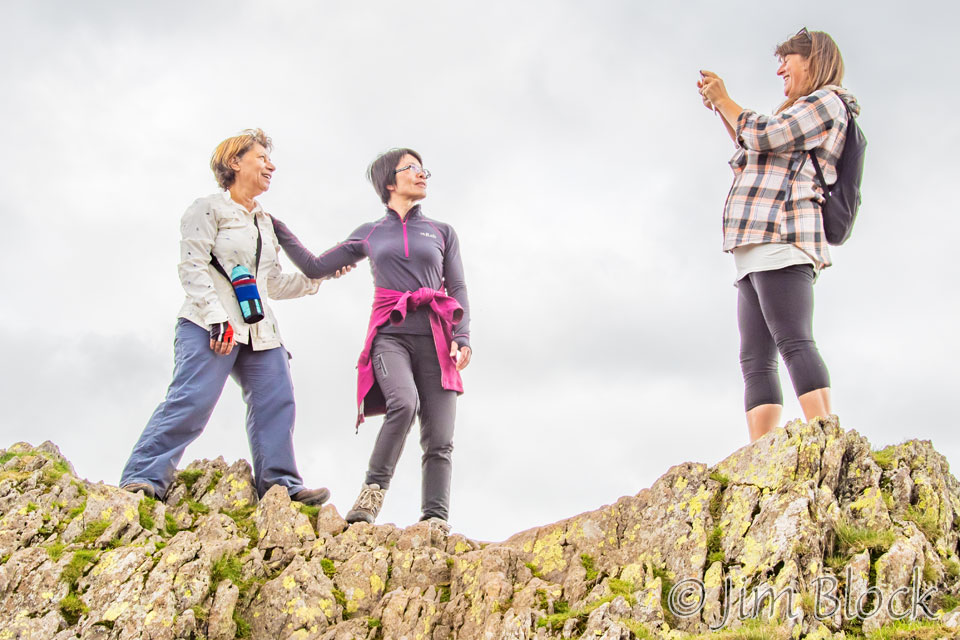
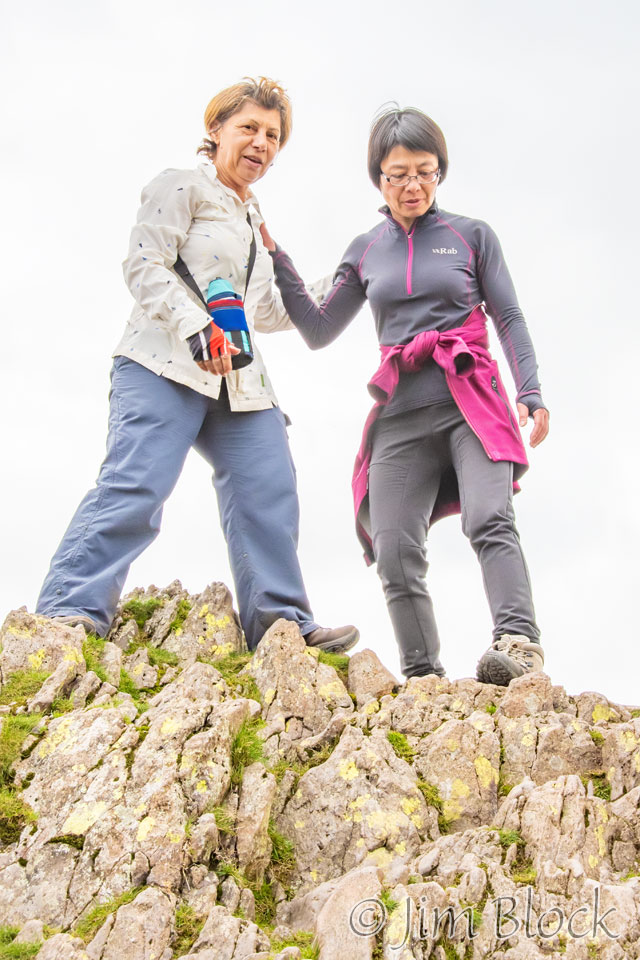
Right after I got to the Howitzer, two women proceeded to climb it.
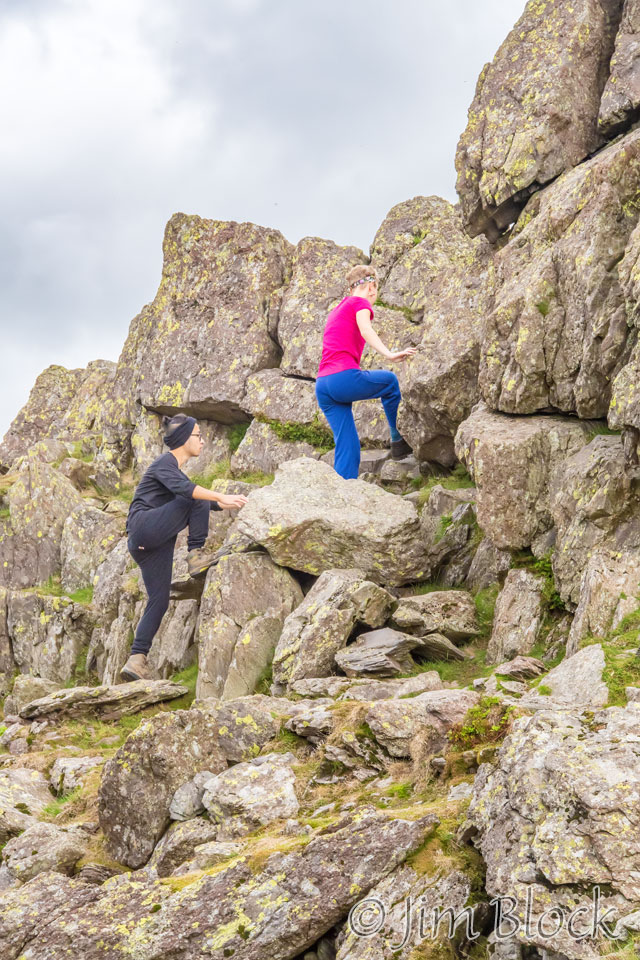
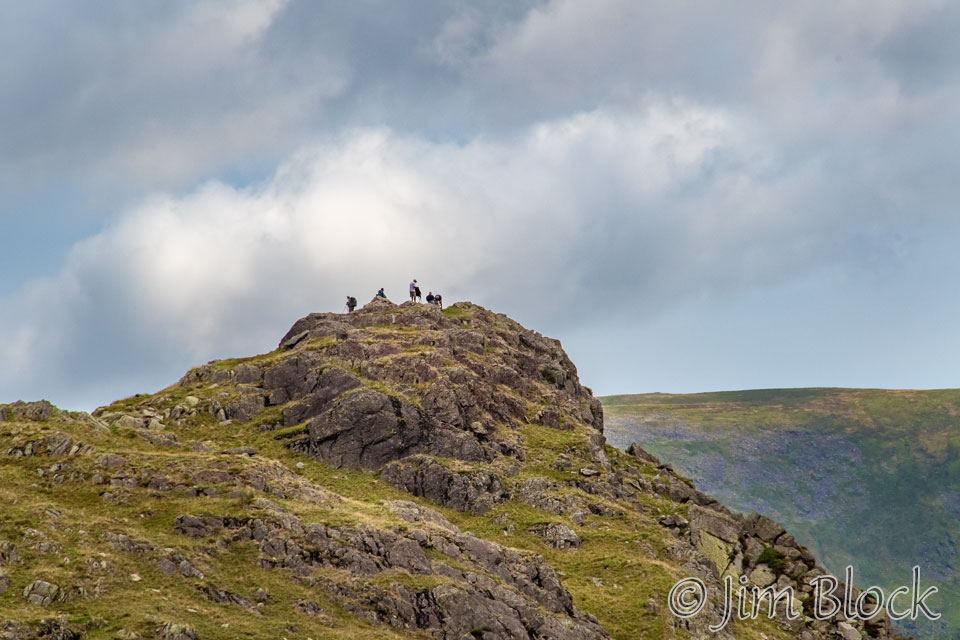
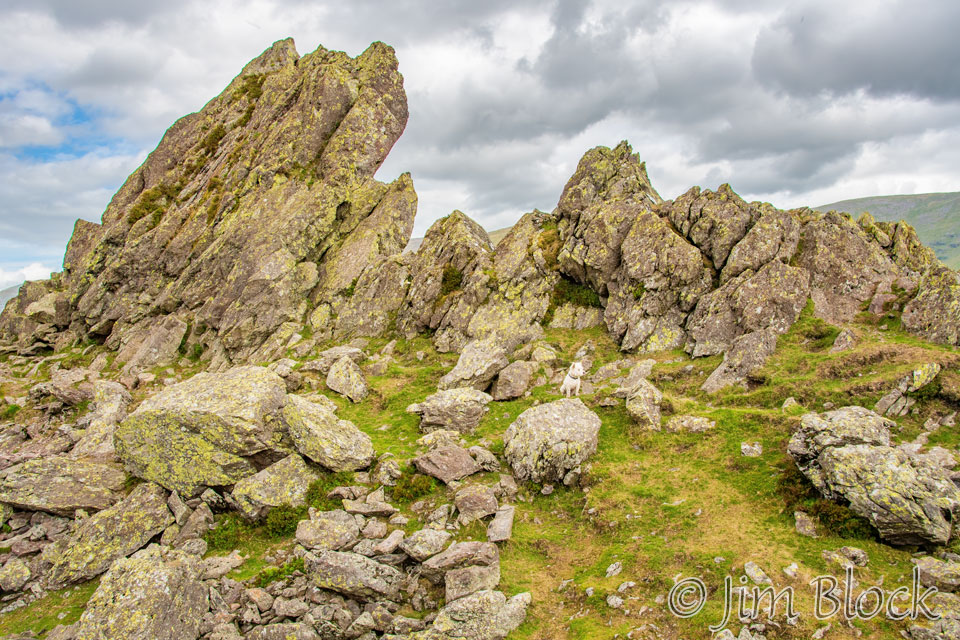
Below is a classic view of the Howitzer. You might be able to spot a small white dog near the center of the photo.
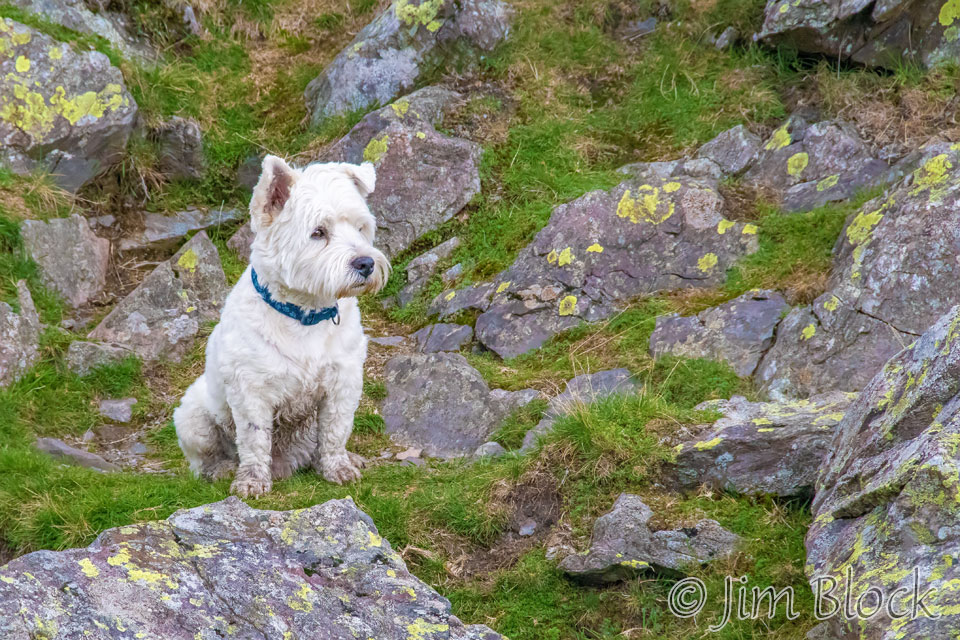
Here is a close-up photo of the dog.
I made a 19-photo panorama on Helm Crag.
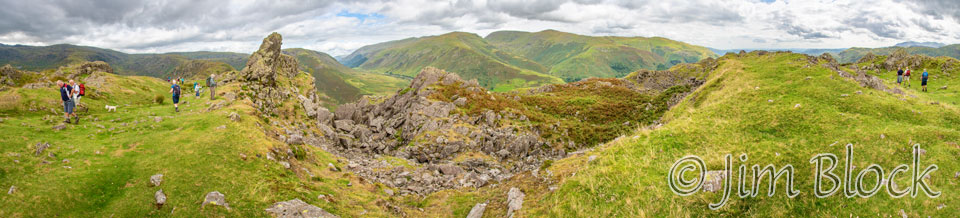
Below is a cropped portion of the center of that panorama. On the left you can see Bret standing next to the Howitzer. Notice the interesting rock pile to the right of the Howitzer.
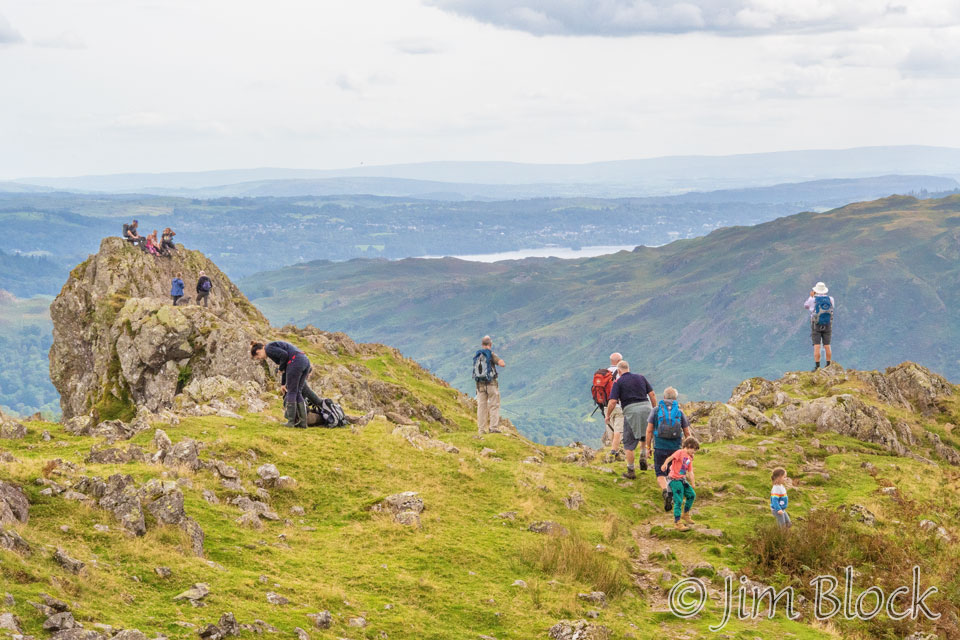
We proceeded the short distance down to a formation called the Lion and the Lamb. In the top photo below you can see Stephen coming toward me. Fan, Angela, and Bret are behind him on the left side of the photo.
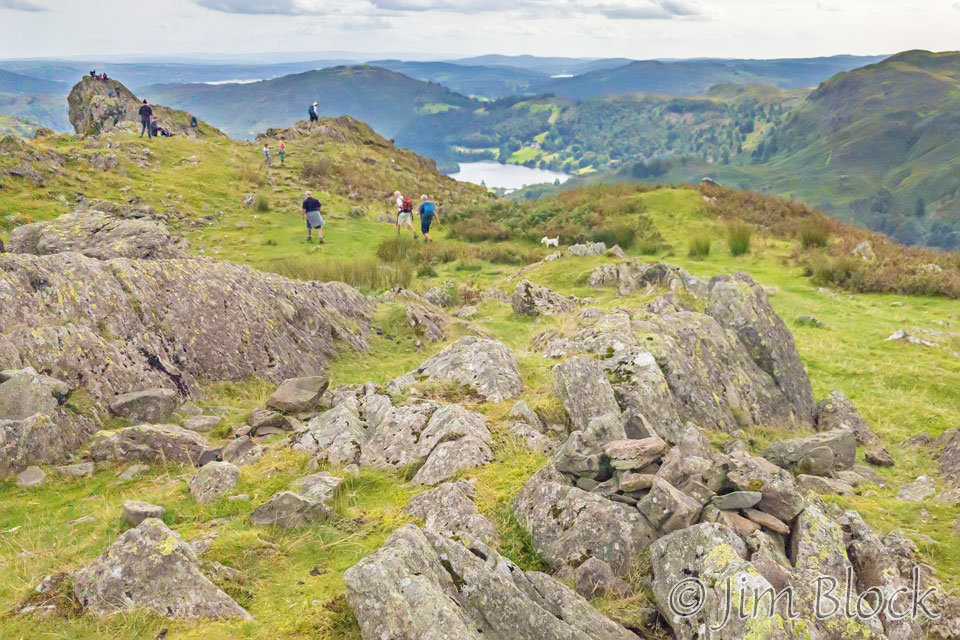
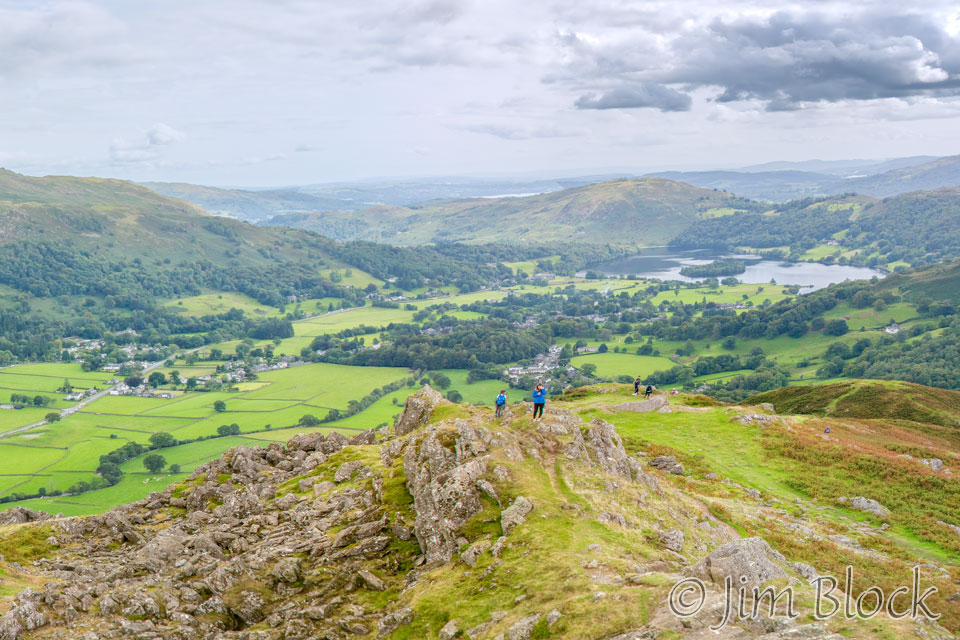
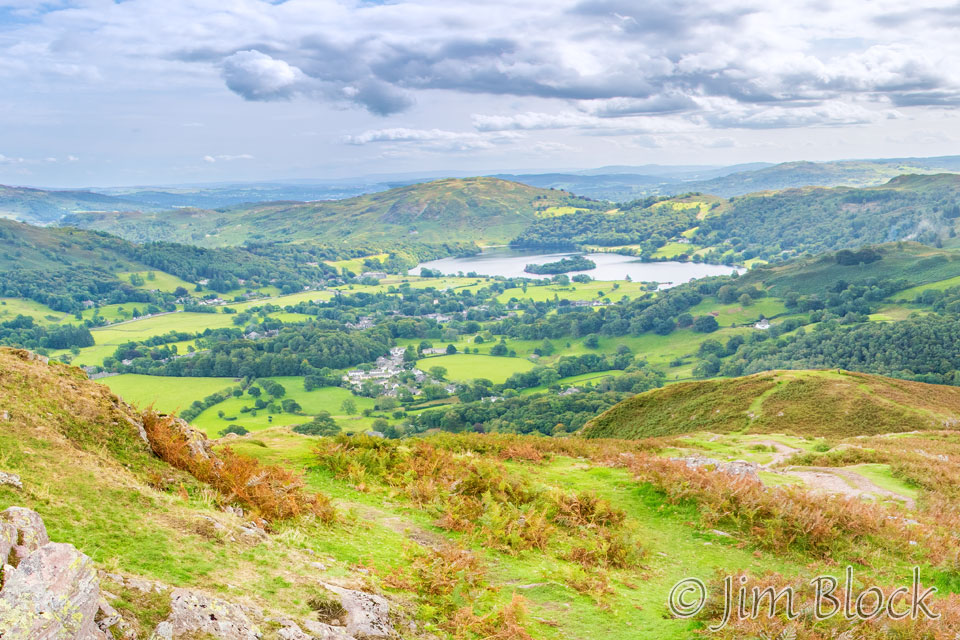
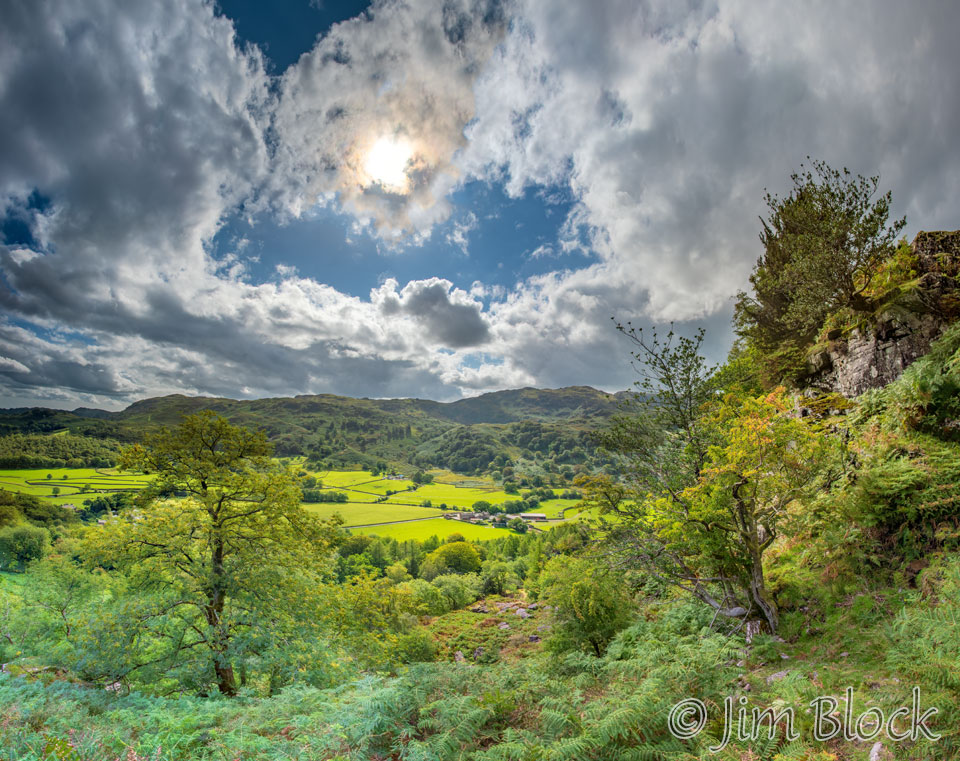
Here are three photos as I approached the Lion and the Lamb. In the first you can see the Easedale Valley to the right. In the second photo, you can see Grasmere and Grasmere Lake in the center. In the third photo, you can see Stephen on the right side of the photo taking a photo.
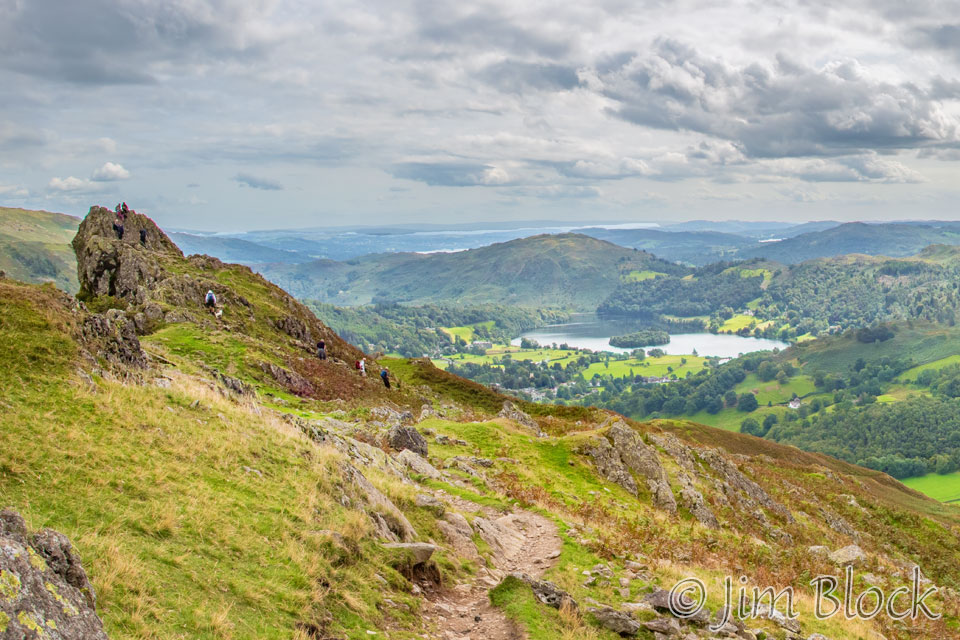
When I got to the Lion and the Lamb, I noticed there was a beautiful view down into the valley to the Brimmer Head Farm.


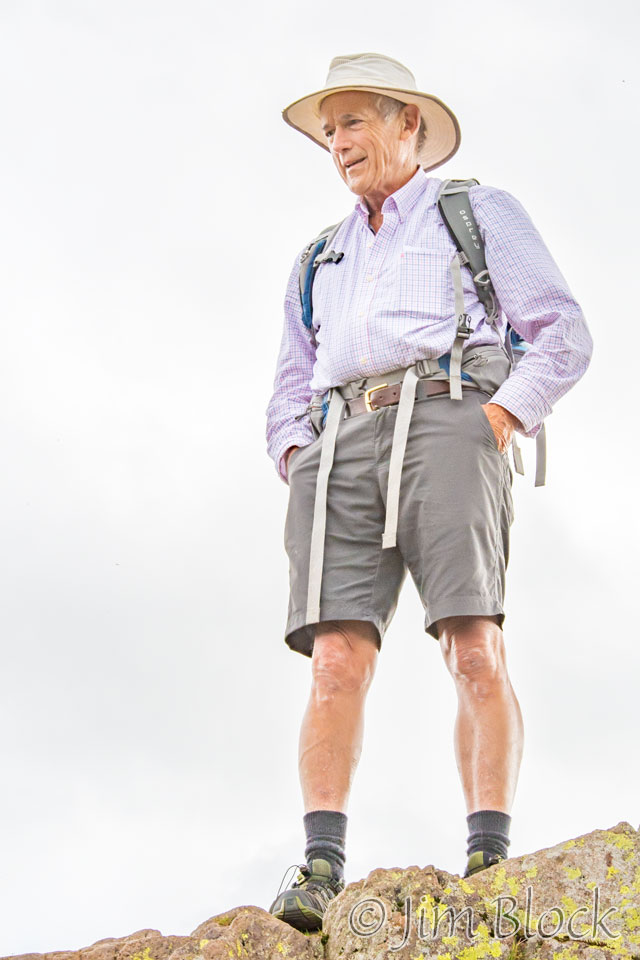
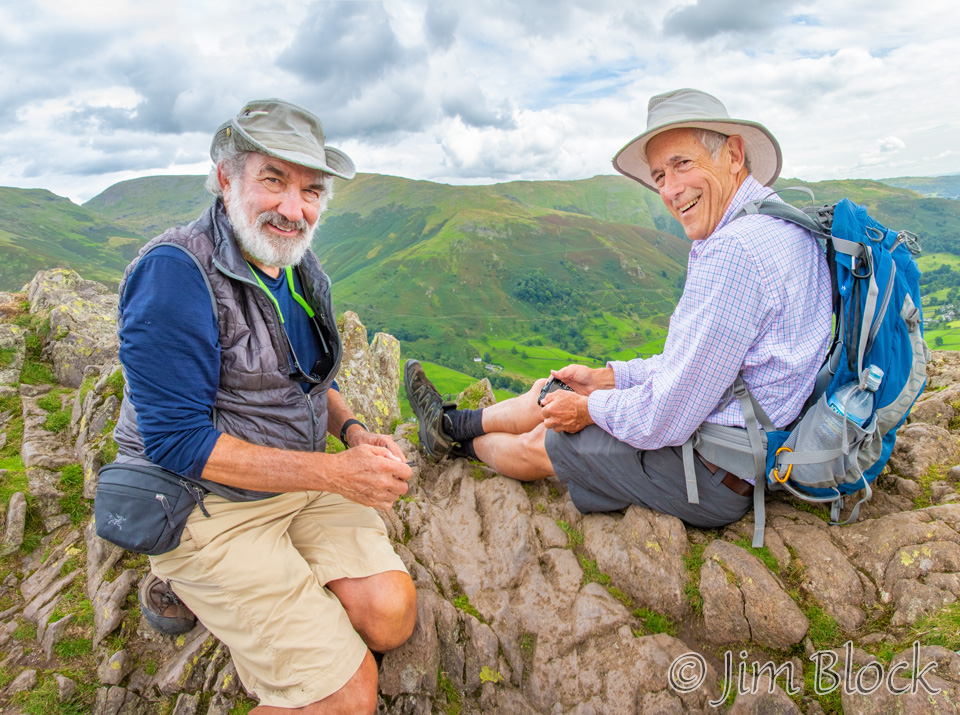
Stephen climbed on top of the Lion, as can be seen in the photo on the left below. On the right we see him posing for a photo by Jim who scrambled up there a few minutes later.

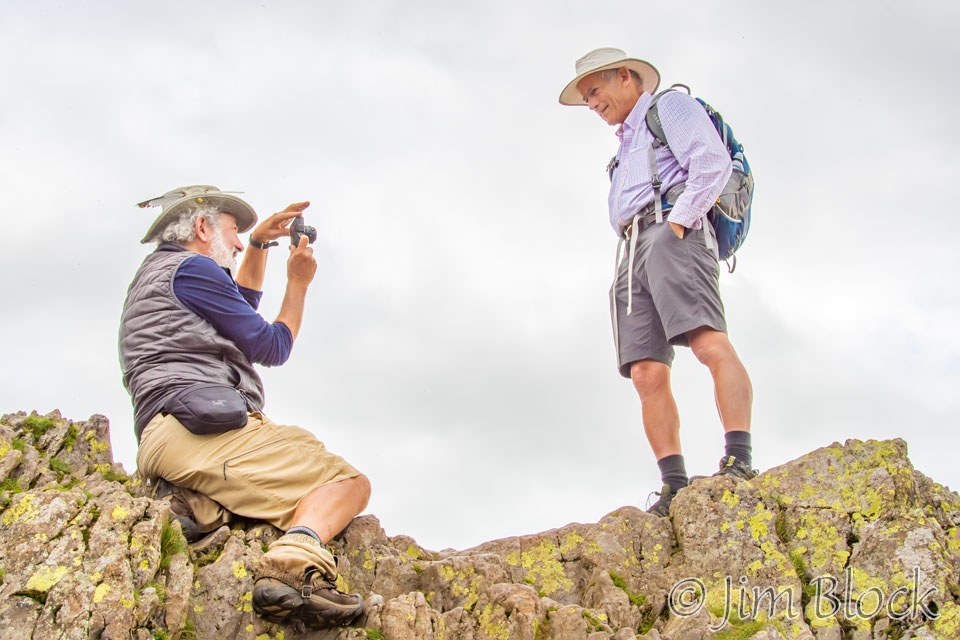
Here is Jim taking a photo of Stephen with Stephen’s camera. Note his delicate touch.
Below is a photo of them sitting on top of the Lion. Believe it or not this image is a 4-photo panorama because I was too close to get them fully in one frame with a single shot, and behind me was ten feet down.
Not to be outdone, Angela and Fan scrambled on top of the Lion and had a day hiker take their photo.
Climbing onto the top of the Lion, I made the 15-photo panorama seen below. On it I have indicated our route in red for the next day from Grasmere to Patterdale.
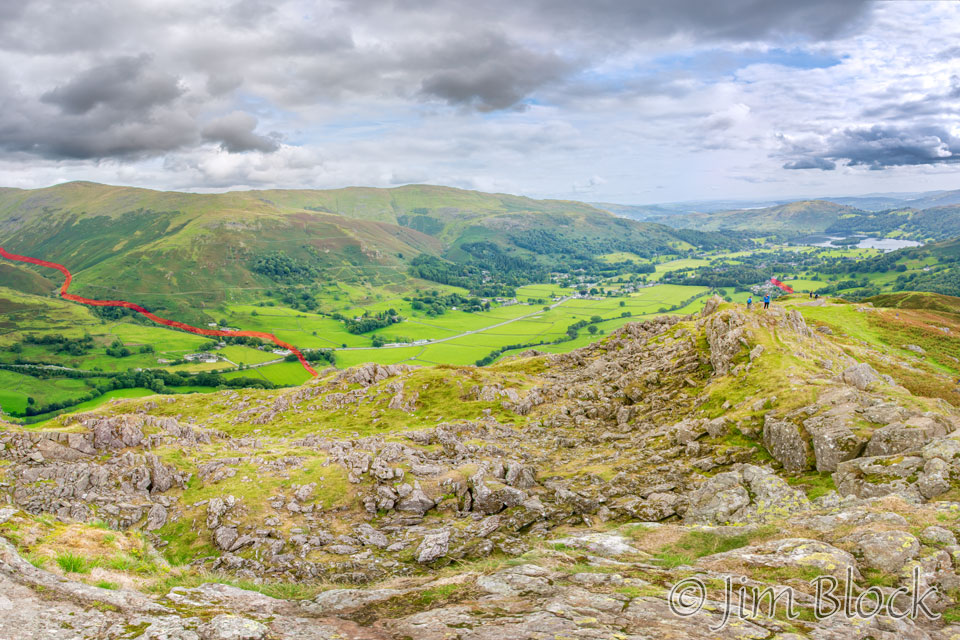
Below is a cropped portion of that photo which better shows Grasmere in the distance.
Eventually, we started down.
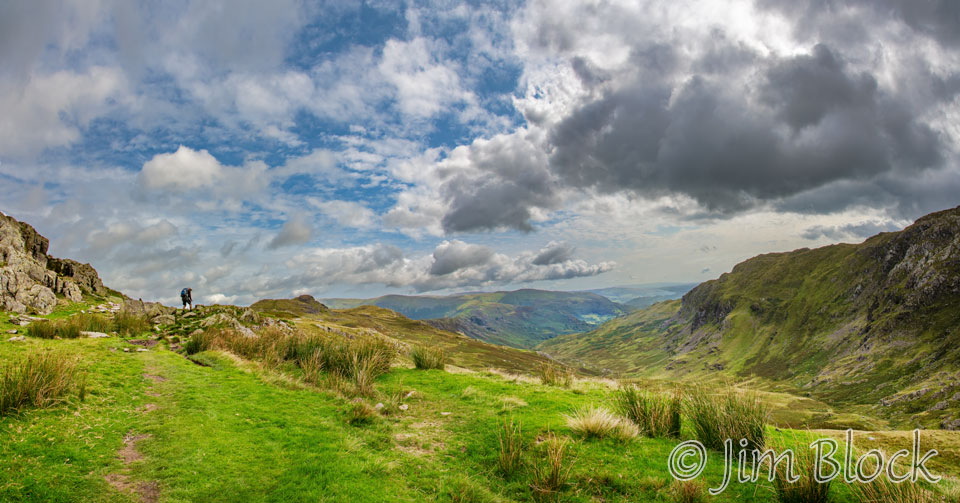
Below is an eight-photo panorama made with my iPhone as we headed down.
Here we see Jim and Stephen heading down, or at least thinking about doing so.
Below we see Angela, Fan, and Brett descending from Helm Crag.
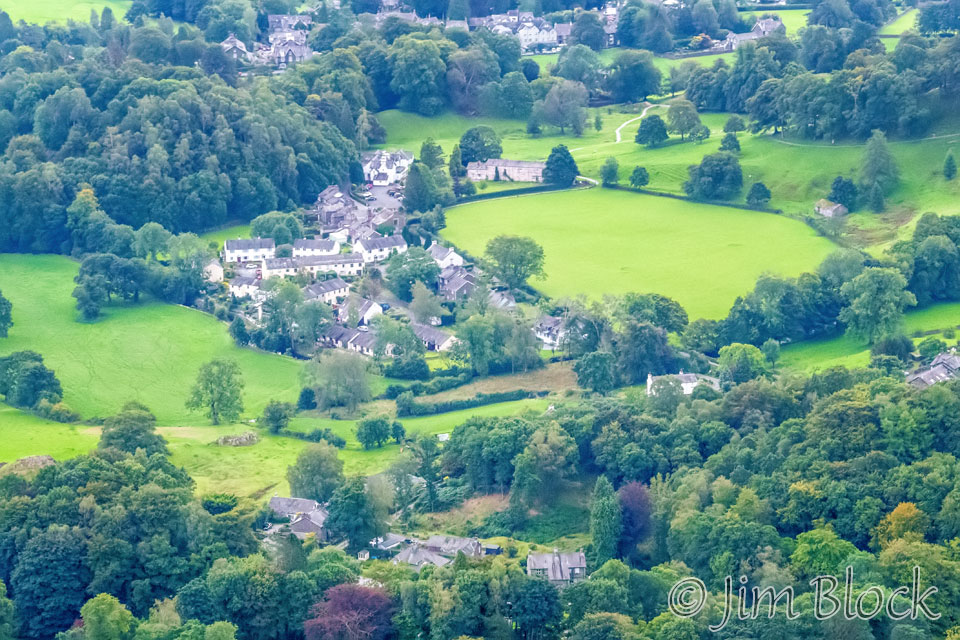
Zooming in, I got a shot of the town of Grasmere. The shops are at the top edge of the photo below. I didn’t know what the buildings were when I took the photo, but near the center, just above and to the left of the big green field, are the two buildings of the Glenthorne Guest House. The main building, with the dining room, lounge, and my room, is white and to the left. To the right is a building which had a room that Jim and Stephen shared.
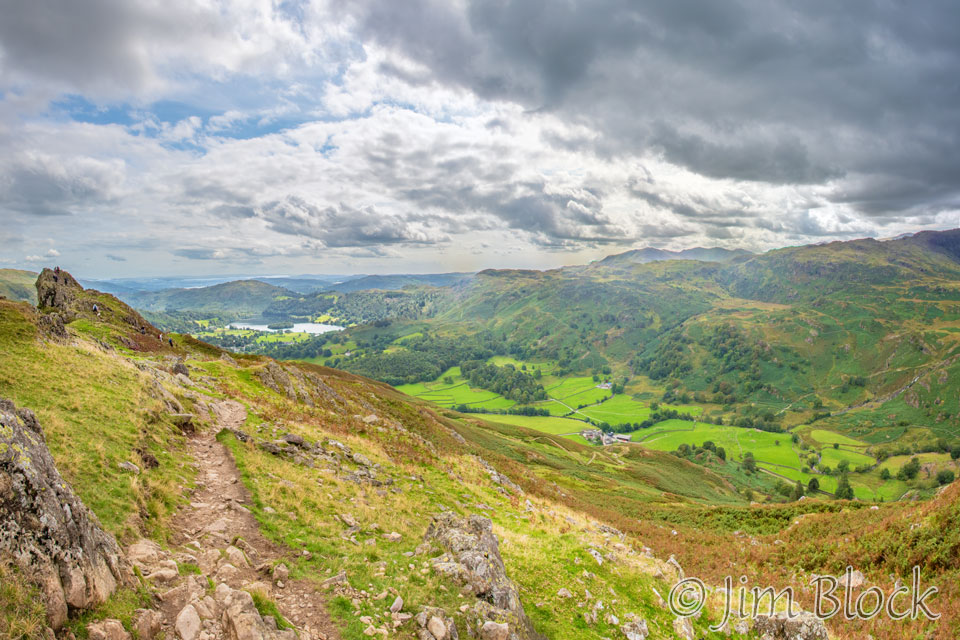
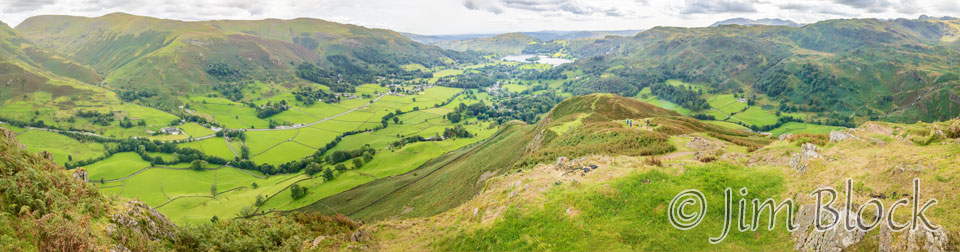
It was a long, but not terribly difficult, walk down from Helm Crag to Grasmere. Here is a 12-photo panorama I took as we walked down. Grasmere is in the distance to the left and the Easedale Valley is in the center and right of the photo.
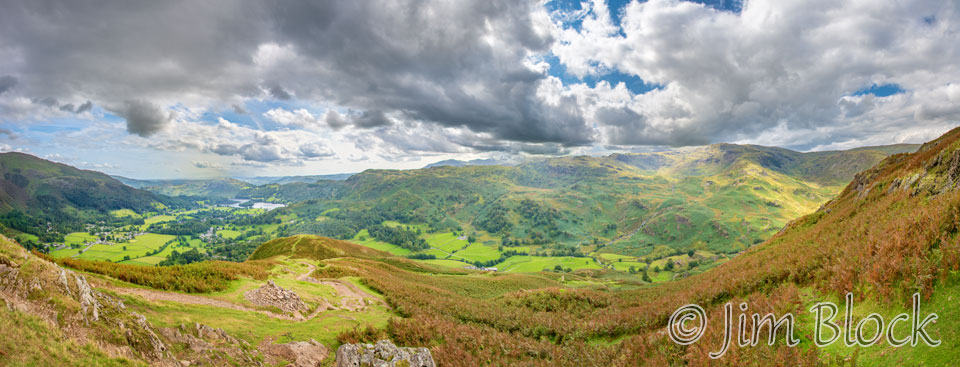
Here is closer view showing Grasmere and its lake beyond.
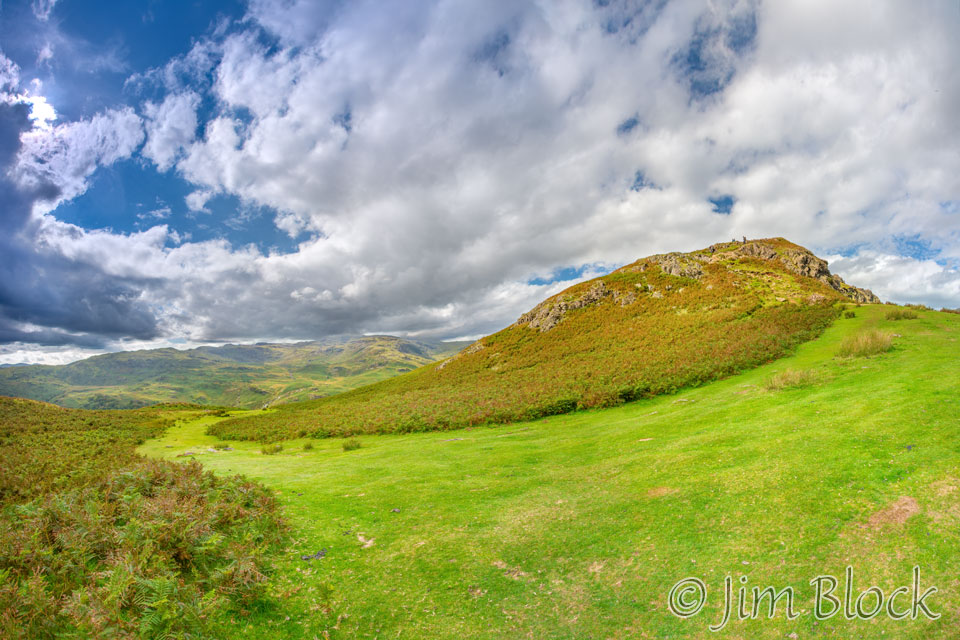
Part of the walk had a beautiful smooth grassy slope, as seen in this 17-photo panorama.
I spotted a woman far ahead meditating on a rock above a small cliff. I made a 5-photo panorama. The two images below are cropped portions of that panorama. Perhaps you can spot the woman in the lower right of the horizontal crop and or the middle right of the vertical crop. Don’t bother if you are viewing this on your phone unless you can zoom in a lot. Pages like this should be viewed on a decent sized monitor.
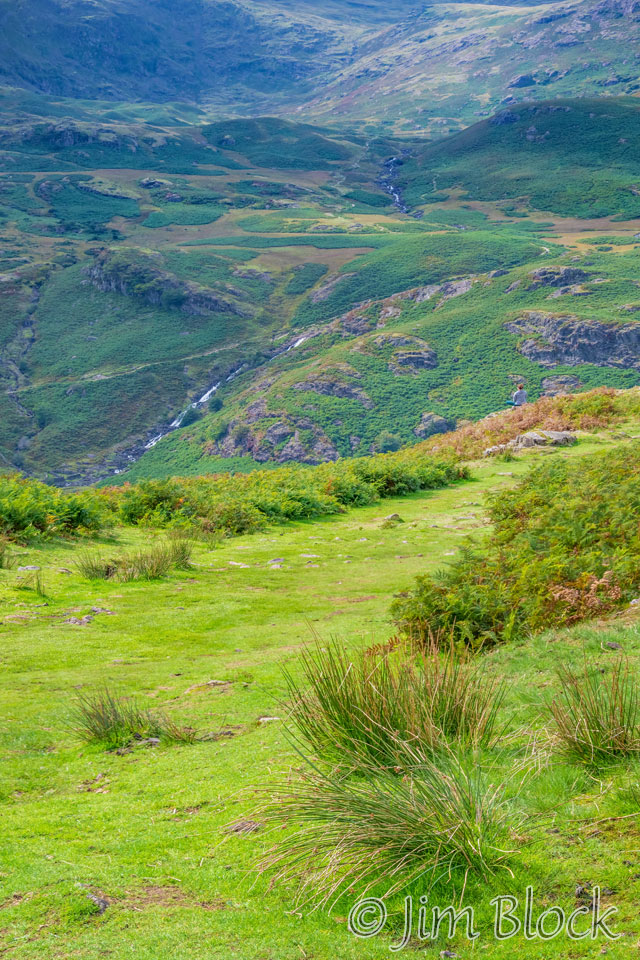
Below is a 15-photo panorama of the woman meditating in the far distance. It is followed by the cropped version. When you put lots of photos together, you have lots of pixels and have great freedom to crop.
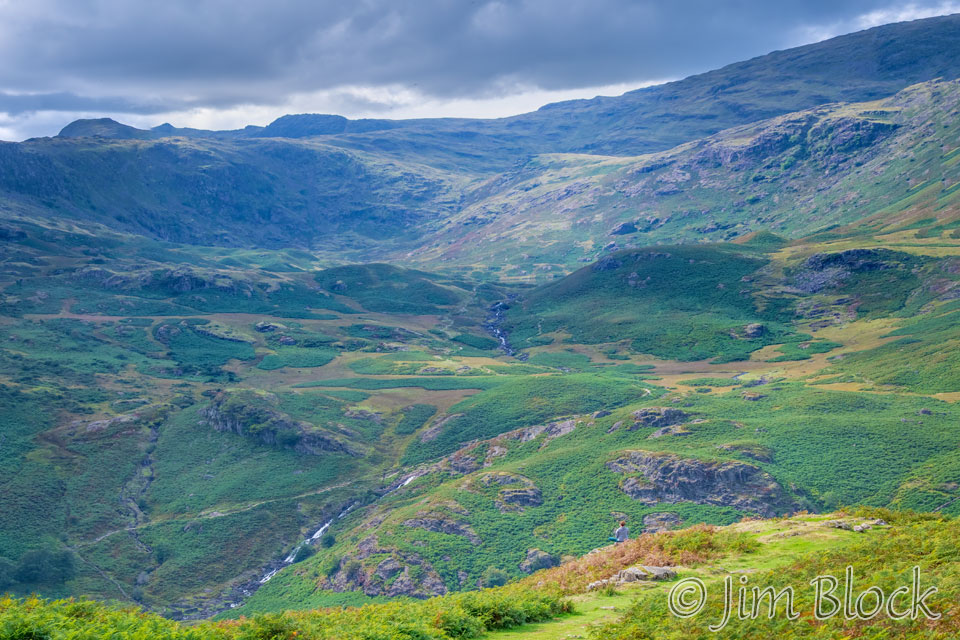
I was quite fascinated by the entire scene — the sun, the clouds, the scenery, and the woman meditating. I took a number of photos as I walked down toward and by her. Here are some of them.


")
After I passed her, I took another pair of images of the Brimmer Head Farm.


There were still some nice iridescent clouds as we got lower down. Here are two photos of them across the Easedale Valley.
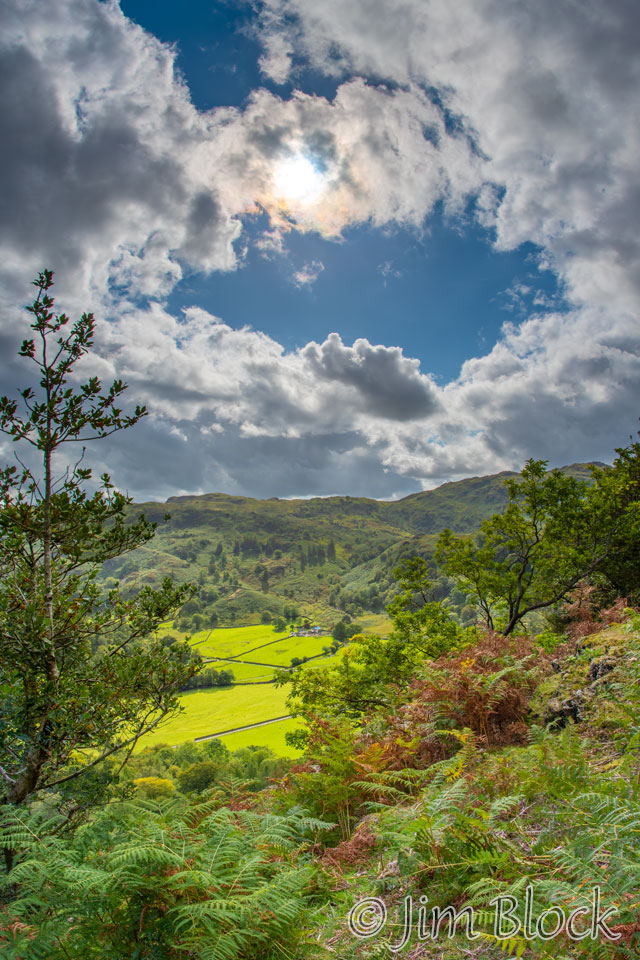
Reaching the elevation of Grasmere, I got this photo of the impressive Brimmer Head Farm with a waterfall behind it.

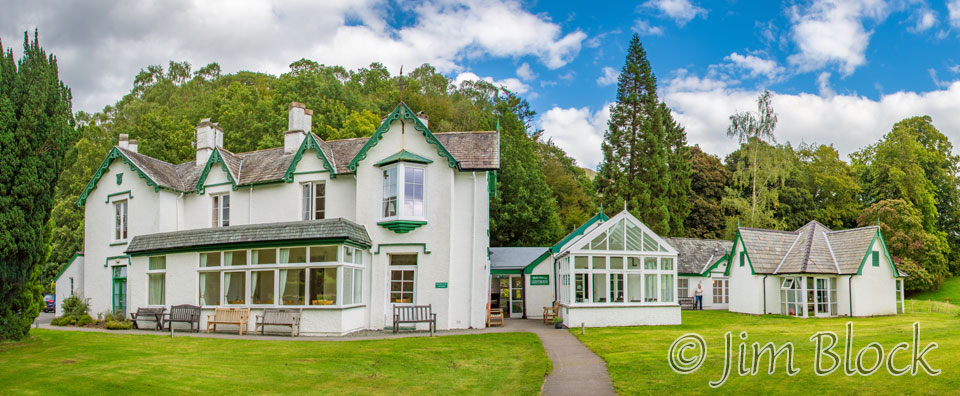
Here is the Glenthorne Guest House where we spent the night. On the left is the main building with rooms – I had one of them – and the dining area. On the right a sunroom and library. Behind me was another building with additional bedrooms. That is where Jim and Stephen had a room. This was a wonderful place to stay.
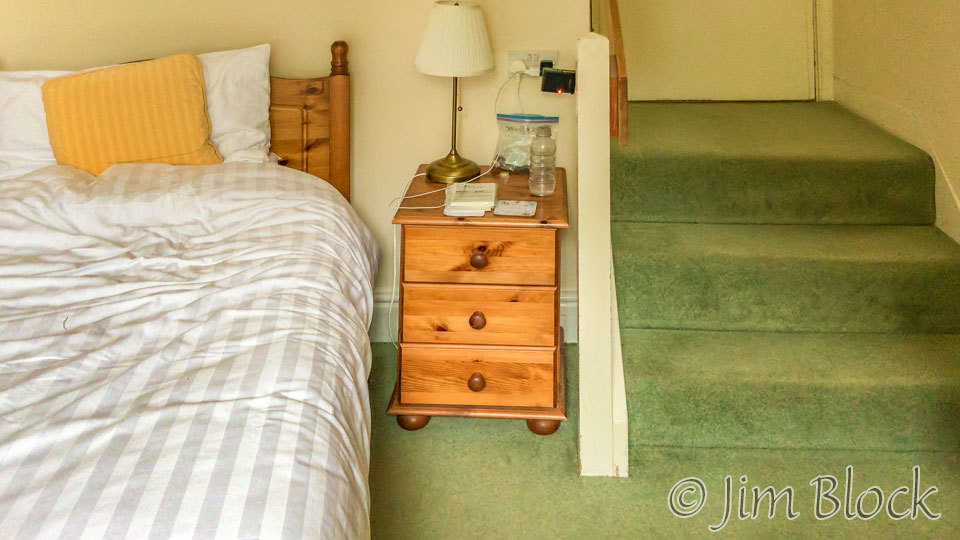
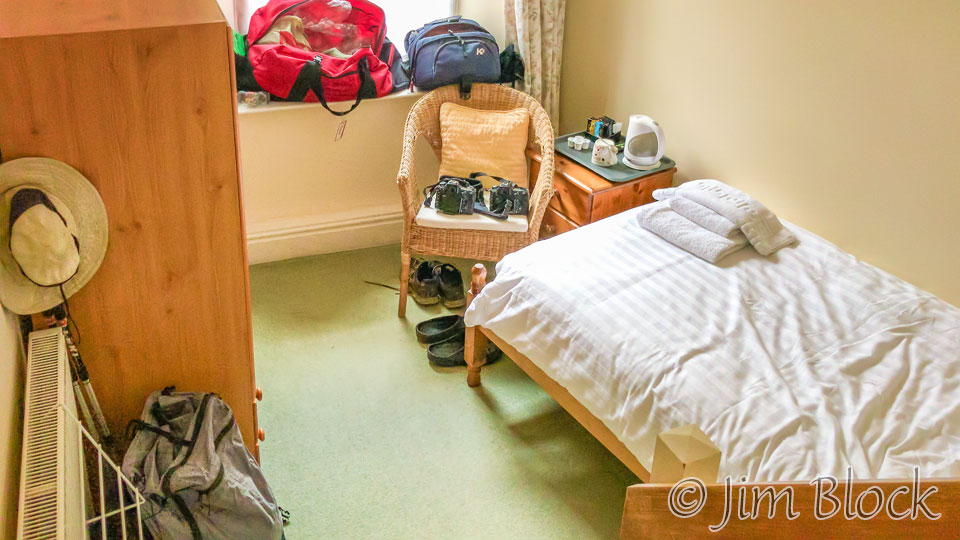
I checked into my room. It was tiny but comfortable. The two photos below pretty much show the whole room except for a small sink that was hidden behind the “closet”. The stairs led to the hall and, immediately to the left, a door to a shared bathroom. However, I never saw anybody else use that bathroom.
Walking into the charming village, I found the first real C2C trail grocery store – a Co-op no less. But I really didn’t need anything. So I just took a few photos in the charming town of Grasmere.


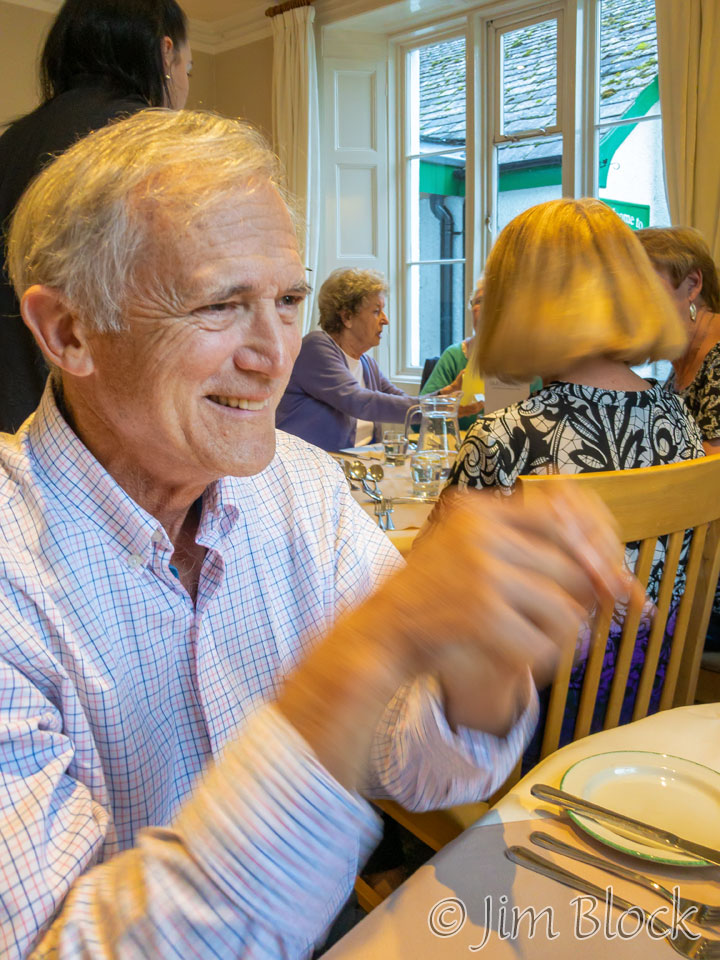
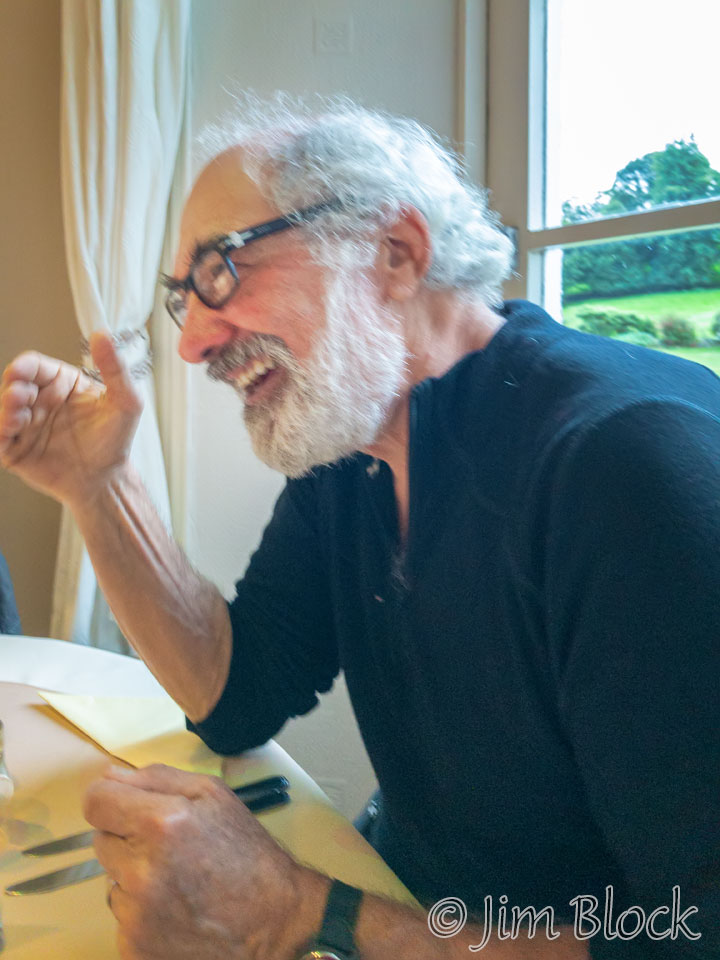
Before dinner, we all paused for a moment of silence. The Glenthorne Guest House is a Quaker establishment. When the quiet moment was over, the room broke out with talking. Here are Stephen and Jim waiting for dinner. These photos are not that sharp. They were taken with my iPhone at a slow shutter speed.
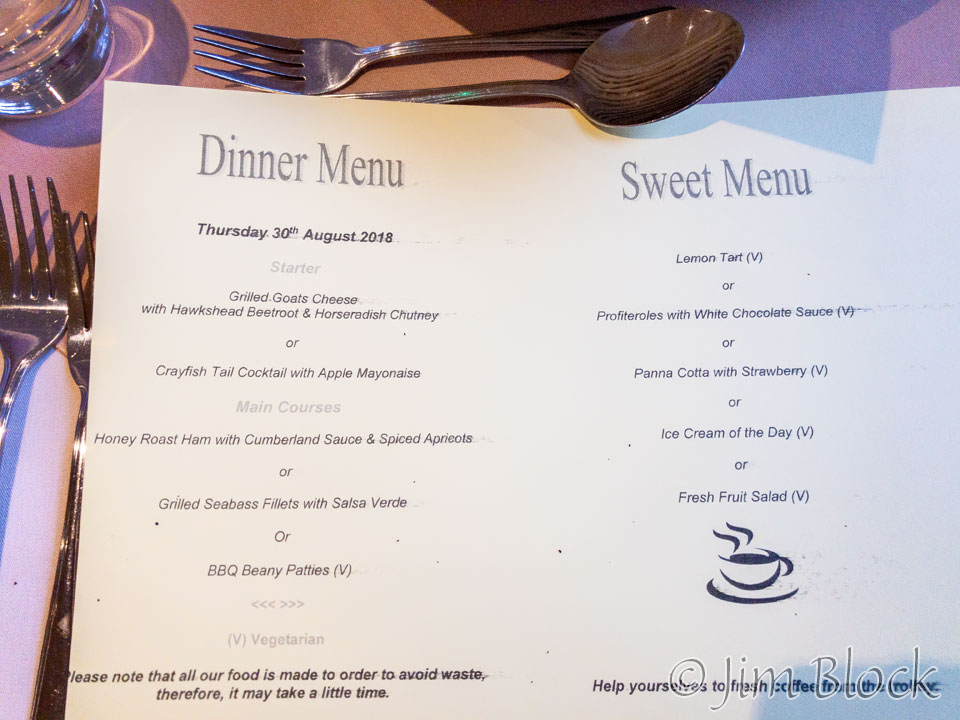
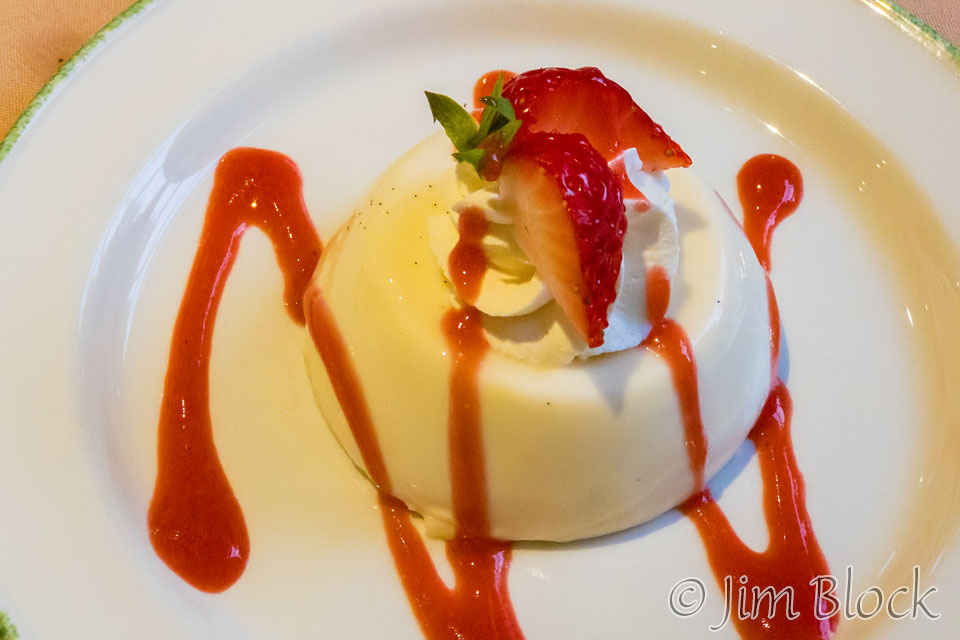
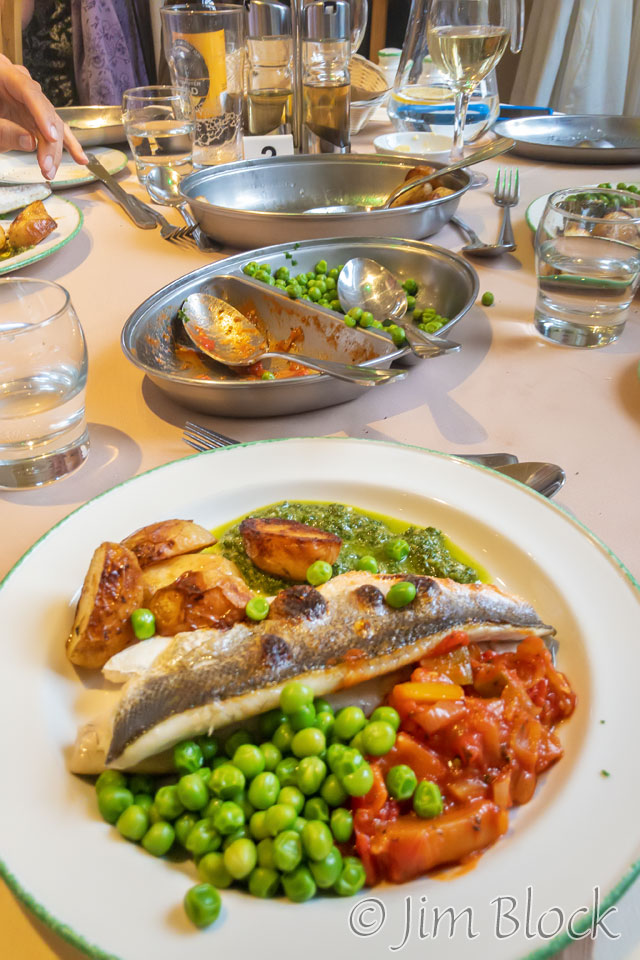
The dinner was delicious. I had the crayfish tail cocktail. We all ordered the sea bass as our main course. The panna cotta with strawberries capped off a delicious meal for me.
This morning I had been a bit apprehensive about taking an alternate high route, especially after getting such a late start from our hotel in Rosthwaite. But it was spectacular. When Jim suggested that tomorrow we again take an alternative high route, I said, “I’ll follow you anywhere”.
![]()