This is a slightly modified version of an article I published on another web site.
Photographing moving water is both easy and challenging. Here are some guidelines that you might consider applying.
There are tips here for those just starting to shoot moving water as well as those looking for ideas that might help them get better photos. But even expert moving water shooters might pick up a new technique.
Get your camera off Auto or Program
These settings are almost guaranteed to give you the worst shutter speed for photographing moving water.
Decide if you want to photograph with a fast shutter speed or a slow shutter speed. I strongly prefer slow shutter speed — long exposure — but both can be successful. Here is a kayak race with a fast (1/1000 sec) and slow (1/15 sec) shutter speed.


Use Aperture Priority, not Shutter Priority, to control your shutter speed. Aperture Priority will always give you a nominally correct exposure; Shutter Priority might not.
The series of photos below illustrate how changing shutter speed can affect the image. Auto would most likely give you a shutter speed of around 1/80 sec, the worst image of the set, in my opinion.
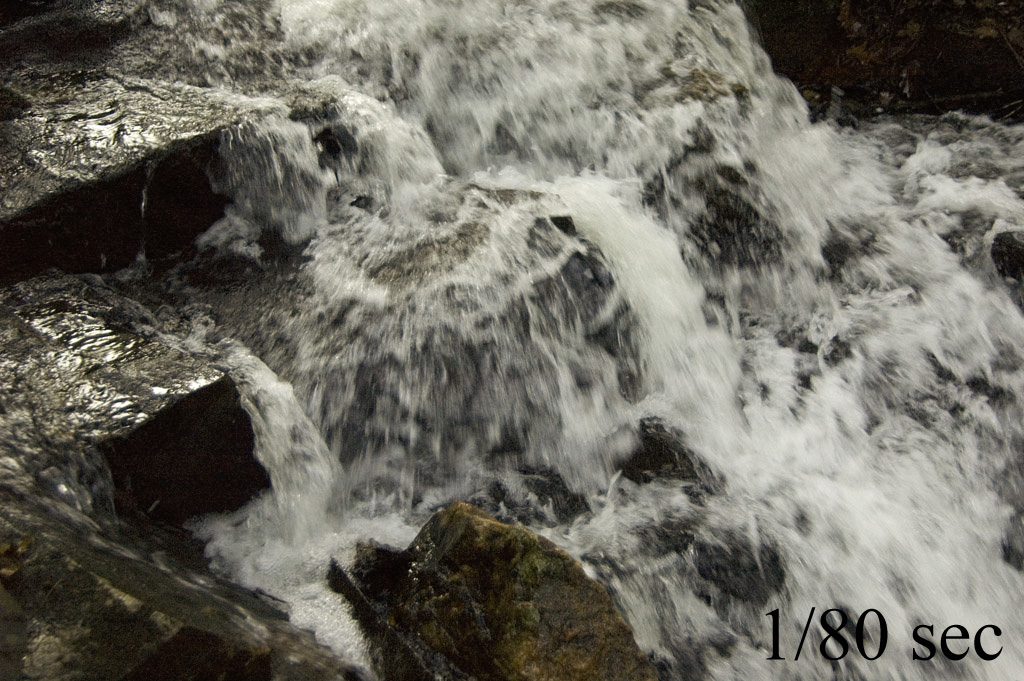
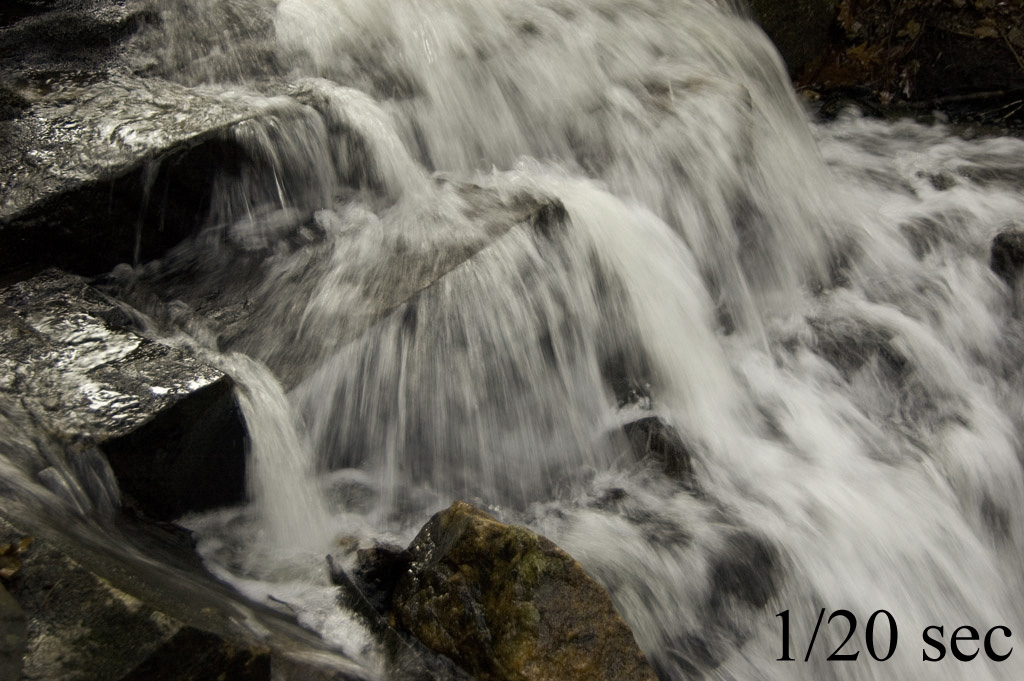
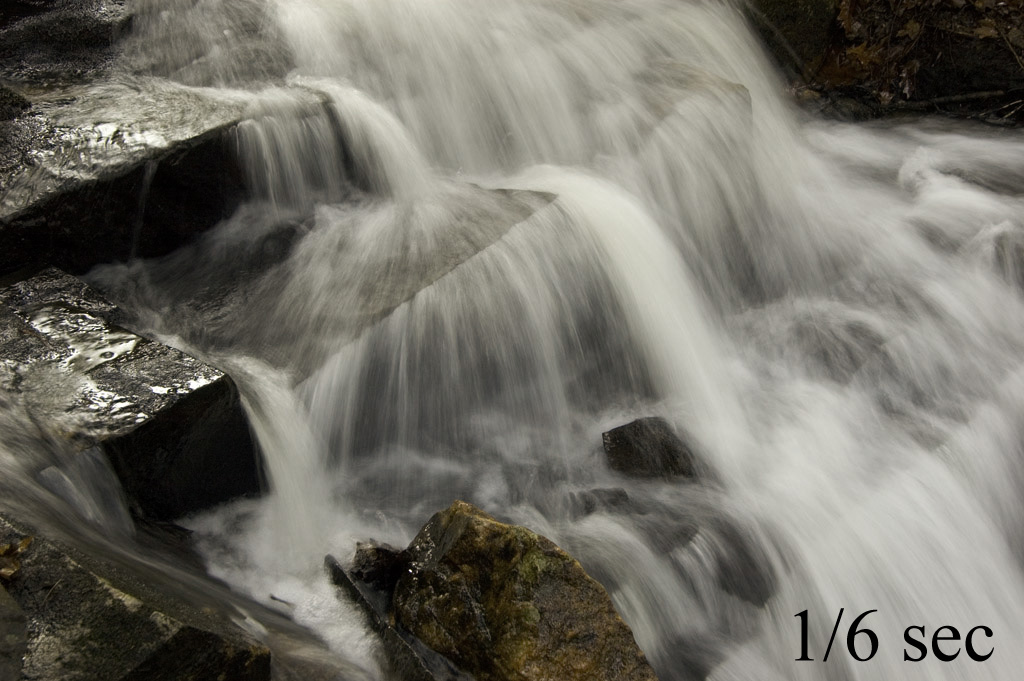
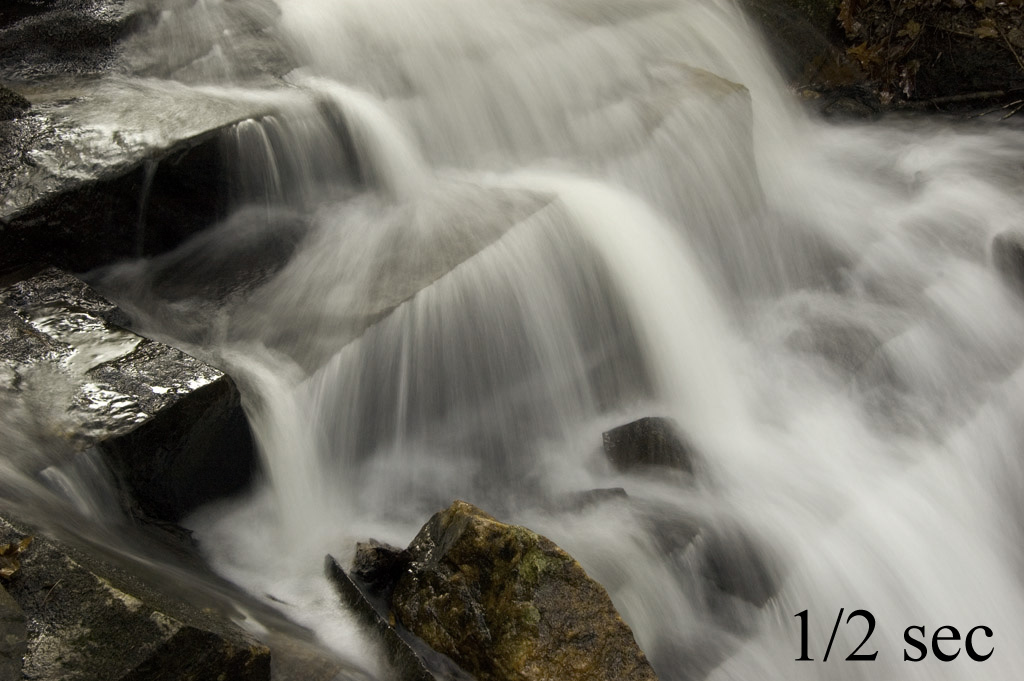
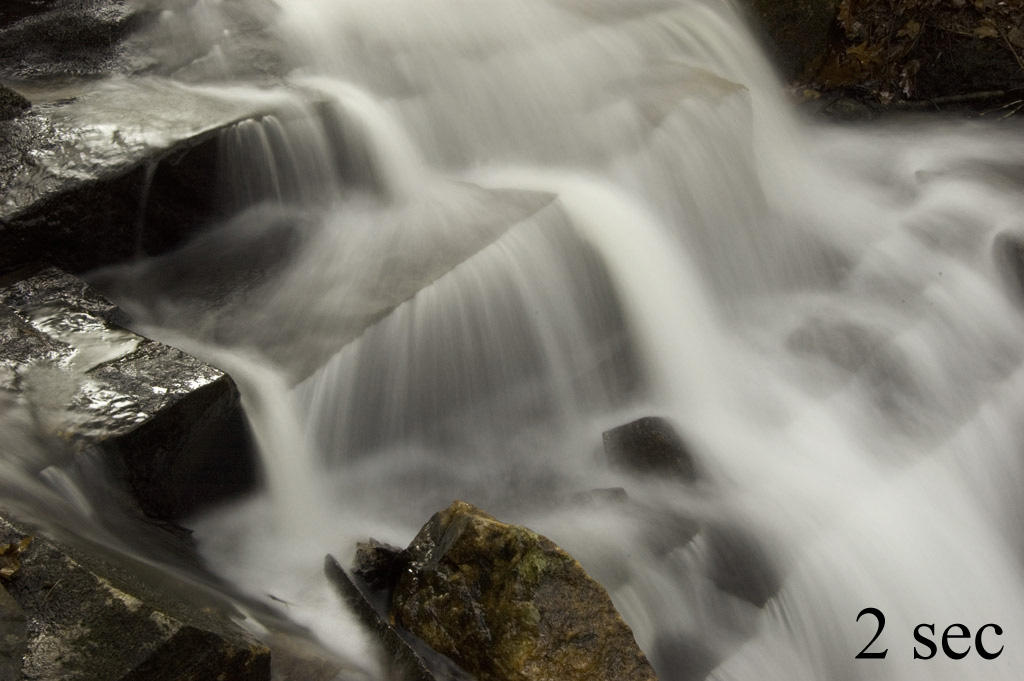
And if you do like I did here and take a series at different shutter speeds you can later decide which you like best.
Use a tripod
This is obvious since you are going to be shooting with exposures that are too long to handhold. It’s great to blur water but the rocks and other fixed objects in your picture need to be tack sharp for the picture to work. Plus your tripod might encourage you to use a long lens and capture small pieces of the scene rather than always getting it all in. “Photograph a phrase rather than a paragraph.”


Consider using a polarizer
This will do two things for you. First, it will cut distracting reflections from the water and rocks. Second, it will help you achieve a longer shutter speed.
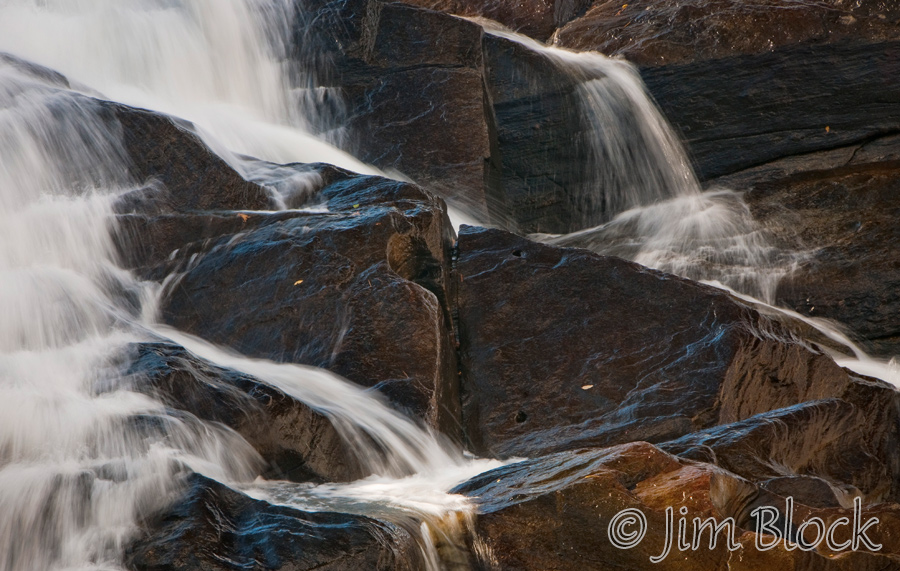
Since a polarizer will cut reflections, it often serves to reduce the dynamic range in the photo which serves to lighten the shadows. The first photo below was shot without a polarizer; the second with.


If a polarizer does not give you a slow enough shutter speed at your lowest ISO, what do you do? Use two, and rotate them to get the degree of darkening you want. Or you can buy an expensive variable neutral density filter which is basically just two polarizers. Here is an example of what you can do with this technique on a bright day — a 4 second exposure on the shore of Lake Superior.

It is normally best to photograph moving water under overcast rather than sunny conditions. Not only does this help you get to a longer shutter speed but the reduced contrast is normally better photographically than the glare of the sun. And a light drizzle darkens the rocks, which often yields a more pleasing photo.
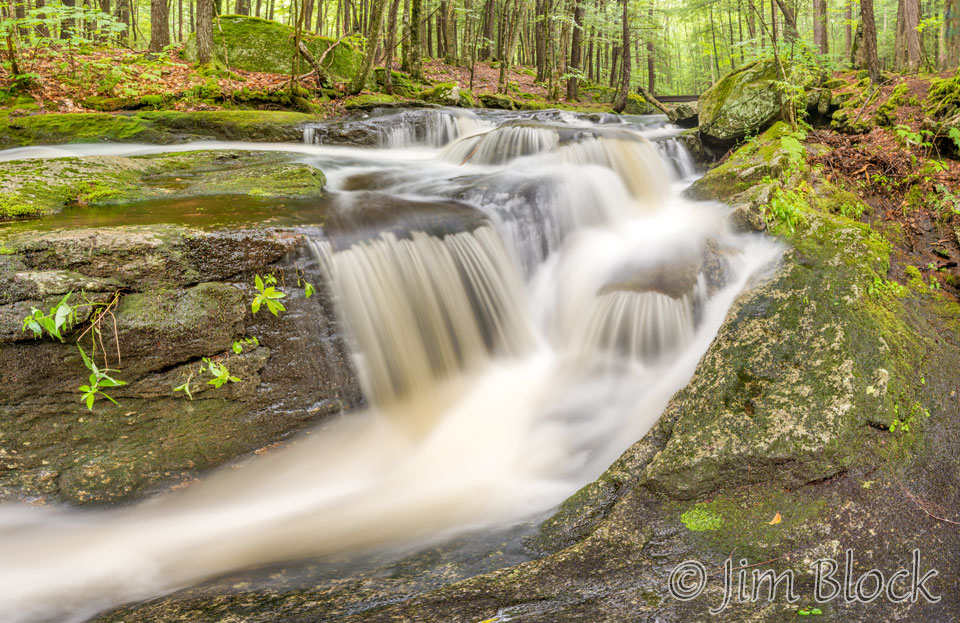
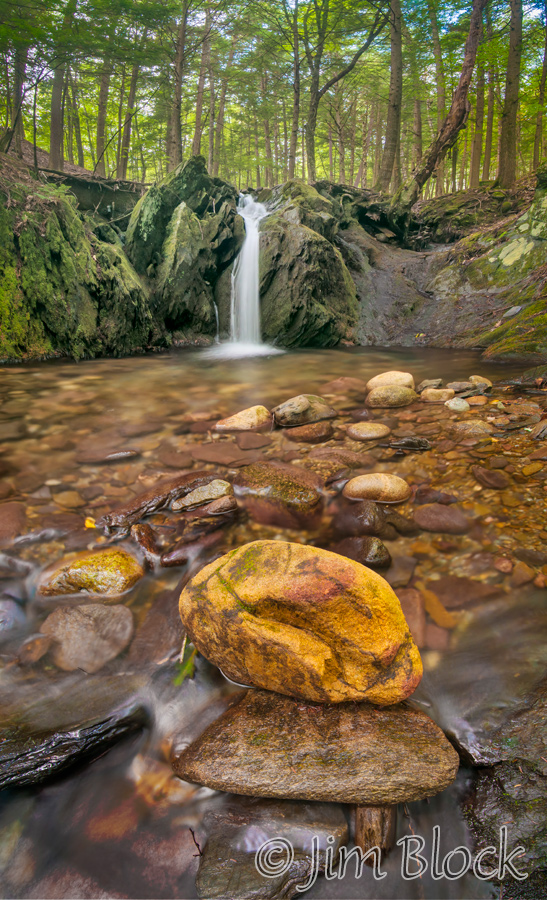
Don’t forget the rules of composition
Compose in depth, use leading lines, consider shapes, and don’t forget the “rule” of thirds. If shooting with a wide angle lens be sure to have a strong foreground, middle ground, and background. Often this means getting very close to an interesting foreground feature.
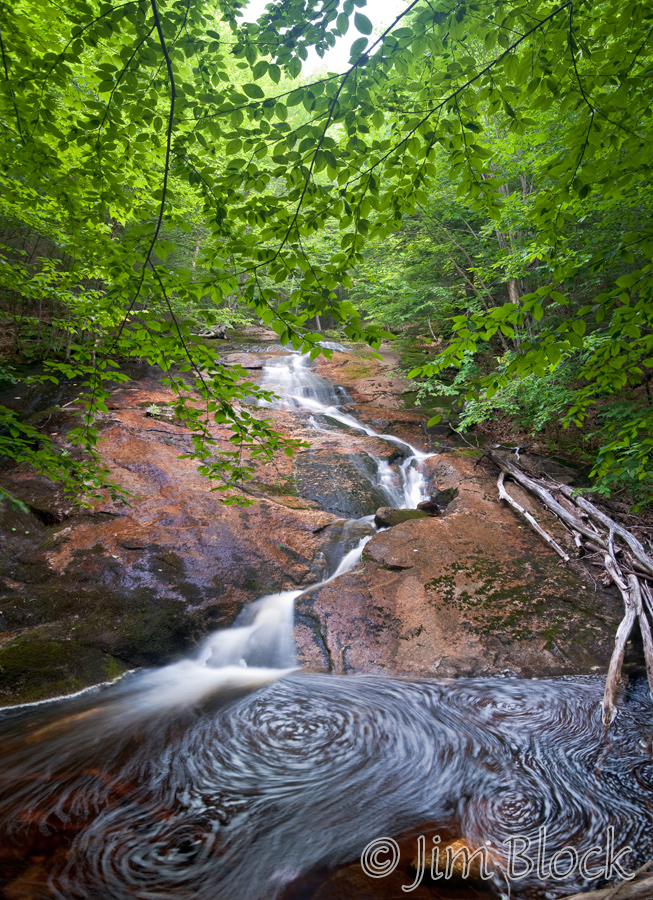
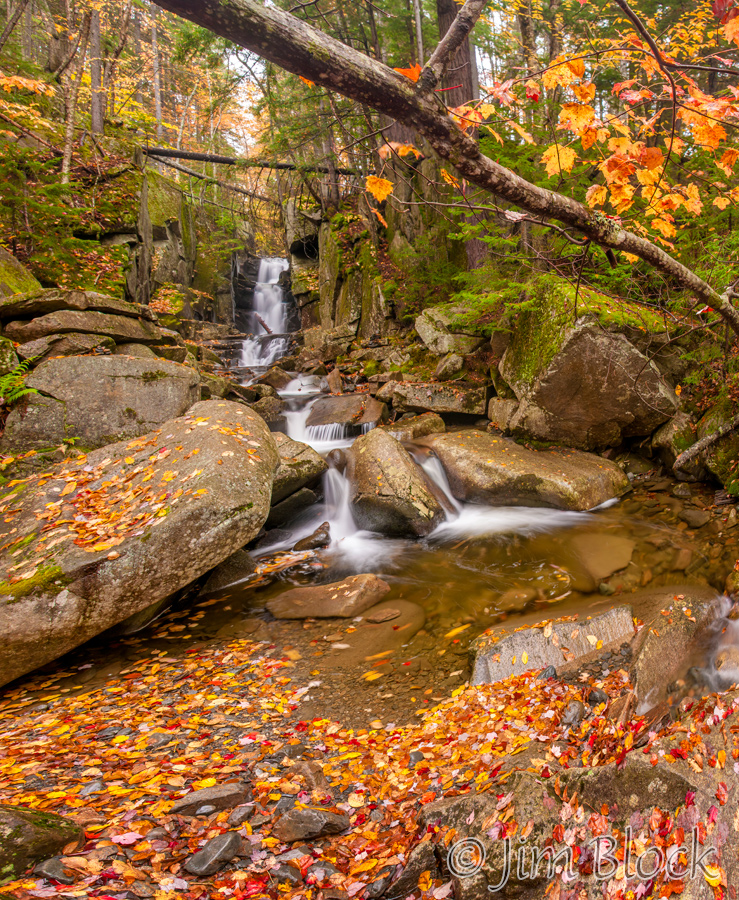

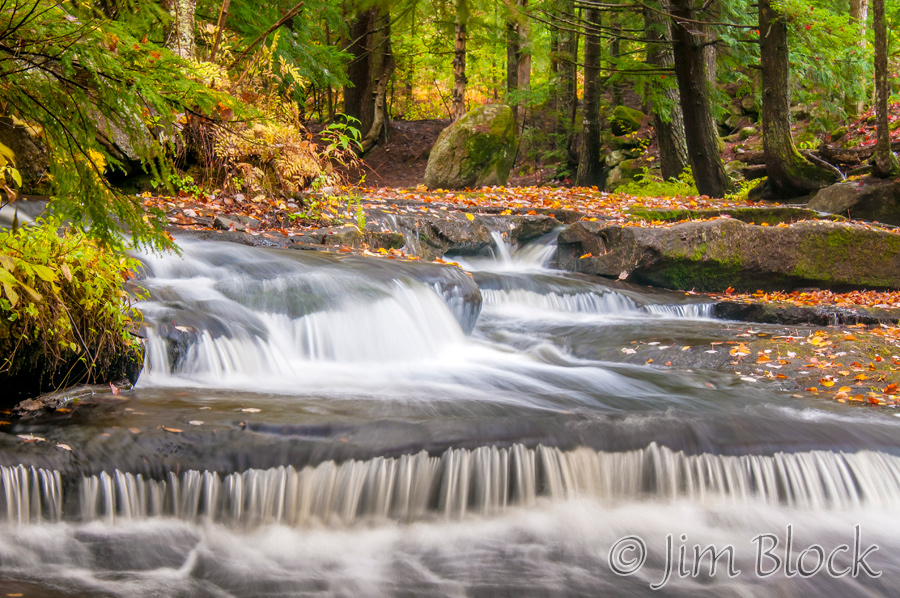
Try to find a way to add color when you can
Many scenes with moving water are very monochromatic. Winter certainly is, but other seasons can be also. Sometimes one can combine moving water with colorful reflections. This works best when the moving water is in the shade but the objects being reflected are in the sun.

Try something new
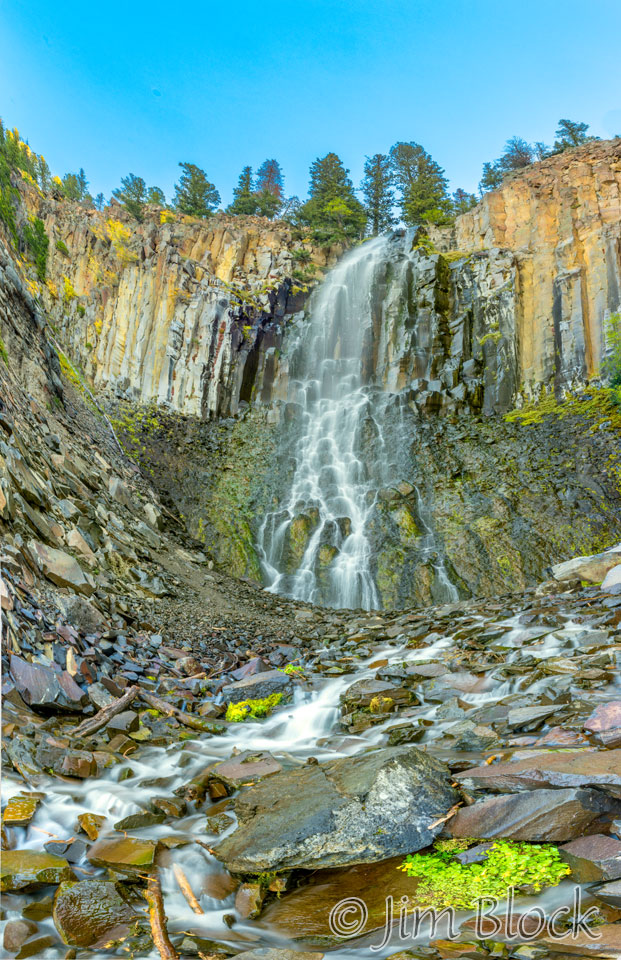
For those who are in need of something new to try, consider these three photos made years ago on slide film when changing ISO was a real challenge. However, the technique I used to get the final image can also be employed with many digital cameras.
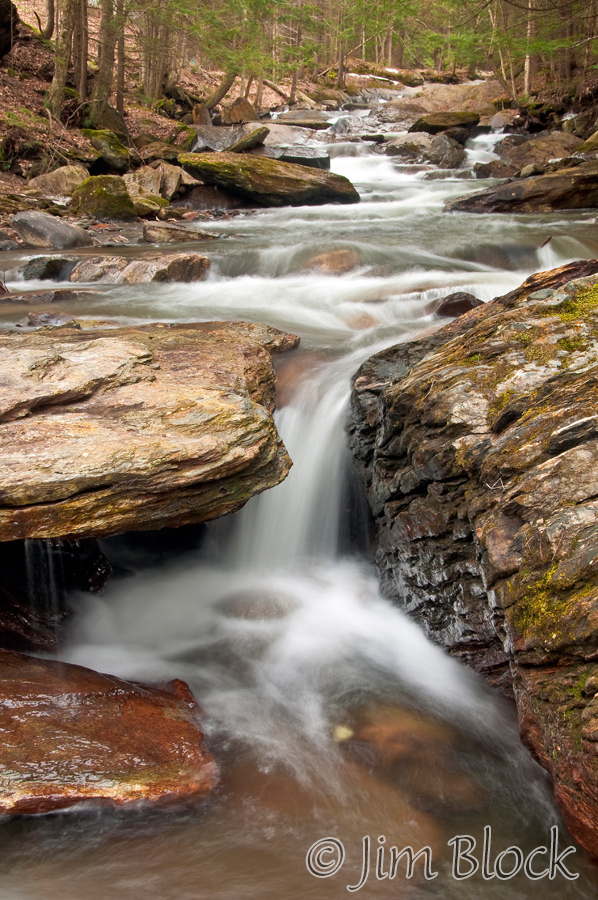
The first picture of this waterfall was shot at 1/100 sec. It was the fastest shutter speed I could get with the fairly slow slide film that was in my camera and the very overcast lighting conditions. The picture is pretty bad. I didn’t use a fast enough shutter speed to freeze the droplets or a slow enough shutter speed to get pleasantly blurred water.

The second image was shot at 1/2 sec. Here I had a long enough shutter speed to provide a pleasing blur to the water.

Without changing film — or changing the ISO on your digital camera — is there a third option? Is it possible to get a photo where the water droplets are frozen as they come down the waterfall? Answer is yes, as can be seen in the third photo.

How do I do this? Think about it a bit before you keep reading.
The third photo of the sequence is composed of nine individual images each shot at 1/800 sec, all on a single piece of slide film. The camera I had was capable of doing this, so I did it.
You can do the same thing with many digital cameras, but you have to use the multi-exposure function intelligently. You must go beyond the normal default settings. On my Nikon digital cameras, when I go to multiple exposures, the menu asks me if I want to use Auto Gain or not. “Gain” is a misnomer. What “gain” really means is loss – reducing the amplification of the image. So if I dial in 9 or 10 exposures using Auto Gain, I get a nicely exposed image, but the shutter speed and aperture for each shot are the same as if I didn’t shoot a multiple exposure.
What I really want to do is use a very fast shutter speed for each of the multiple exposures without having to crank up my ISO to ridiculous extremes.
This is accomplished by simply turning the Auto Gain off and underexposing each of the multiple images. You do this by setting the exposure compensation to -1 if you’re taking two shots, -2 if you’re taking four, and -3 if you’re taking eight. If you’re taking ten, well you can probably figure this out for yourself, but -3.3 would be a good starting point.
So the next time you play with multiple exposures consider turning Auto Gain off and using exposure compensation to keep your ISO low and your shutter speed high even if you’re not shooting moving water.
Break the Rules
Sometimes you just want to use an aperture and ISO that gives you a slow shutter speed and fire away handheld panning on a subject moving down a river. I did this here with shutter speeds of 1/8 to 1/15 sec in the Grand Canyon.
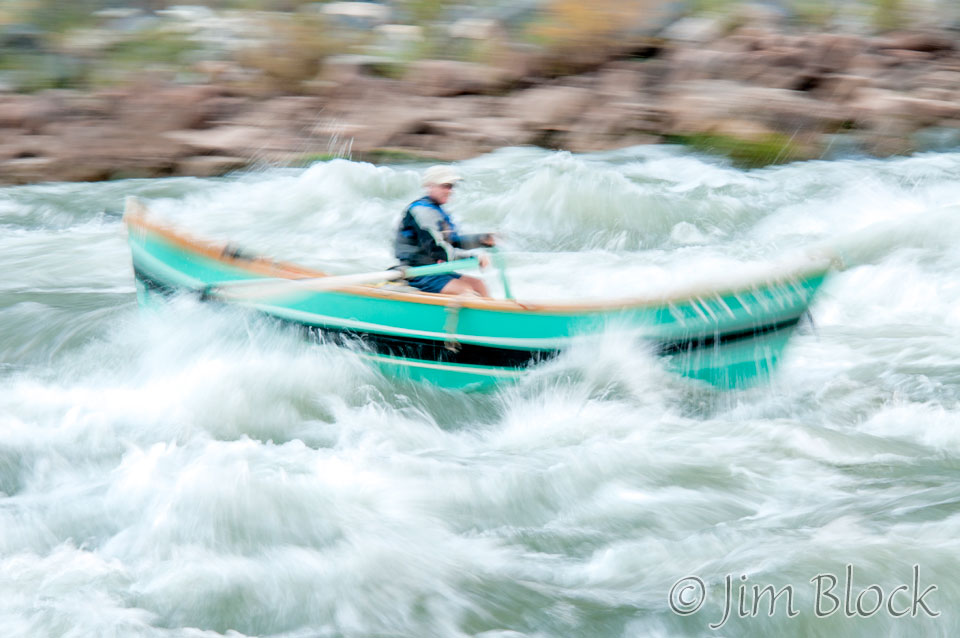
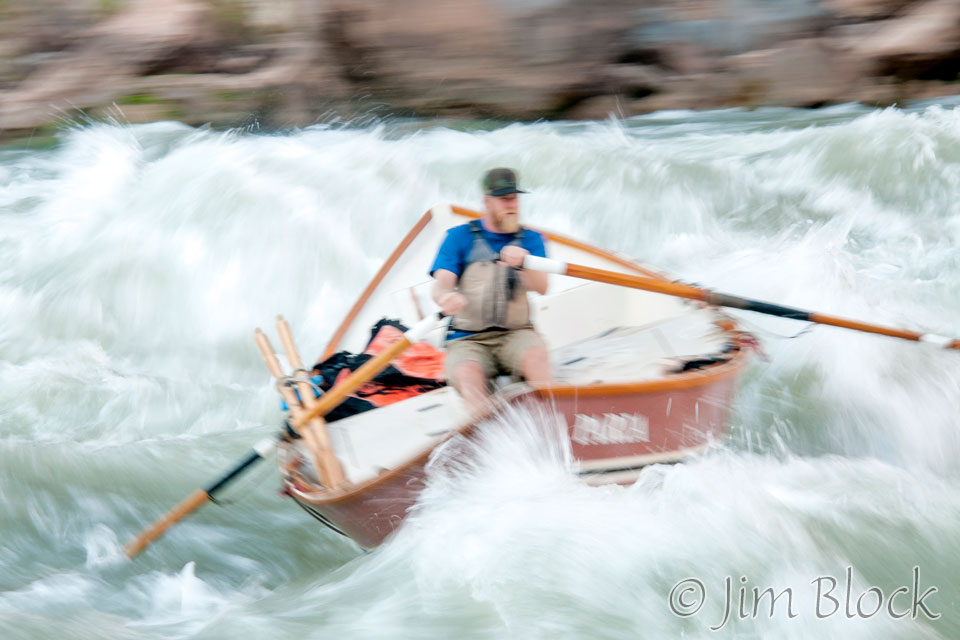
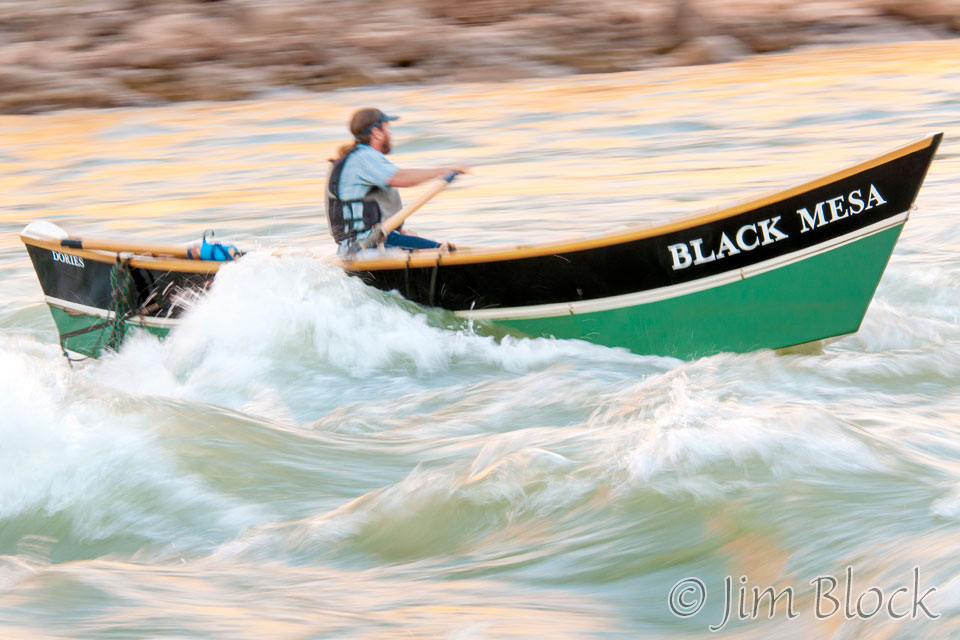
~ Jim Block